Coolmuster PDF to Word Converter for Mac Online Help
Below is the tutorial showing you how to convert PDF files to Microsoft Word documents by using Coolmuster PDF to Word Converter for Mac.
Step 1. Run Software and Add PDF File
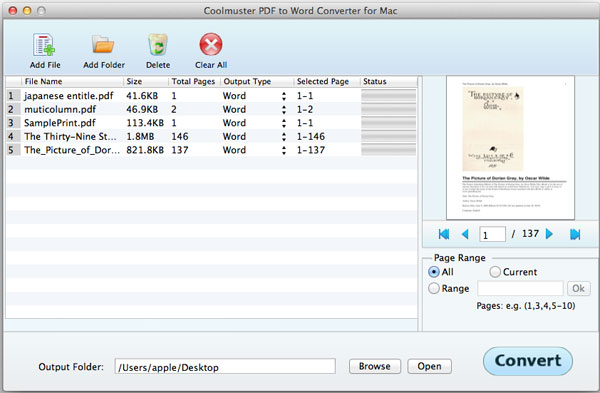
After you download and install the PDF to Word Converter for Mac, launch it and click "Add File" or "Add Folder" button on the top toolbar to import the PDF files you want to convert to Word. To save time, you can directly drag and drop one or more PDF documents to the program at one time.
If files loaded successfully, you will be able to see the main file info in the left file list area, like File Name, File Size, Total Pages, etc. The right Preview window allows you to browse the Adobe PDF documents page by page. You can delete your unwanted PDF files by clicking the "Delete" or "Clear All" button.
Step 2. Set Output
1) Page range setting: The software provides 3 modes of Page Range: All(Default), Current, Range. If you Select "All", then all of the pages will be converted. If you Select "Current", only the current page which you are previewing will be converted. If you Select "Range", then you will be asked to enter page numbers and/or page ranges seperated by commas, for example, 1,3,4,5-10, press "Enter" button on the keyboard to confirm, then the page ranges will be converted
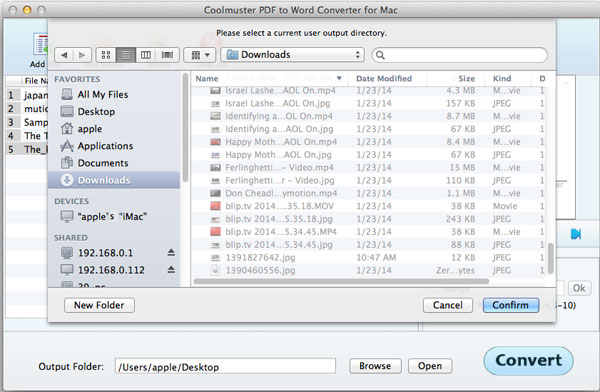
2) Output locatin setting: The default output folder is the source folder of PDF files. You can customize and choose suitable destination for storing output files by clicking the "Browse" button.
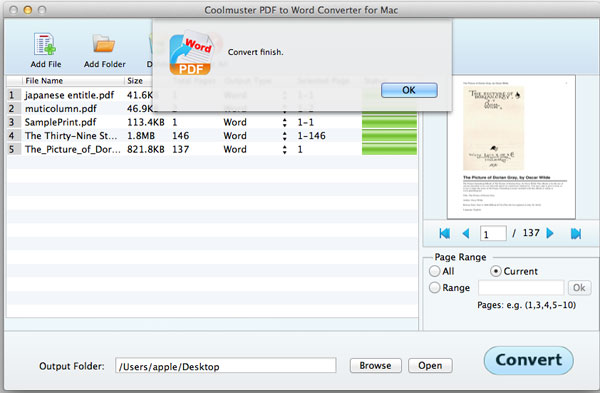
Step 3. Begin conversion
If everything is OK, you can click the "Start" button to begin the conversion. During the conversion, a progress bar will show you how much is converted. Once the bar becomes 100%, the conversion is completed. You can click the "Open" button besides "Open" to check the output files.