Coolmuster HEIC Converter for Mac Online Help
Below is the complete guide on converting HEIC to JPG/PNG on Mac using Coolmuster HEIC Converter. Follow these step-by-step instructions to transform HEIC files on your macOS device.
Part 1. Preparation - Install the HEIC to JPG Converter for Mac
Part 2. Batch Convert HEIC to JPG/JPEG/PNG on macOS
Video Tutorial:
Part 1. Preparation - Install the HEIC to JPG Converter
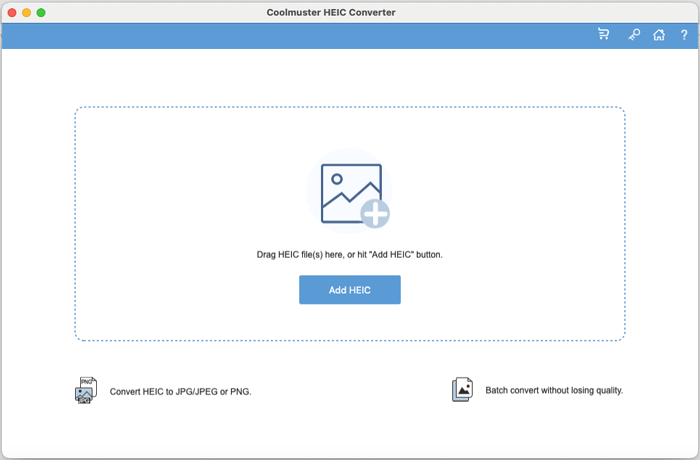
After installing the software on your Mac, launch it to see the intuitive interface below. You're now ready to convert HEIC to JPG/PNG seamlessly.
Part 2. Batch Convert HEIC to JPG/JPEG/PNG on Mac
Step 1: Import HEIC/HEIF Images
Add your HEIC photos in two convenient ways: Click the "Add HEIC" button or simply drag and drop images into the dotted-line area (then click the "Drop files here" prompt).
Note: Ensure you've first transferred HEIC files from your iPhone to your Mac before importing them.
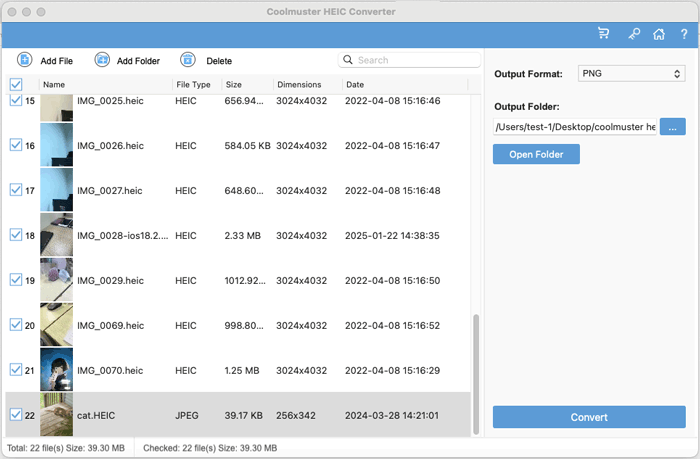
Step 2: Configure Output Settings
- Select the HEIC images you wish to convert, then choose "JPEG/JPG" or "PNG" under Output Format.
- Enable "Keep Exif Data" to preserve original photo metadata if needed.
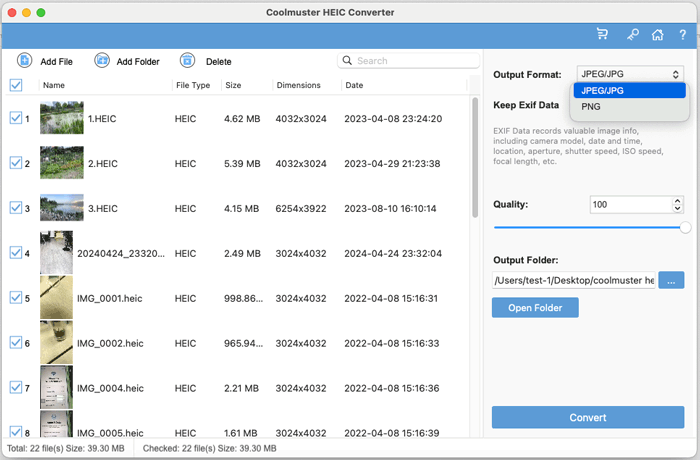
- Adjust the Quality slider and specify a destination folder for your converted files.
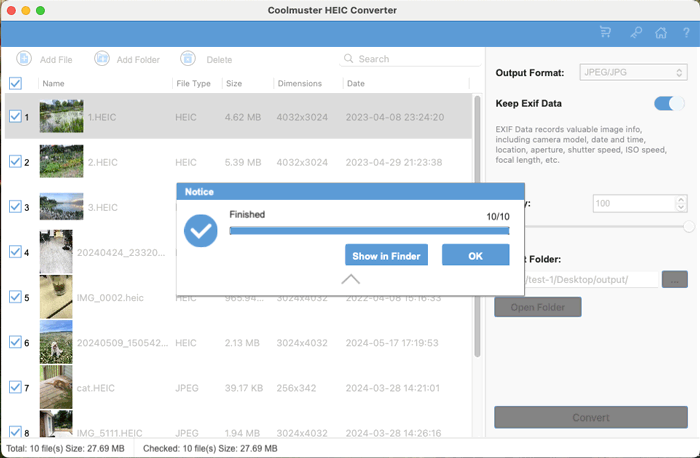
Step 3: Convert HEIC Files
Click the "Convert" button to instantly convert HEIC to JPG or PNG.