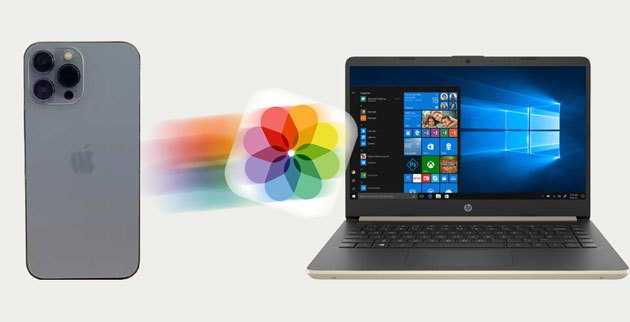
Starting with iOS 11 Beta, iPhones automatically save photos in the HEIC format by default. If you want to transfer these HEIC photos from your iPhone to a PC for backup, editing, or organizing, you might run into an issue. Currently, only Apple devices like iPhones, iPads, and Macs can view and edit HEIC photos. This means your Windows PC may not be able to open or edit these photos after you transfer them.
But don't worry! This guide will show you how to transfer HEIC photos to your PC and convert them into more common formats like JPG, PNG, or JPEG. That way, your PC will be able to read and edit them easily.
Before moving on to any steps further, let's get a brief understanding of HEIC files first.
What's HEIC?
HEIC is a proprietary image format launched by Apple in 2017, whose full form is High-Efficiency Image Format. Why does Apple introduce the HEIC format? Since HEIC only takes half of a JPEG file's size but maintains the same image quality, iOS users will be less likely to receive the message, "Cannot take photos. There is not enough available storage to take a photo."
Which Devices Support HEIC?
By now, only Apple devices support HEIC format, but not all of them. As mentioned above, only Apple devices came out since 2017, say, iOS devices that run iOS 11 or later and Mac with macOS High Sierra or above, support HEIC photos.
If you want to transfer specific HEIC photos from your iPhone to your PC, using a tool like Coolmuster iOS Assistant is a great choice. This software lets you easily preview all your HEIC photos and other file types on your iPhone. You can then choose to move them all at once or pick just the ones you want to transfer.
The highlights of Coolmuster iOS Assistant:
How do I get HEIC off my iPhone to your PC selectively?
01 Install and run the software on your PC. Connect your iPhone to the computer using a USB cable and hit the "Trust" option on your iPhone if prompted. Once detected by the program, it will display the following interface.

02 Click "Photos" on the left panel and the software will start to scan your iPhone for all the photos. After a while, all photos in your iPhone, including the HEIC/HEIF photos, will be displayed.
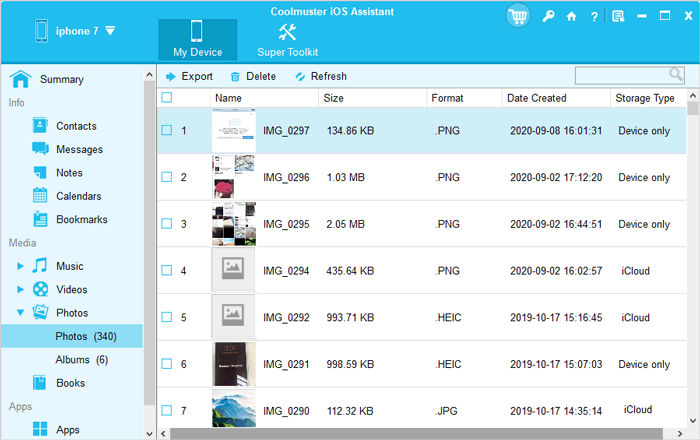
03 Preview and tick off the HEIC photos you want to transfer. Hit the "Export" button on the top menu and choose a location on your computer to save the transferred photos,transfer HEIC from iPhone to PC.
Video Guide:
Once you've transferred your iPhone photos, you can easily batch convert HEIC files to JPEG by following this step-by-step guide.
Suppose that you use iCloud Photo Library to store your iPhone pictures. In that case, you can download HEIC photos to your PC from the iCloud website.
How do you transfer HEIC to your PC using iCloud?
1. Go to the iPhone's "Settings" > "Camera" > "Formats" > select "Automatic" under the "Transfer to Mac or PC" section. Once done, your iPhone will convert HEIC to JPG when transferring them to PC.
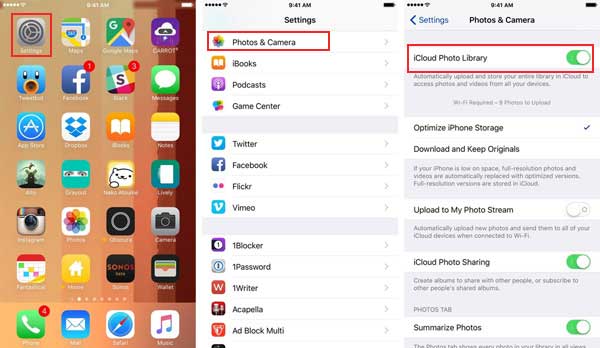
2. Connect your iPhone to a stable Wi-Fi network. Now, open "Settings" > "iCloud" > "Photos" > turn on the "iCloud Photo Library" and "My Photo Stream". Then it will sync all your iPhone photos to iCloud.
3. Visit icloud.com from a PC's browser and log in with the same Apple ID and password that you use on your iPhone. Afterward, choose the "Photos" tab and pick and download the wanted HEIC images to your PC.
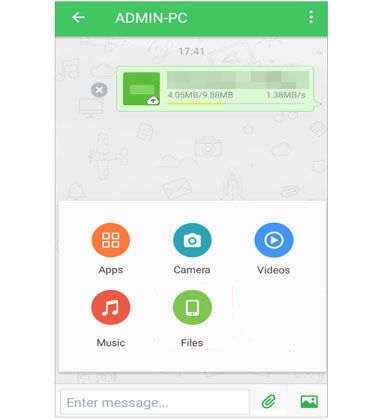
You can also use AirDroid to transfer HEIC from iPhone to PC without compression. Since it does not limit the file format and computer models, you can make the switch seamlessly.
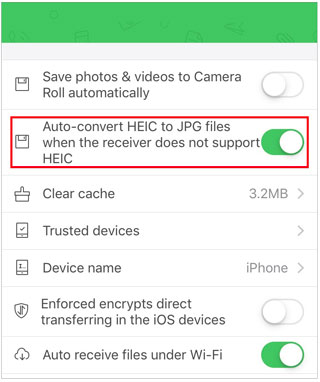
1. Install AirDroid from App Store on your iPhone and sign in with your account and password. After that, launch it and tap "Me" at the bottom. Then enable the "Auto-convert HEIC to JPG files when the receiver does not support the HEIC" option.
2. Open the web.airdroid.com from a browser on your computer and log in to your AirDroid account by entering the same email address and password or scanning the QR code.
3. Once finished, tap the "My Devices" section on your AirDroid client app for iPhone, pick your PC from the list, and tap the attachment icon next to the input field.
4. Pick the "Mobile Files" option, select the HEIC photos you wish to transfer, and tap the "Send" button.
5. Wait until the transfer process is complete.
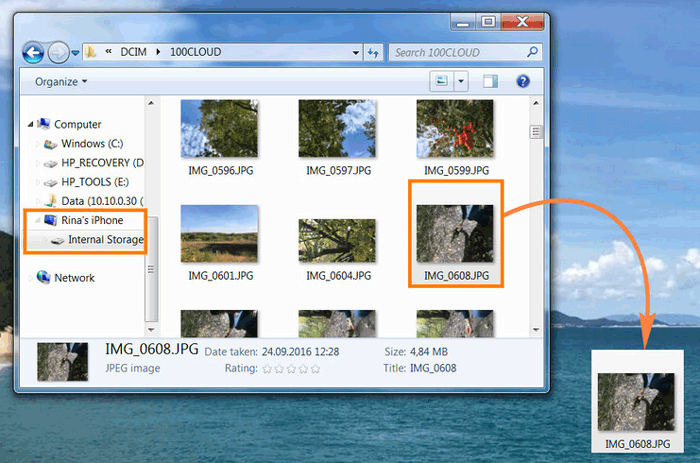
Believe it or not, you can also transfer HEIC from iPhone to PC via a USB cable as long as those images are DRM-free.
Let's check how it works:
1. Connect your iPhone to the PC using a USB cable and unlock your iPhone.
2. Open a File Explorer window, tap "This PC" > double-click your iPhone name under the "Devices and Drives" option > select "Internal Storage" > "DCIM".
3. After picking the HEIC images you wish to transfer, copy and paste them to your PC desktop.
As you can see, it's easy to transfer HEIC from iPhone to PC. But if you prefer a safe, simple, and reliable method, Coolmuster iOS Assistant will be the best choice. As introduced above, it allows you to preview all iPhone images and select the desired HEIC photos to transfer. Besides, it's the simplest to handle - only one click! Won't you give it a try?
Related Articles:
A Complete Guide on iMazing HEIC Converter Review & Its 7 Alternatives
How to Convert HEIC to PNG Online or Offline? (6 Simple Methods)
CopyTrans HEIC Review: Is CopyTrans HEIC Safe, Free, and Best to Use?
HEIC V.S. JPEG: What Is the Difference between HEIC and JPG? (Comprehensive Guide)


 Free Download for PC
  Free Download for Mac

