Coolmuster iOS Eraser Online Help
Coolmuster iOS Eraser enables you to erase all data on iDevice with 1 click easily. After erasing, all files will be completely and permanently wiped out, and no recovery tool can restore the files from your iDevice.
Below is the step-by-step process to use Coolmuster iOS Eraser.
Part 1. Make Your iDevice Recognized by the Program
Part 2. Erase All Data on iPhone/iPad/iPod with 1-Click
Part 3. Video Tutorial: 100% Erase Data and Protect Your Privacy
Part 1. Make Your iDevice Recognized by the Program
Before dealing with your device data using Coolmuster iOS Eraser, please have your device detected by the program at first.
Step 1. Launch the program on your computer.
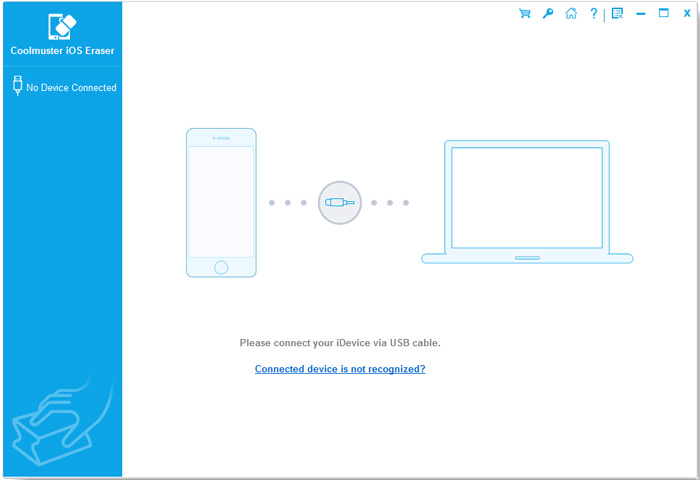
Launch the program after installation, you will see the primary interface as below.
If you haven't installed iTunes on your computer, the program might pop up the prompt as below. Simply download and install the latest iTunes (iTunes 64-bit version of Windows or iTunes 32-bit version of Windows) on your computer and then restart the program.

Step 2. Have your iDevice to detected by the program.
Please connect your iDevice to computer via a USB cable.
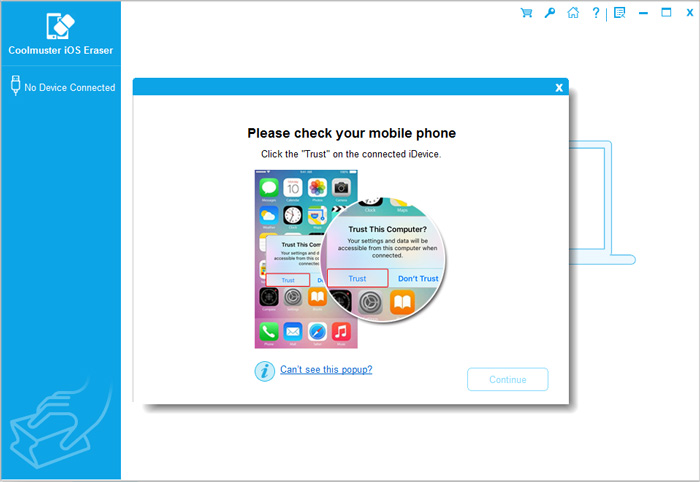
If you have unlocked your iDevice or trusted this computer, the program might start to recognize your device. Otherwise, the program might pop up the prompt as below. Simply unlock your iDevice and tap "Trust" option on your iDevice when "Trust This Computer" pop-up appears, then click "Continue" button on the program.
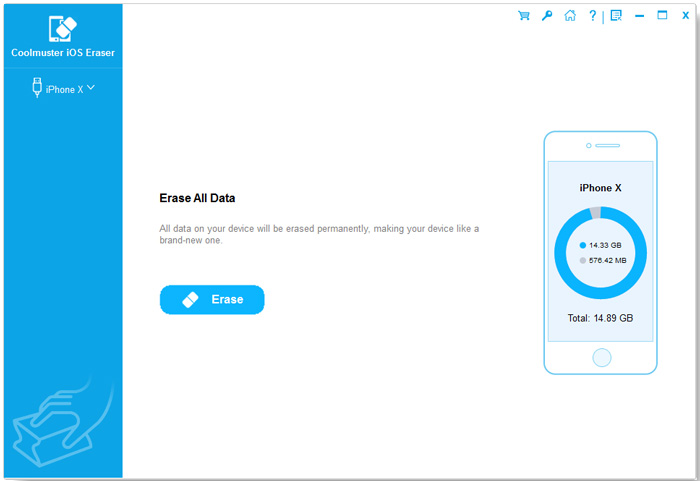
After that, the program will automatically detect your device. When your iDevice is connected successfully, you might see the main interface as below and you can start to erase data on your device.
Still have problems? Please learn what to do if your iDevice fails to connect.
Part 2. Erase All Data on iPhone/iPad/iPod with 1-Click
Notes:
a. Before erasing iOS data, if needed, please make sure you have backed up your important data since it is unrecoverable.
b. Please do NOT disconnect your iDevice until the whole erasing process is complete.
Step 1. Click "Erase" button on the main interface.
(1) If the program detects that iTunes is running on your computer, a prompt will pop up as below. Simply click "Close iTunes" button to continue using the program.

(2) If the "Find My iPhone" feature is enabled on your device, please turn off it and click "Continue" button to move on.
Note: To turn off Find My iPhone, please go to "Settings" > [your name] if asked > "iCloud" > "Find My iPhone" and disable it.

Step 2. Choose security level for erasing and confirm it.
(1) Please click the menu beside Security Level to choose security level for erasing.
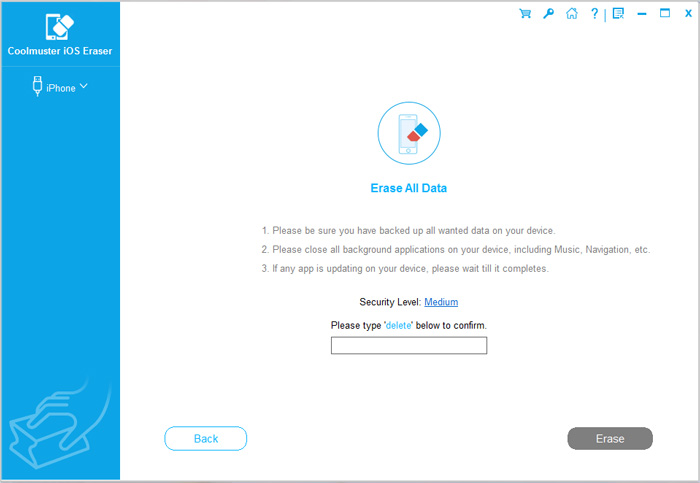
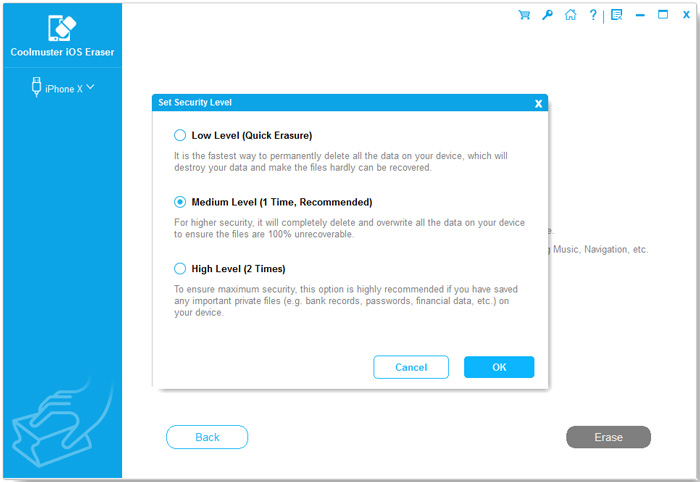
(2) Here, you can choose desired security level here: Low Level, Medium Level and High Level. After selection, please click "OK" button.
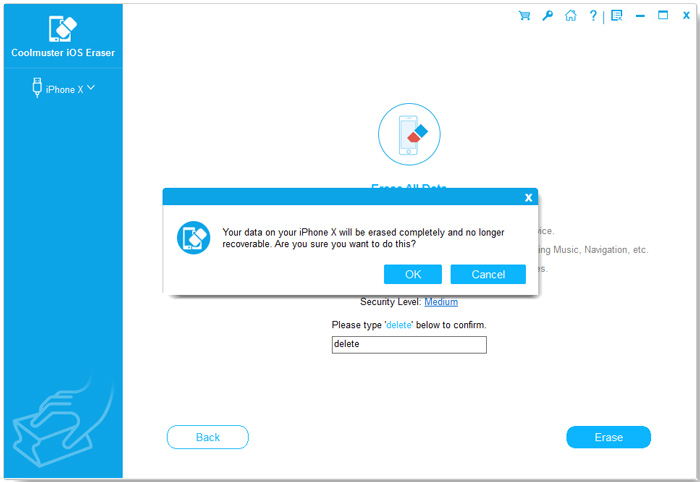
(3) Type "delete" into the blank to confirm and click "Erase" button. When it pops up to ask you whether you are sure to completely erased your phone data, please click "OK" button to start the process.
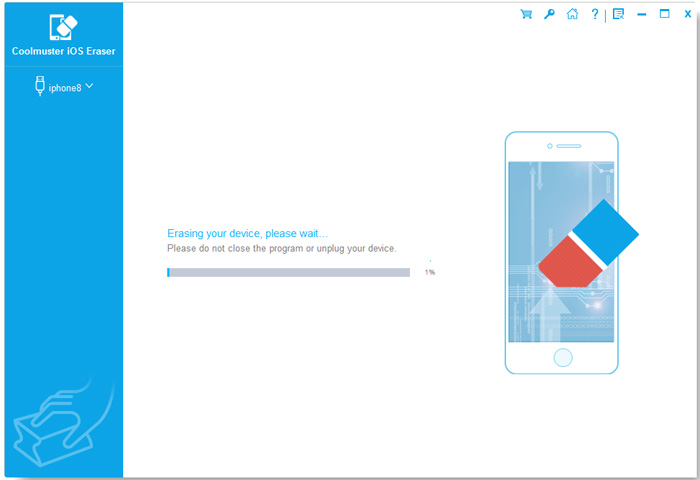
Step 3. Start the erasing process.
(1) After quick scanning, the program might start to erase your device data immediately.
(2) When the erasing process is complete, your iDevice will automatically reboot. Failed to restart your iDevice?
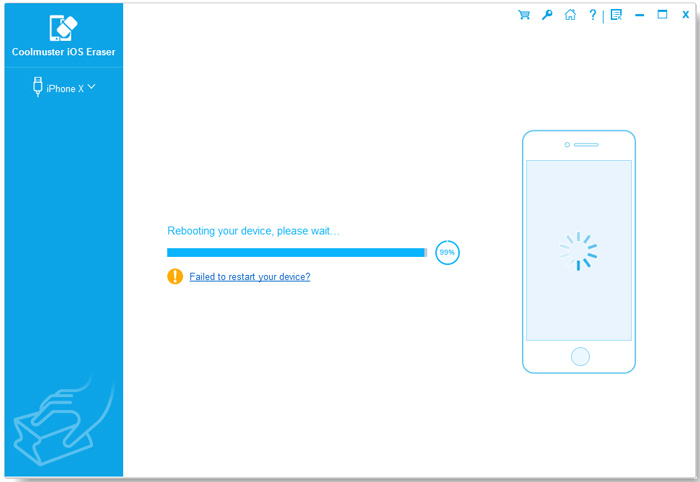
(3) After rebooting, please unlock your device as prompted if it is locked, then click "Try Again" button to reconnect your device.
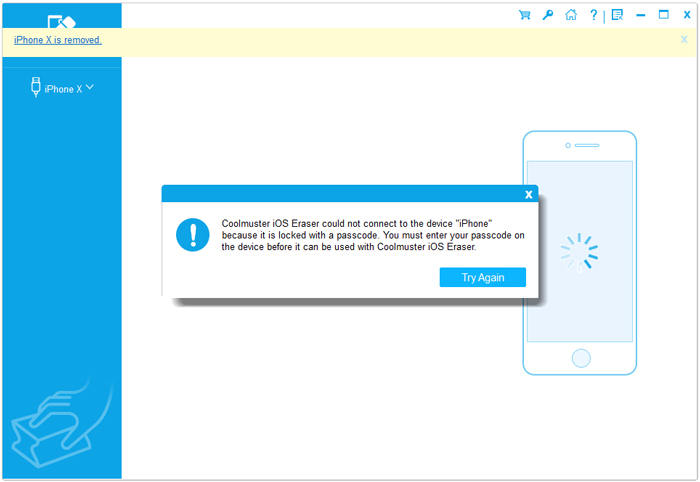
(4) Then the program will continue to overwrite your phone data immediately.
Note: The overwriting process is the fastest in Low Level comparing with Medium Level and High Level. The program overwrites your device data 2 times in High Level to ensure maximum security, while it overwrites your device data 1 time in Low Level and Medium Level.
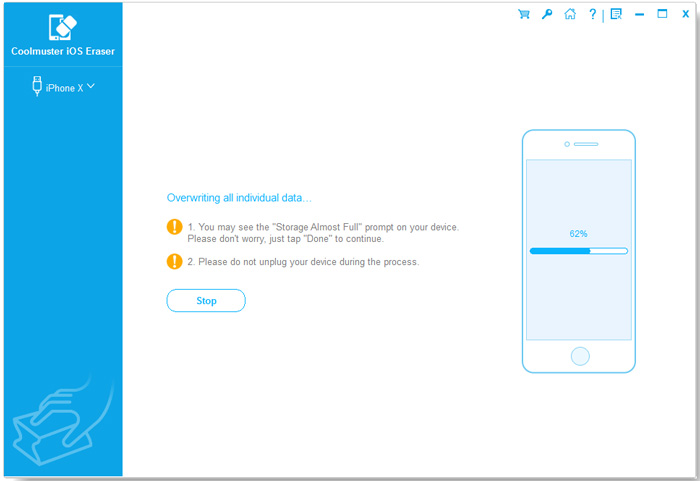
(5) When the whole process is complete, your phone data will be erased completely and permanently, leaving no chance to be recovered, and you can start to set up your iDevice now.
