Coolmuster iPhone Data Recovery for Mac Online Help
This definitive guide for Coolmuster iPhone Data Recovery for Mac provides clear, step-by-step instructions to retrieve your lost information. Effortlessly restore deleted files or extract existing data directly from your iPhone, iPad, or iPod touch, as well as from iCloud and iTunes backup files on your Mac—all without performing a full device reset.
Part 1: Directly Recover Data from iPhone/iPad/iPod touch to Mac
Part 2: Extract Data from iTunes Backup on Mac
Part 3: Download Data from iCloud Backup to Mac
Watch How It Works:
Part 1: Directly Recover Data from iPhone/iPad/iPod touch to Mac
Step 1: Launch Software and Connect Your iOS Device
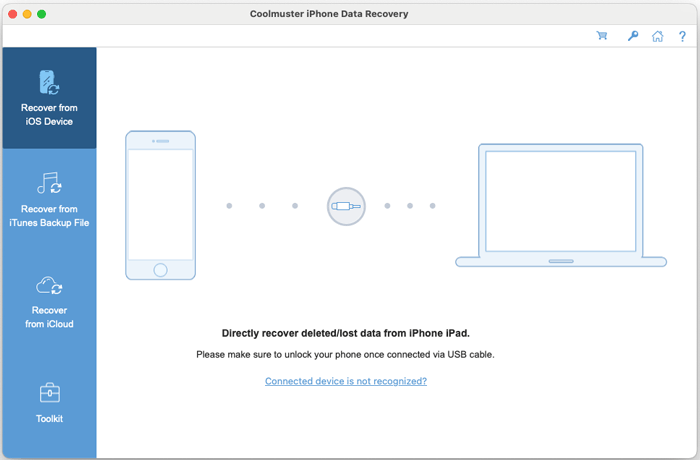
Begin by downloading, installing, and opening Coolmuster iPhone Data Recovery on your Mac. Use a standard USB cable to connect your iPhone, iPad, or iPod touch directly to your computer.
Note: If multiple iOS devices are connected, select the target device from the list and click "Next" to proceed.
The software will automatically detect your device. On your iOS screen, tap "Trust" to authorize the connection with your Mac.

Troubleshooting Tips:
1. Not seeing the "Trust" prompt? Click the "Can't see this popup" link within the software for guidance.
2. If your device isn't recognized, click the relevant help option. A window will offer three potential solutions. If issues persist, select "Connected device is not recognized" for advanced troubleshooting steps.
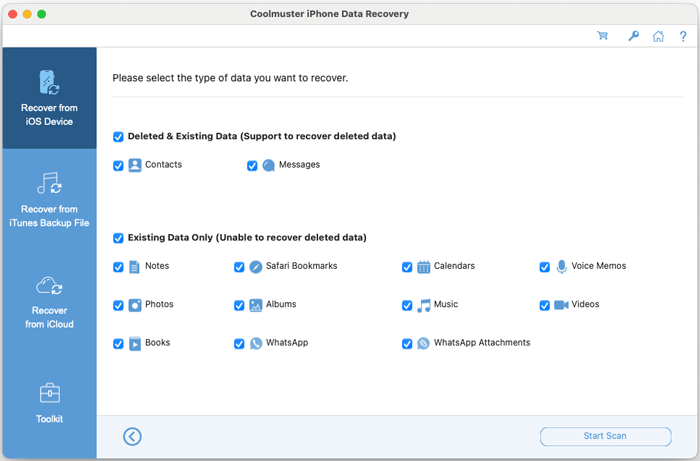
Once successfully connected, the interface will display all available data categories. Select the file types you wish to scan (e.g., Messages, Albums, Contacts) and click "Start Scan".
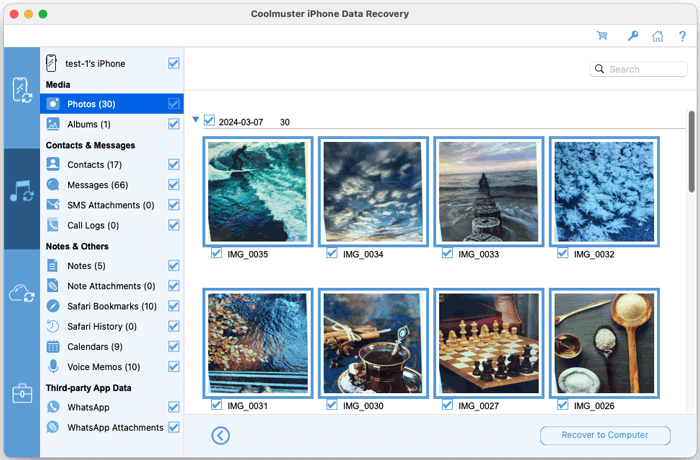
Step 2: Preview and Select Your Desired Files
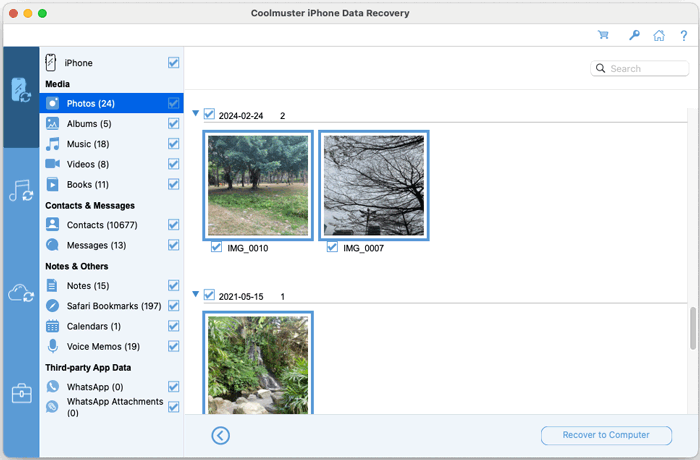
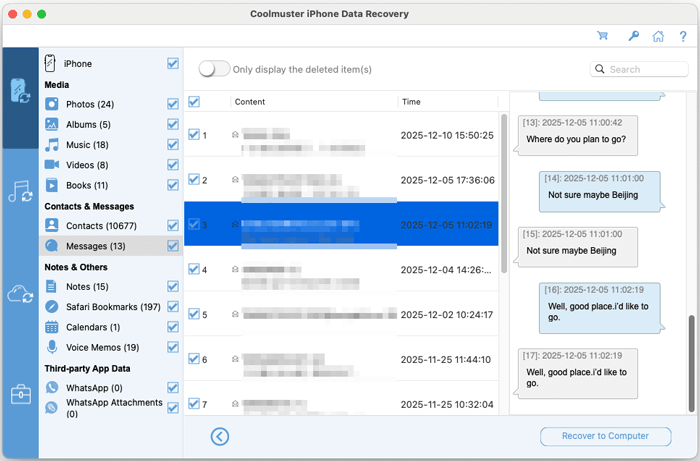
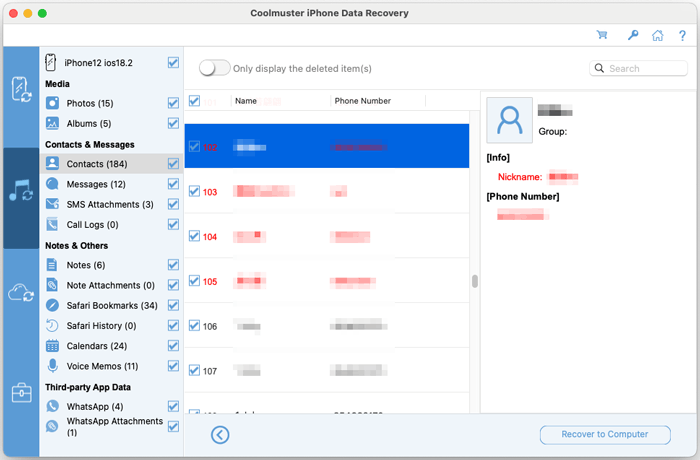
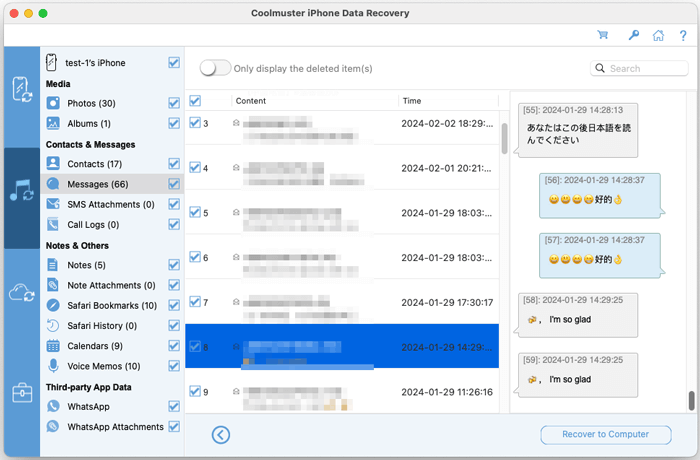
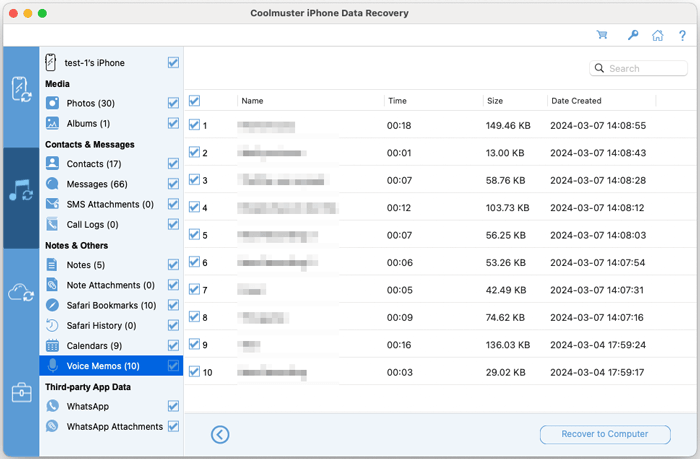
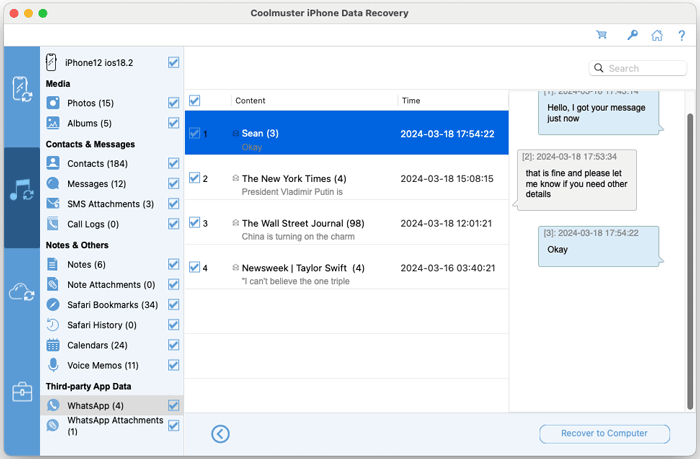
After the scan completes, you can browse all found items. The left panel lists data categories, while the right side shows detailed files, with deleted items often highlighted. Check the boxes next to the files you want to recover.
Helpful Filters & Notes:
* Enable the "Only display the deleted item(s)" toggle to filter the view, showing only files marked for recovery.
* When previewing secure data like Messages, Notes, Voice Memos, WhatsApp chats, deleted contacts, and deleted text messages, you may need to enter your device passcode on your iPhone screen when prompted to unlock the data for access.

Step 3: Finalize the Recovery to Your Mac
With your desired files selected, click the "Recover to Computer" button. Choose a save location on your Mac, and the software will export the selected data, restoring deleted files and transferring existing ones to your chosen folder.
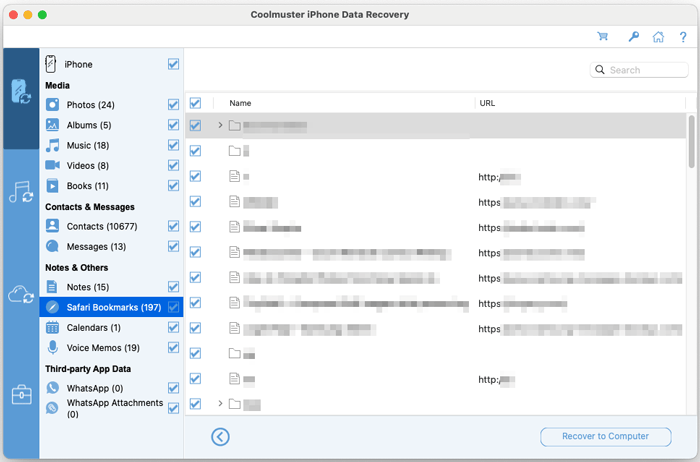
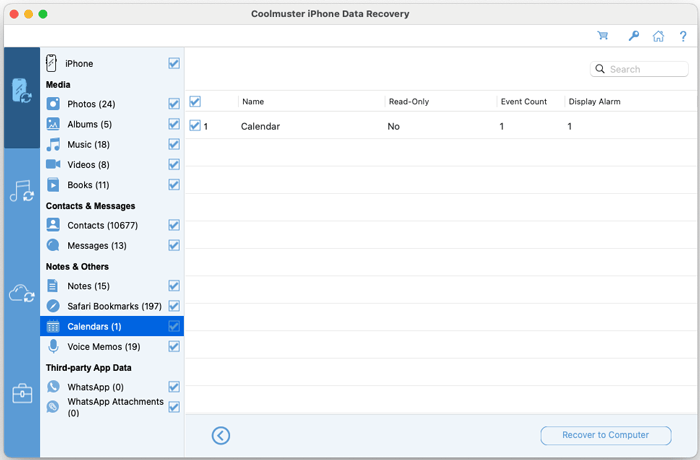
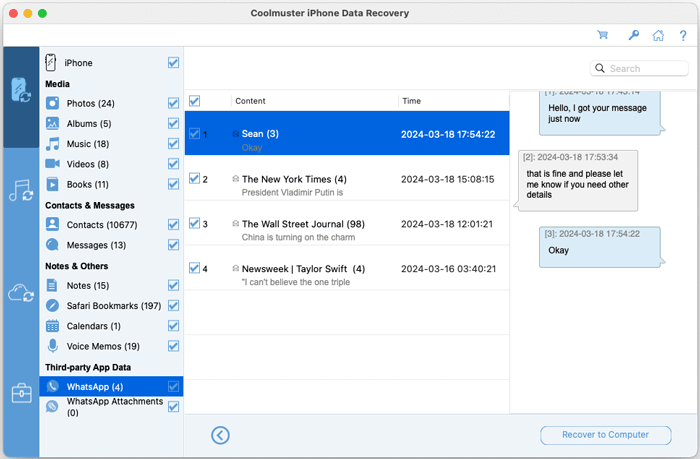
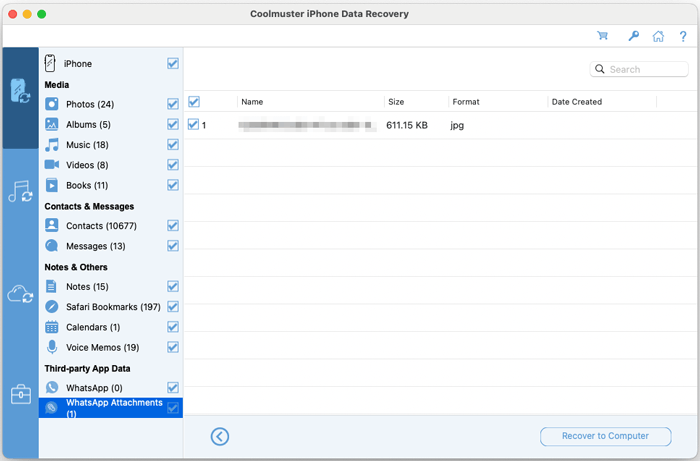
Sample Previews from iOS device: Contacts, Messages, Albums, Music, Videos, Books, Notes, Safari Bookmarks, Calendars, Voice Memos, WhatsApp Messages, WhatsApp Attachments, and more.
Contacts: Select lost or existing contact entries from iOS device.

Messages: Select lost or existing messages from iOS device.
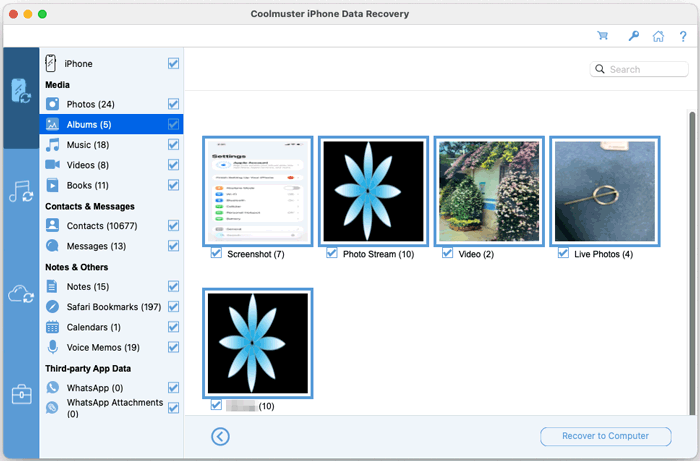
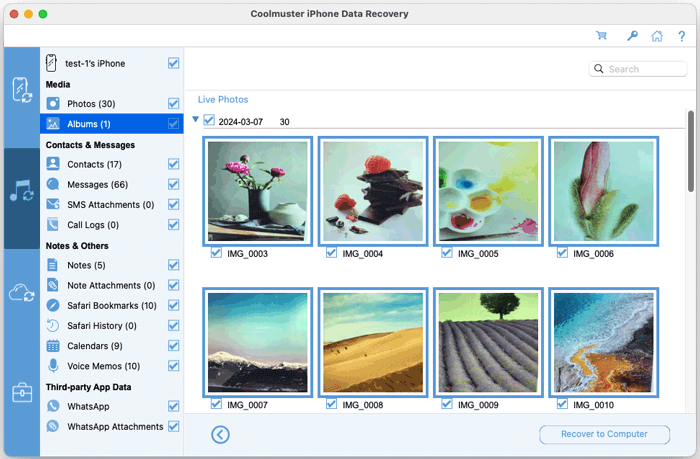
Albums: Select and extract existing photos and videos in albums.
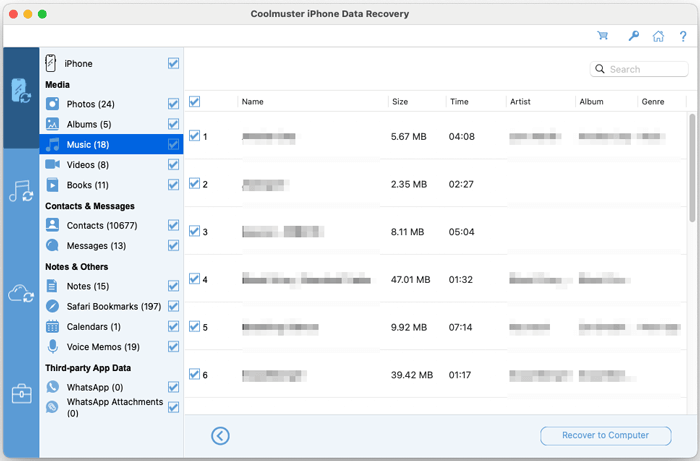
Music: Select and extract existing music from iOS device directly.
Videos: Select and extract existing videos from iOS device directly.

Books: Select and extract existing books from iOS device directly.

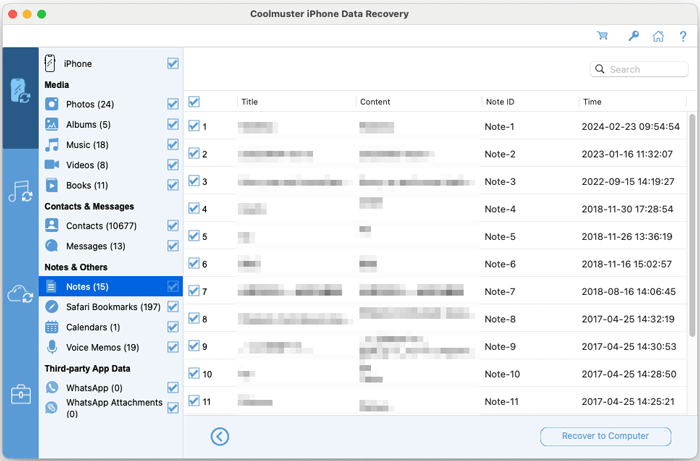
Notes: Select and extract existing notes from iOS device directly.
Safari Bookmarks: Select and extract existing Safari bookmarks from iOS device directly.
Calendars: Select and extract existing calendars from iOS device directly.
Voice Memos: Select and extract existing voice memos from iOS device directly.

WhatsApp Messages: Select and extract existing WhatsApp messages from iOS device directly.
WhatsApp Attachments: Select and extract existing WhatsApp attachments from iOS device directly.
Part 2: Extract Data from iTunes Backup on Mac
If you have a local iTunes backup on your Mac, you can restore specific data from it without overwriting your current device. Launch the software and select the "Recover from iTunes Backup File" mode.
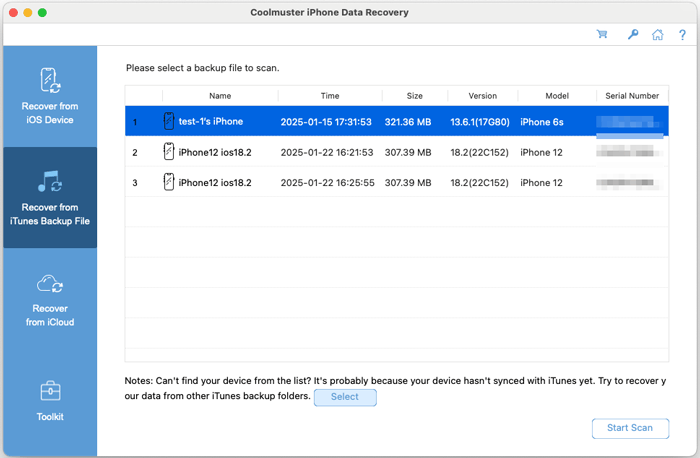
Step 1: Locate and Select Your iTunes Backup
The software automatically scans for iTunes backups in the default location. Choose the relevant backup file from the list and click "Start Scan". If your backup is stored elsewhere, click "Select" to manually navigate to its location.
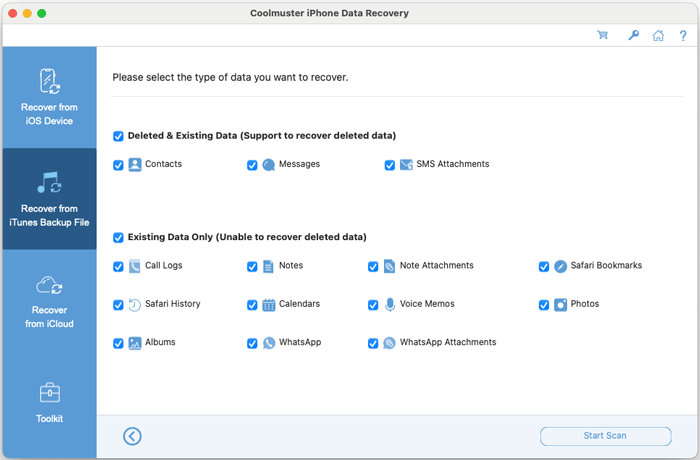
Step 2: Choose File Types and Scan
Compatibility Note: Call history and Safari history recovery are not supported for backups created by iOS 10 and later.
Select the data categories you wish to extract from the backup, then click "Start Scan" to begin analysis.
Step 3: Preview and Recover Selected Items
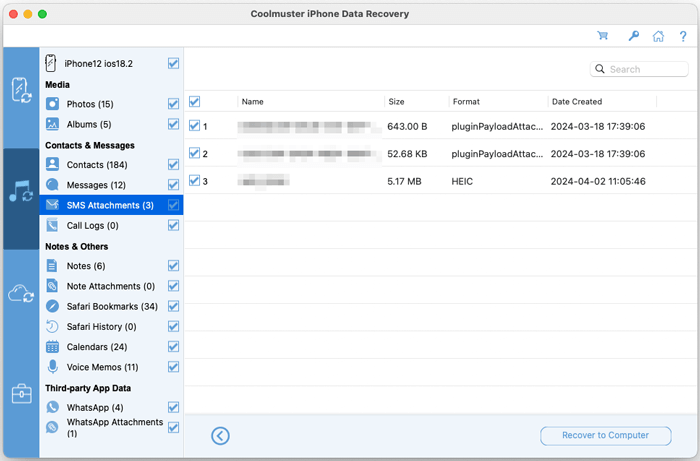
Browse the scanned backup contents. You can preview items within each category before recovery. Select the specific files or entire categories you need, then click "Recover to Computer" to save them to your Mac.
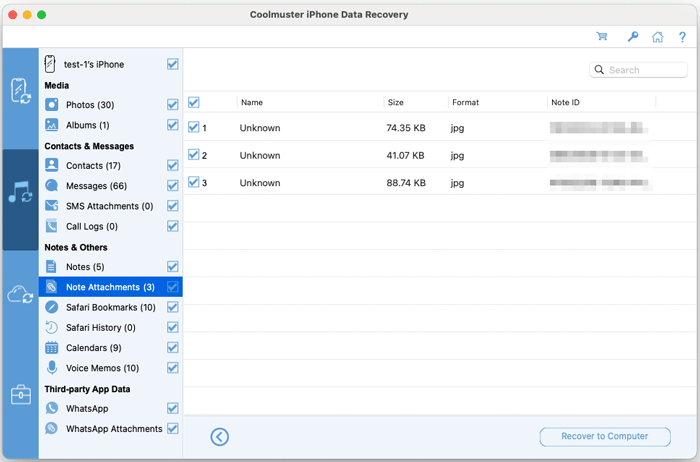
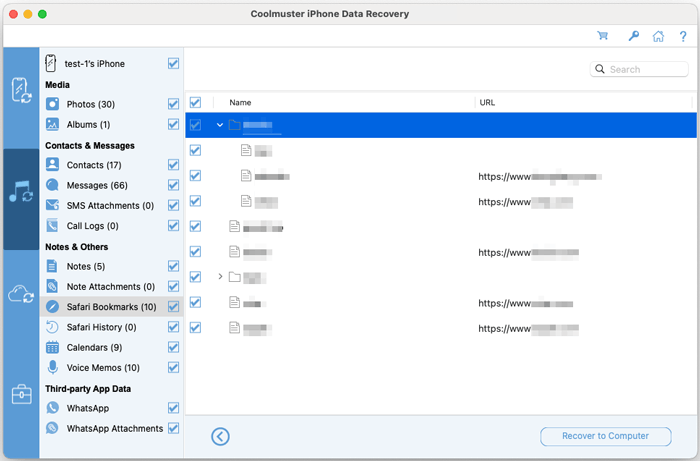
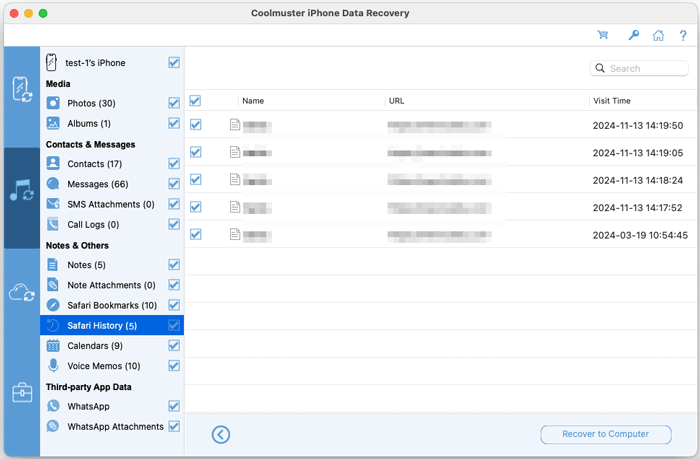
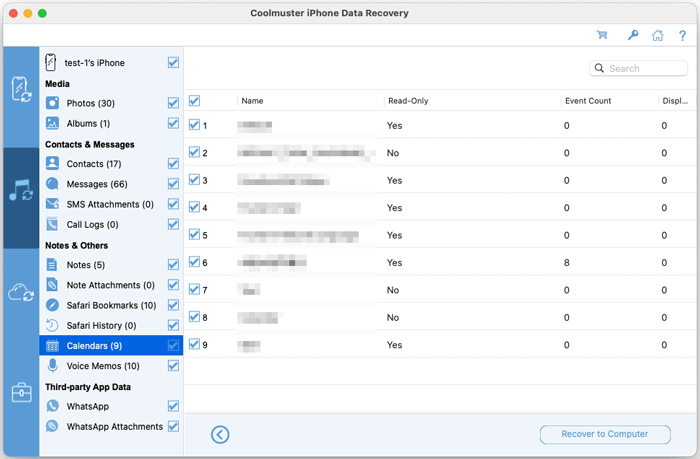
Sample Previews from iTunes Backup: Contacts, Messages, SMS Attachments, Call Logs, Albums, Notes, Note Attachments, Safari Bookmarks, Safari History, Calendars, Voice Memos, WhatsApp data, WhatsApp Attachments, and more.
Contacts: Select lost or existing contact entries from iTunes Backup.
Messages: Select lost or existing messages from iTunes Backup.
SMS Attachments: Select lost or existing SMS attachments from iTunes Backup.
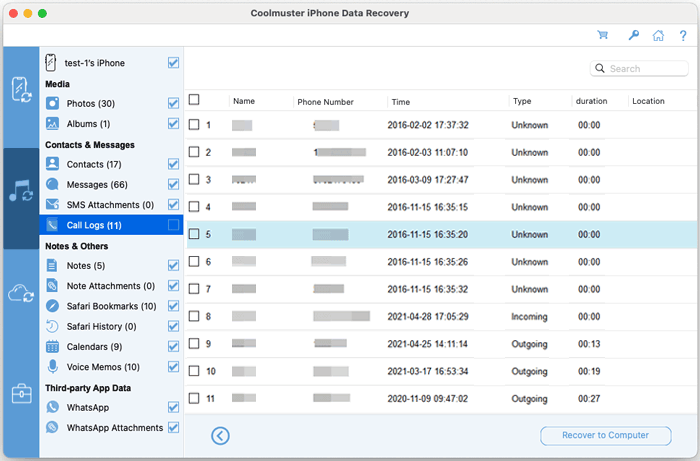
Call Logs: Select and extract existing call logs from iTunes Backup.
Albums: Select and extract existing photos and videos in albums from iTunes Backup.
Notes: Select and extract existing notes from iTunes Backup.

Note Attachments: Select and extract existing note attachments from iTunes Backup.
Safari Bookmarks: Select and extract existing Safari bookmarks from iTunes Backup.
Safari History: Select and extract existing Safari history from iTunes Backup.
Calendars: Select and extract existing calendars from iTunes Backup.
Voice Memos: Select and extract existing voice memos from iTunes Backup.
WhatsApp: Select and extract existing WhatsApp messages from iTunes Backup.
WhatsApp Attachments: Select and extract existing WhatsApp attachments from iTunes Backup.

Part 3: Download Data from iCloud Backup to Mac
Retrieve files directly from your iCloud backup without restoring the entire backup to your device. Select the "Recover from iCloud" mode to begin.
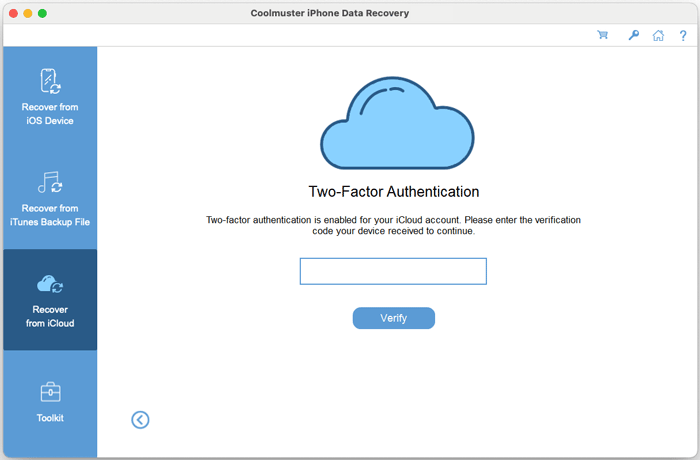
Step 1: Sign in to Your iCloud Account
Enter your Apple ID and password to log in securely within the software.

Security Note: If you have two-factor authentication enabled, enter the verification code sent to your Apple devices when prompted.
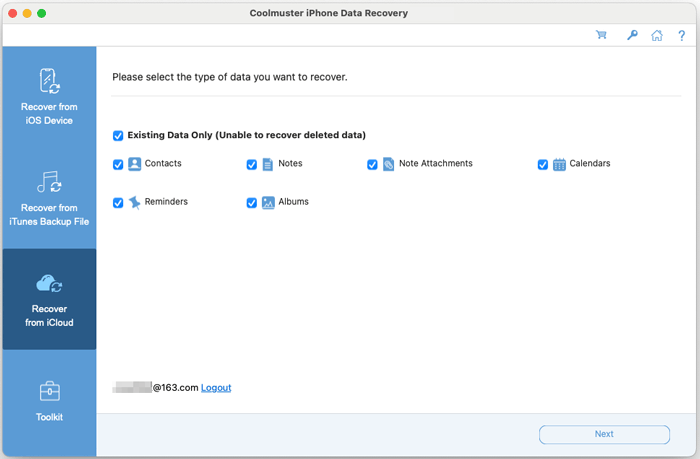
Step 2: Select Data Types to Scan
After signing in, select the types of data you want to scan for and download, then click "Next" to proceed.
Step 3: Download Files to Your Mac
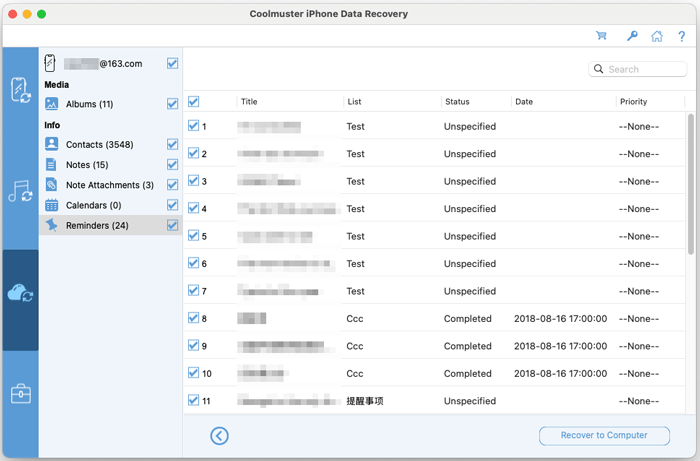
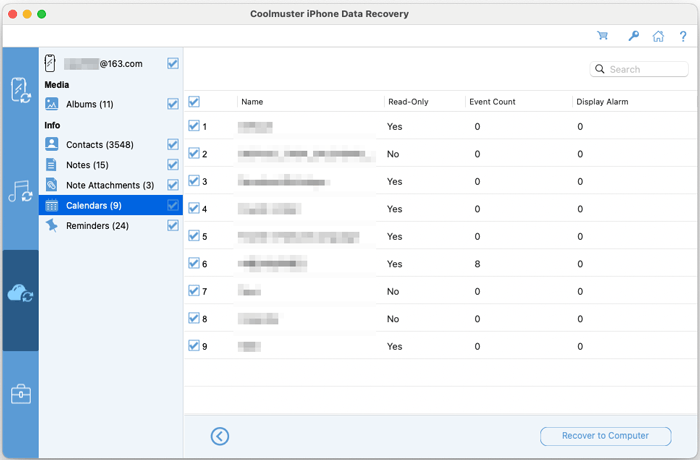
Preview the available data from your iCloud backup. Select the specific files or folders you need, then click "Recover to Computer" to download and save them directly to your Mac's hard drive.
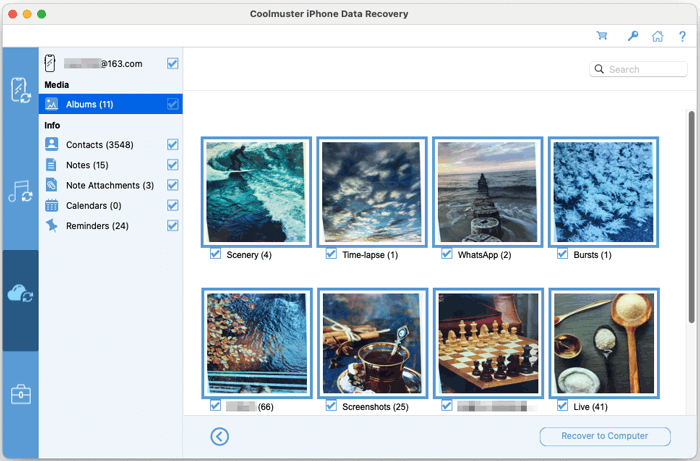
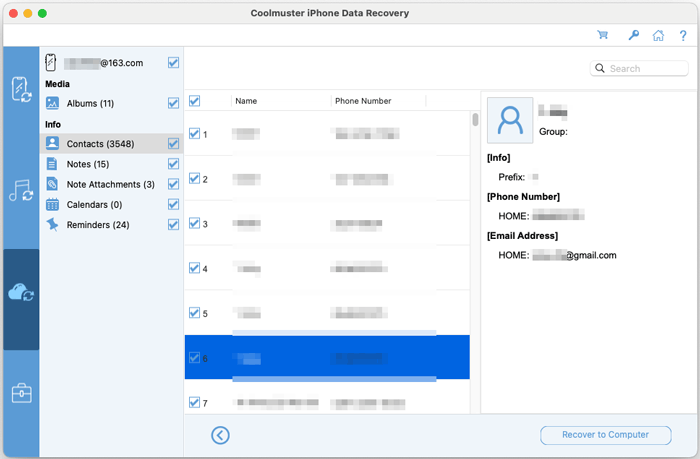
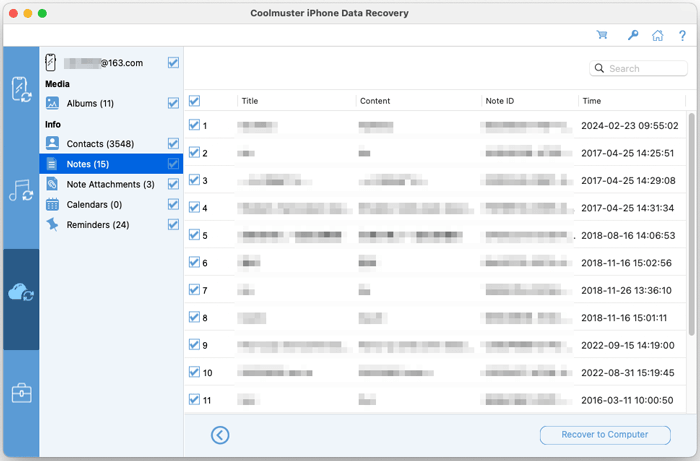
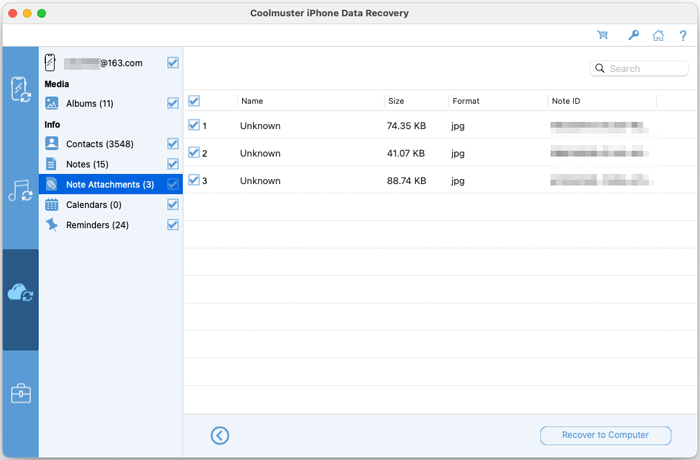
Sample Previews from iCloud Backup: Contacts, Notes, Note Attachments, Calendars, Reminders, and more.
Contacts: Select and extract existing contacts from iCloud Backup.
Notes: Select and extract existing notes from iCloud Backup.
Note Attachments: Select and extract existing note attachments from iCloud Backup.
Calendars: Select and extract existing calendars from iCloud Backup.
Reminders: Select and extract existing reminders from iCloud Backup.