Coolmuster Android Eraser Online Help
Coolmuster Android Eraser allows you to erase all data on Android device with 1 click. After erasing, all files will be completely and permanently wiped, leaving no opportunity for recovery - even with third-party recovery tool. Now, you can check the step-by-step guide to use Coolmuster Android Eraser.
Video Tutorial: How to Use Coolmuster Android Eraser
Part 1. Make Your Android Device Recognized by the Program
Before wiping your device, you need to connect your Android phone to the computer and let the program recognize it. You can connect your device via either USB cable or Wi-Fi.
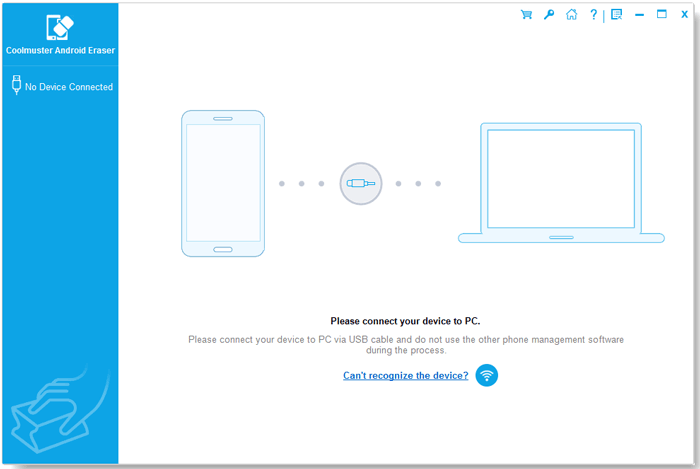
When you launch Coolmuster Android Eraser before connecting a device, you will see the primary interface below:
Method 1: Connect Android to Computer via USB Cable
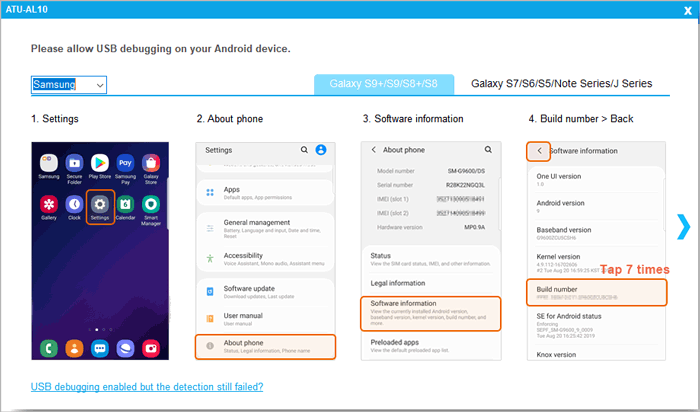
(1) Enable USB Debugging: Launch the program and connect your Android phone to the computer using an official USB cable. If USB debugging is not enabled, follow the on-screen prompts, or check this guide on how to enable USB debugging mode on Android devices.
(2) Driver Installation: The program will automatically initialize your device and install the required driver.
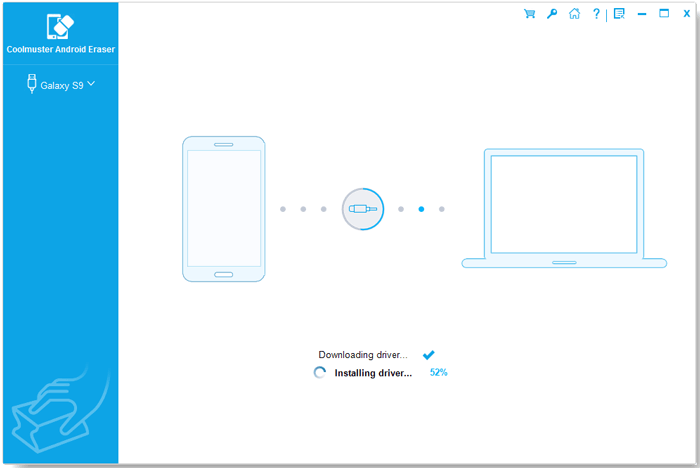
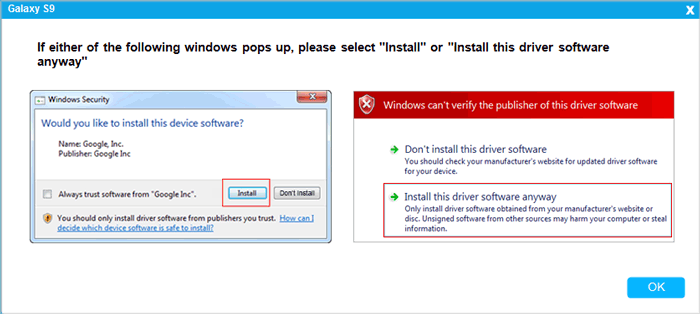
Tips: If Windows driver prompts appear, click "Install" or "Install this driver software anyway" to complete driver installation.
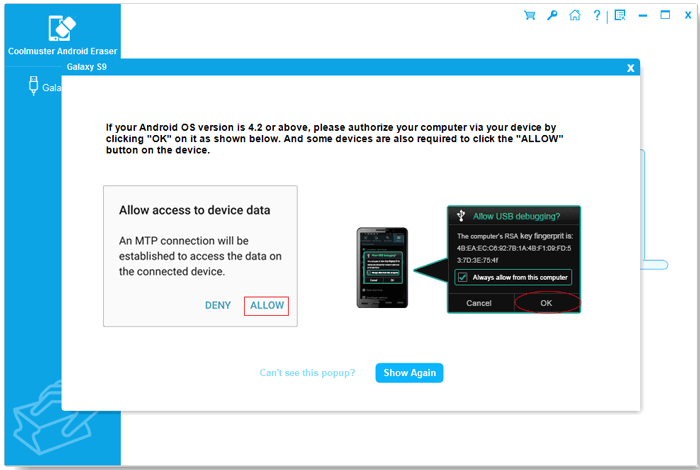
(3) Authorize Computer Connection: For Android 4.2 or higher, tap "ALLOW" or "OK" on your phone screen when prompted to authorize access. If the popup does not appear, click the "Show Again" button on the computer program interface.
(4) Connection Completed: The Coolmuster Android Assistant App will automatically be installed on your device to establish the connection. Once connected, your device information will display on the screen.
Method 2: Connect Android to Computer via Wi-Fi
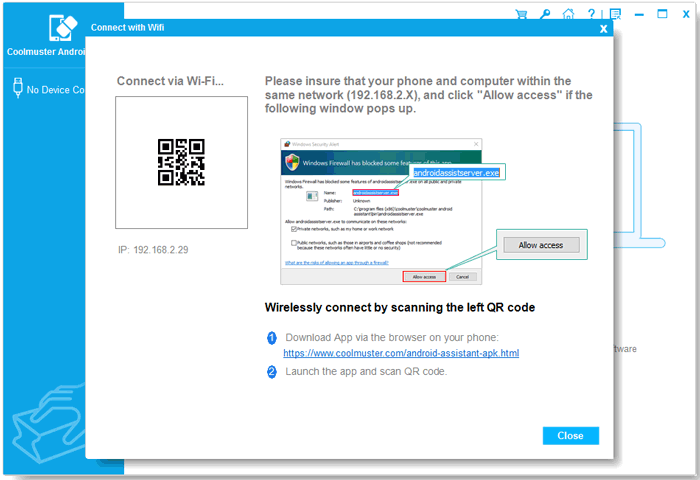
Wi-Fi Connection Steps: Launch the program > Click the Wi-Fi icon  > Download and install Coolmuster Android Assistant (Android Version) on your phone > Open the app on your phone and scan the QR code displayed on the PC screen > Connected successfully. (Check detailed Wi-Fi connection steps here >>)
Troubleshooting: Still having connection issues? Please check what to do if the program does not recognize your Android device.
Part 2. How to Erase All Data on Android Device with 1-Click
Important Before Erasing:
1. Data erased by this tool is 100% unrecoverable. Please make sure to back up your important files before proceeding.
2. Do NOT disconnect your Android phone from the computer until the entire erasing process is complete.
Step 1. Click "Continue" to Begin
Once your Android phone is recognized, click the "Continue" button to start.
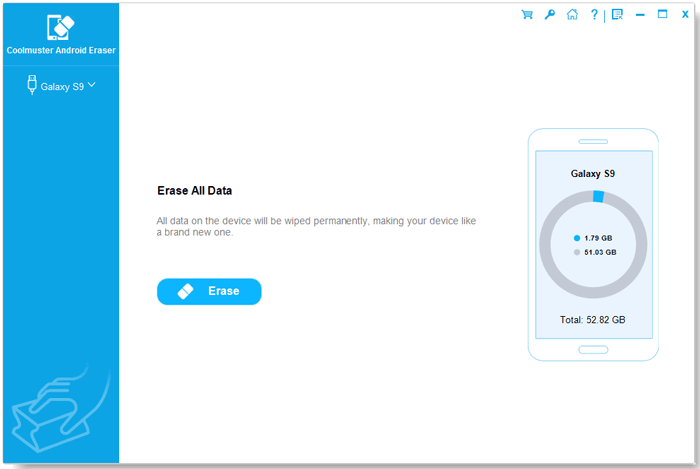
Step 2. Choose and Confirm Security Level
(1) Click the menu beside Security Level to choose your preferred erasing level.
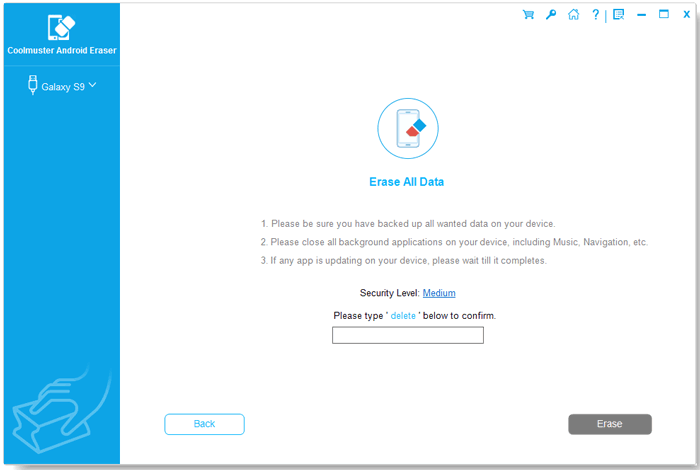
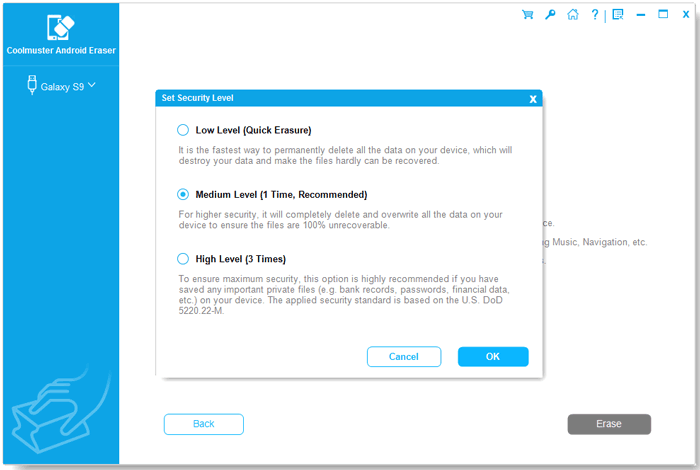
(2) Select one of the security options: Low Level, Medium Level, or High Level, and click "OK" to confirm. Type the word "delete" into the input box to confirm your action, then click "Erase".
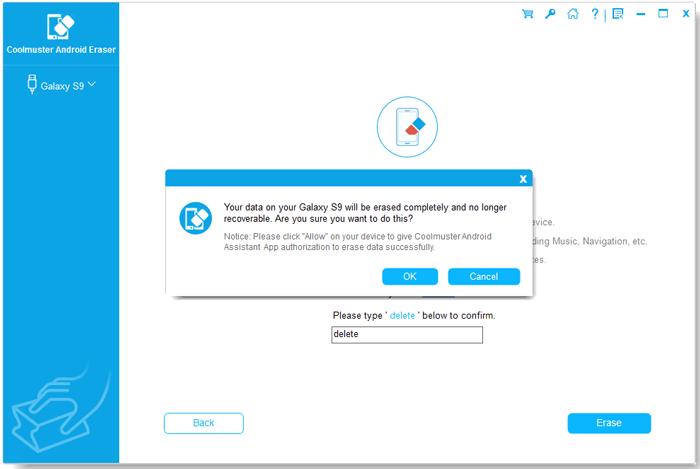
(3) When the confirmation window pops up, click "OK" to continue.
Step 3. Restore Your Phone to Factory Settings
To improve erasure speed and efficiency and reduce the risk of data recovery, it is highly recommended to reset your device to factory settings first.
Situation 1: The device has NOT been reset yet
(1) Choose "No, the device has not been reset." if it is true, and click "Next" to continue.
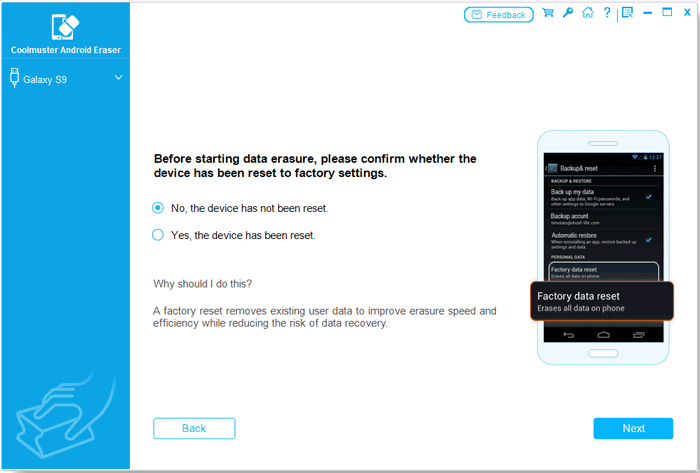
(2) Follow the onscreen guide to factory reset your Android phone. During the factory reset, your phone will restart and disconnect; please DO NOT close the program in case of the erasing process being interrupted.
After restarting, please complete the activation and setup, then reconnect your phone to the program to continue.
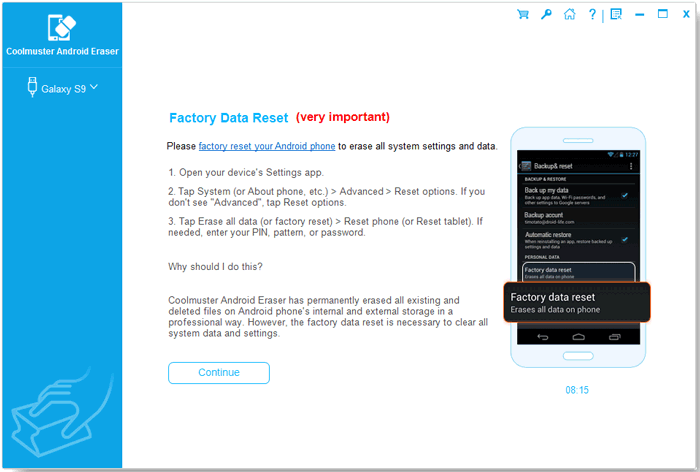
(3) Once your phone has been reconnected to the program, click "Continue" and rechoose your preferred erasing level and retype the word "delete" into the input box to confirm your action.
(4) You can now select "Yes, the device has been reset" to proceed. When the pop-up window asking you to confirm the wipe operation appears, click the "OK" and "Next" buttons.
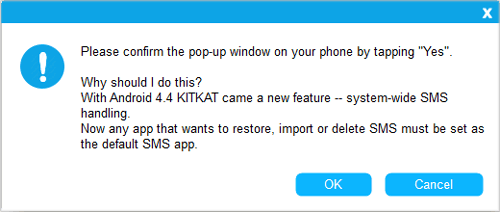
(5) When the prompt appears on your phone, tap "Yes" or follow the on-screen instructions to set Coolmuster Android Assistant as the default SMS app, thereby authorizing the program to delete text messages from the device. Once done, tap the "OK" and "Next" buttons to proceed.
Situation 2: The device HAS already been reset
(1) Choose "Yes, the device has been reset." A prompt will pop up to ask you whether you are sure to completely erased your phone data, click "OK" and "Next" button to continue.
(2) When prompted on your phone, tap "Yes" or follow the onscreen prompts to set the Coolmuster Android Assistant app as your default SMS app, authorizing the program to delete SMS messages from your device. once done, click "OK" and "Next" button to continue.
Step 4. Deep Scanning, Erasing, and Data Overwriting
(1) Scanning: The program will conduct a quick and deep scan of your Android device files.
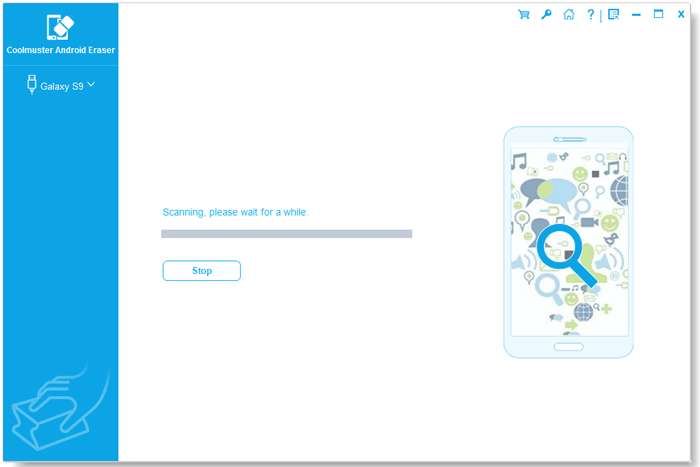
(2) Erasing: Right after scanning, the program immediately starts erasing device data.
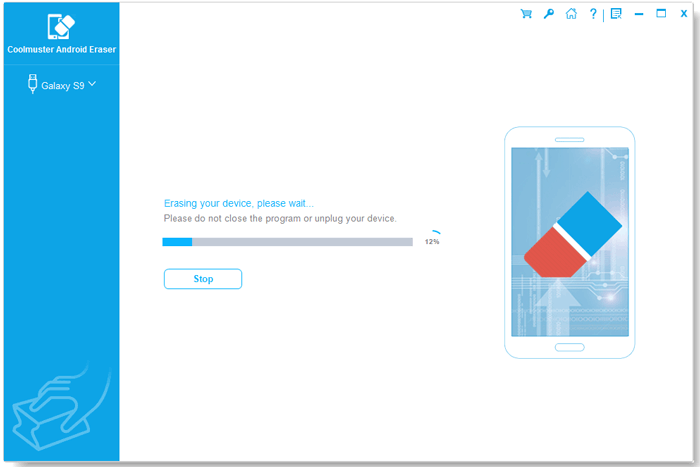
(3) Overwriting: Once erased, the software overwrites your device storage to render erased files completely unrecoverable.
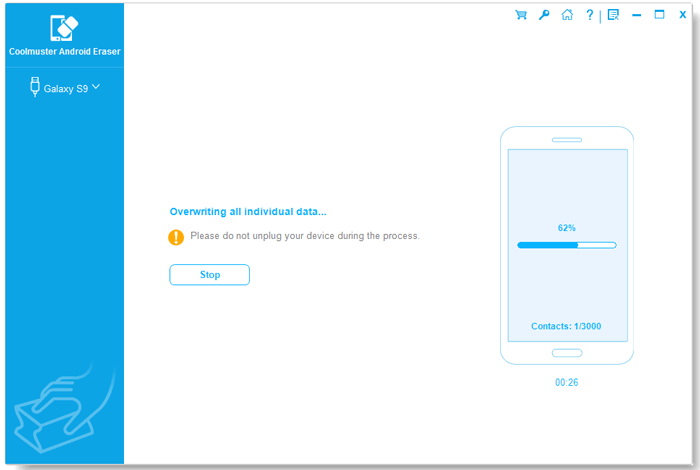
(4) Done: When completed, all Android phone data will be permanently deleted with zero possibility of recovery.
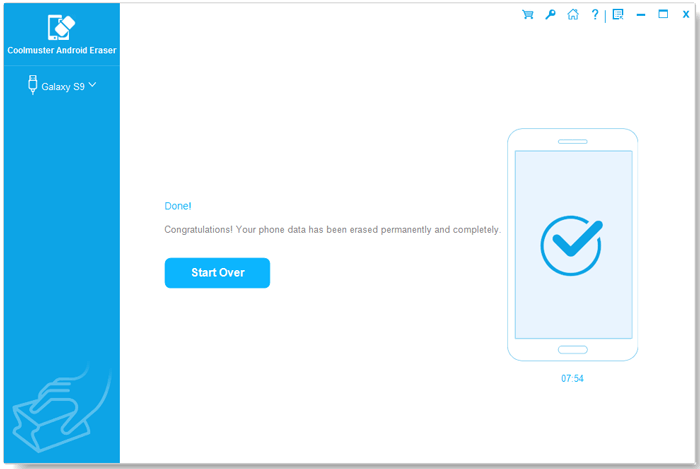
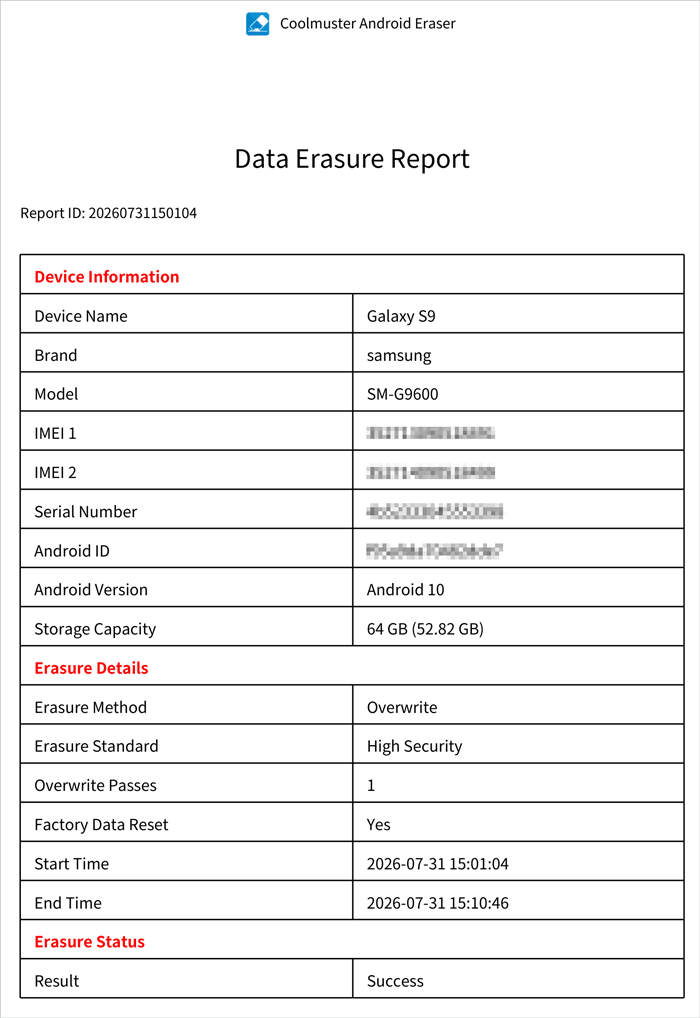
(5) Optional: You can click "Save Report" to export an erasure report to your PC. This document records details such as device info, erasure standard, overwrite passes, erasure result, erasure method, and more.