Coolmuster Screen Recorder Online Help
This guide shows you how to use Coolmuster Screen Recorder - a simple, privacy-focused screen recording tool for Windows. You'll learn the two core functions: recording your screen, and taking screenshots. All processing stays on your device. No uploads, no watermarks after registration, no time limits.
Choose the section that fits your need:
Part 1. How to Record Screen on Windows with Audio
Part 2. How to Take Screenshots on Windows
Video Tutorial:
Part 1. How to Record Screen on Windows with Audio
Record your full desktop, a specific window, or any custom region in stunning high quality resolution. Choose to record either system audio or your microphone. Or record with no audio at all. Videos save as MP4 locally. Private, secure, and watermark-free after registration.
Steps to Record Your Screen with Audio:
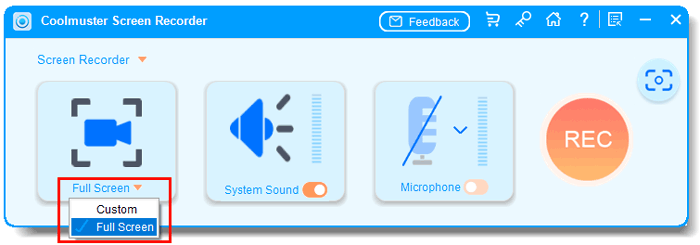
Step 1. Launch Coolmuster Screen Recorder. Select your recording area: choose "Full Screen", or "Custom".
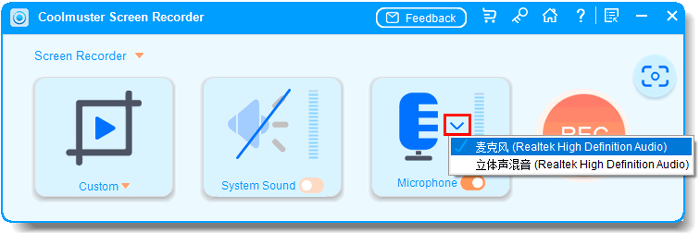
Step 2. Set your audio source. Use the toggles for System Sound and Microphone. You can turn on only one of them, or turn both off for silent recording. For example, enable system sound for gameplay, or microphone only for voiceover tutorials.
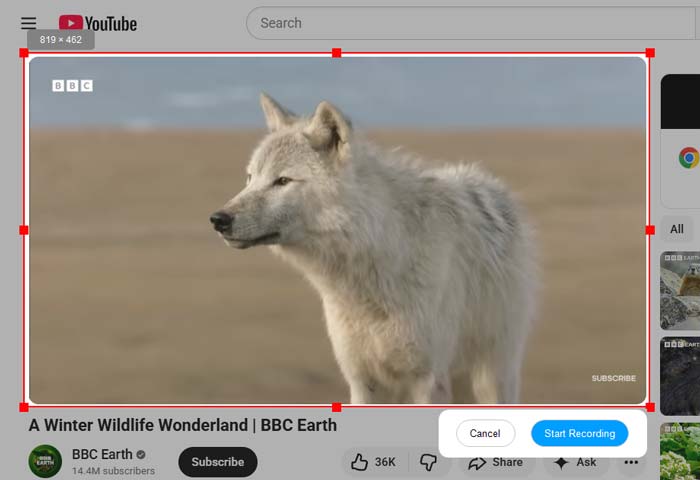
Step 3. Click the orange REC button, then click Start Recording when prompted. A short countdown will begin before you perform your on-screen actions.
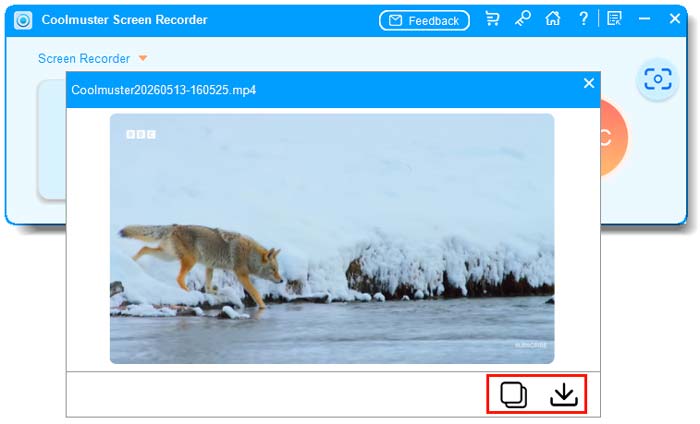
Step 4. Click Stop Recording when finished. The video processes locally and can be saved as an MP4 file to your chosen folder.

You can also click the Copy button to duplicate the video for quick sharing.
Part 2. How to Take Screenshots on Windows
Take a screenshot based on your selected capture mode. If you chose "Full Screen" on the main interface, the software captures your entire screen instantly. If you chose "Custom Region", you can drag to select any area. Before saving, use simple editing tools to annotate or highlight. Then save or copy the screenshot as needed.
Steps to Take a Screenshot:
Step 1. On the main interface, select either Full Screen or Custom as your capture mode. Then click the Screenshot icon (top-right) or press its hotkey (e.g., Win + Shift + X).

Step 2. Confirm the capture area you need.
- For Full Screen mode: The entire screen is captured immediately.
- For Custom Region mode: Your screen dims; click, hold, and drag to select the rectangular area you want. The selector shows width and height in pixels as you drag.
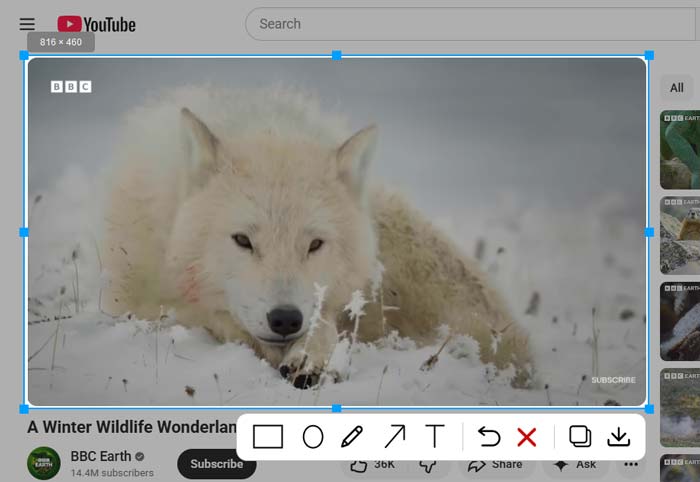
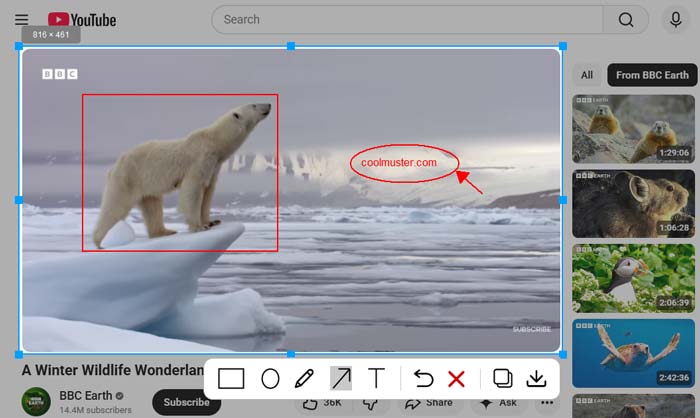
Step 3. A preview window appears. Use the simple editing tools (draw, arrow, text, highlight, etc.) to annotate your screenshot.
After editing, choose to Save the screenshot as a PNG, JPG/JPEG, or BMP file to your local disk, or click Copy to paste it directly into documents, emails, or chat apps. Both options are available.