Coolmuster Android Eraser for Mac Online Help
Coolmuster Android Eraser for Mac permanently wipes all Android device data with one click. After erasure, all files become irrecoverable - even professional recovery tools cannot restore them. Follow this step-by-step guide to securely erase Android devices using your Mac.
Part 1. Connect Android Device to Your Mac
Part 2. Wipe All Data on Android Phone with 1-Click
Video Tutorial
Part 1. Connect Android Device to Your Mac
Before erasing data, ensure Coolmuster Android Eraser detects your Android device. Connect via USB cable or Wi-Fi following these methods:
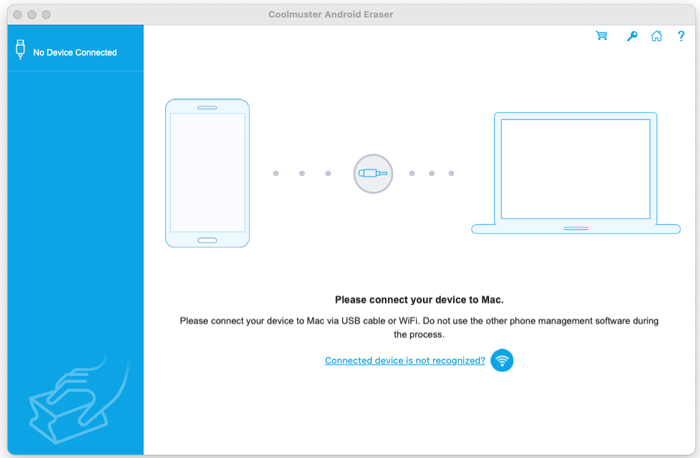
When launching the program without device connection, you'll see this interface:
Tips: The software can't be opened because it is from an unidentified developer? Here is how to fix.
- USB Connection Method
(1) Launch the software and connect your Android device using a USB cable. Enable USB debugging when prompted based on your Android OS version. Follow the on-screen instructions or use this quick USB debugging activation.
The program will automatically initialize your device and install necessary drivers.

(2) For Android 4.2+, tap "ALLOW" or "OK" on your device to grant access. If the prompt doesn't appear, click "Show Again" in the program.

(3) Coolmuster Android Assistant (Android version) will automatically install on your device to establish connection.
Once recognized, your device information will display and you can proceed with data erasure.
- Wi-Fi Connection Method
Launch program > Click Wi-Fi icon ![]() > Install Coolmuster Android Assistant (Android Version) > Open app and scan QR code > Connection established. Detailed Wi-Fi connection guide >>
> Install Coolmuster Android Assistant (Android Version) > Open app and scan QR code > Connection established. Detailed Wi-Fi connection guide >>

Still failed to connect? See troubleshooting unrecognized Android devices.
Part 2. Wipe All Data on Android Phone with 1-Click
Important Notes:
a. Back up important Android data before proceeding - erased data cannot be recovered.
b. Maintain device connection throughout the entire process.
Step 1. Initiate Erasure Process
After successful connection, click the "Continue" button on the interface below:

Step 2. Configure Security Level
(1) Click the Security Level dropdown menu to select erasure intensity.

(2) Choose desired security level: Low, Medium, or High. Click "OK" to continue.

(3) Type "delete" for confirmation and click "Erase". Confirm permanent deletion when prompted by clicking "OK".

(4) Authorize SMS deletion by tapping "Yes" on your device when prompted.

Step 3. Execute Android Data Erasure
(1) The program will scan your device to locate all data. After scanning, immediate Android data erasure begins.

(2) Data overwriting follows erasure for permanent removal.

Note: Higher security levels perform more overwrite passes (High: 3 passes, Medium/Low: 1 pass), affecting processing time.
Step 4. Perform Factory Reset
After erasure, factory reset your device via Settings for complete system wipe.
Important: Please restore default SMS app on your phone as prompted.

After factory resetting your device, click "Continue" in the program:

Upon completion, all data becomes permanently unrecoverable. Your device is now ready for new setup.

