TL;DR:
We provides a comprehensive review of iMyFone D-Back for Windows, a popular data recovery software.
Data loss is something nearly every computer user experiences. Whether it's from accidental file deletion, hard drive formatting, partition loss, or external storage device issues, these incidents can leave you unable to access important data. To tackle this, many data recovery tools have emerged, with iMyFone D-Back for Windows being one of the most popular choices.
In this iMyFone D-Back for Windows review, we'll evaluate iMyFone D-Back for Windows from various angles - its features, pricing, pros and cons, and user feedback - helping you decide if it's the right tool for your data recovery needs.
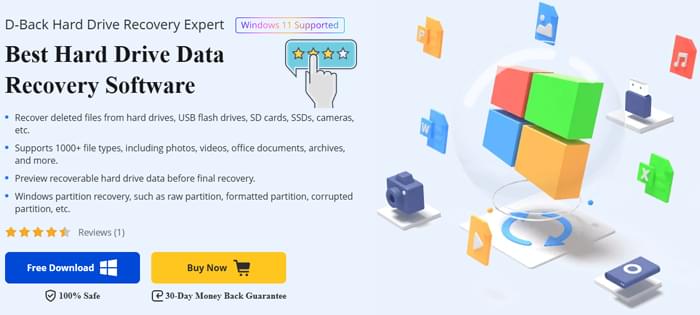
iMyFone D-Back for Windows is a data recovery software program designed for Windows users to recover lost or deleted data from various storage devices like hard drives, USB drives, SD cards, and even cameras. The tool is suitable for personal users and provides a business version for enterprises.
The software supports recovering multiple file types from various data loss scenarios, and it comes with an easy-to-use interface that makes it accessible even for users without a technical background.
Supports recovery from hard drives, USB drives, SD cards, SSDs, cameras, and other external storage devices.
Including photos, videos, documents, archives, and more.
You can preview recoverable files before restoring them to ensure accuracy.
Can recover lost, formatted, or damaged Windows partitions.
It can repair corrupted video files from cameras, drones, action cams, dash cams, and SD cards.
The process of using iMyFone D-Back for Windows is simple and straightforward. Follow these steps to recover your lost data:
Step 1. Download and Install the Software
Download the appropriate version of iMyFone D-Back for Windows. Double-click the downloaded file and follow the on-screen instructions to complete the installation. Once installed, launch the program.
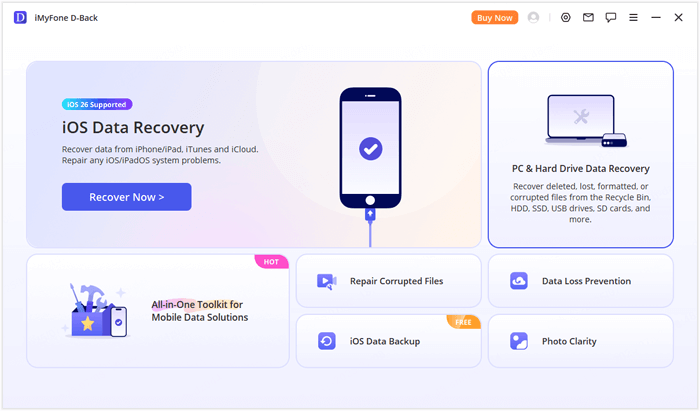
Step 2. Select the Recovery Mode
Once the program is open, choose the "PC & Hard Drive Data Recovery" option from the main interface. This will bring up a list of all available drives and partitions on your computer.
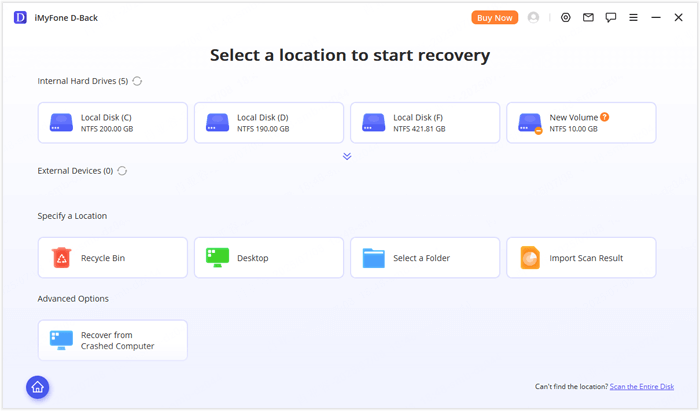
Step 3. Select the Location to Recover Data From
Choose the specific drive or partition you want to recover data from. If the desired partition is not listed, you can opt to "Scan the Entire Disk" to search for hidden or missing partitions.
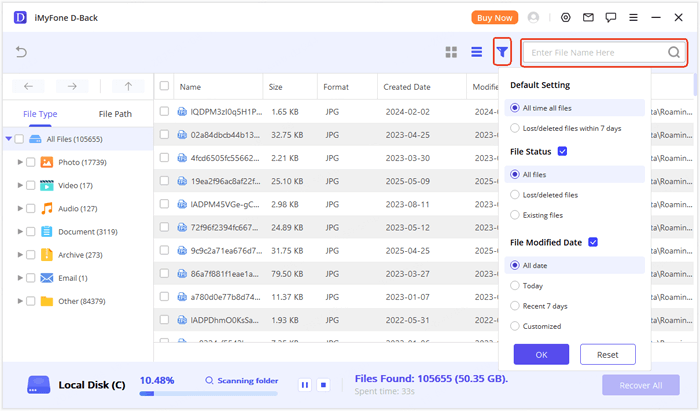
Step 4. Scan for Lost Data
The software will begin scanning the selected location. During the scanning process, files are organized by type and path, making it easier to locate the files you're looking for. You can also use the search and filter functions to speed up the process.
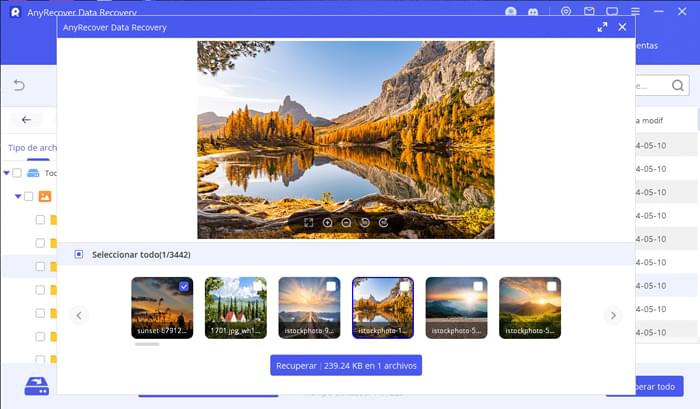
Step 5. Preview and Recover Files
Once the scan is complete, you can preview the files. If you find the files you want to recover, click on them to preview. If the preview looks good, click "Recover" to restore the files to your computer or an external storage device.
iMyFone D-Back for Windows offers both a free version and paid plans. The free version allows users to scan and preview recoverable data, but the actual data recovery is limited to 100MB, making it more suitable for testing the recovery capabilities.
For paid plans, iMyFone offers different licensing options for individuals and businesses.
Individual Plans:

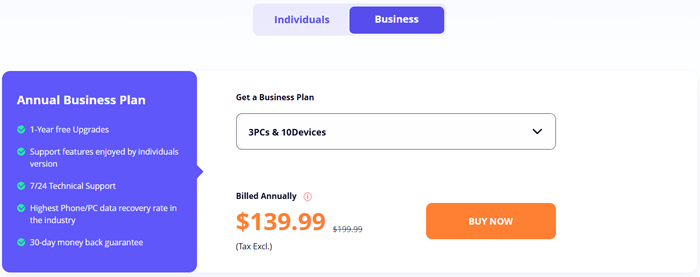
Business Plans:
Business plans are priced based on the number of devices, starting at $139.99 per year, making it ideal for companies or tech teams that need to recover data from multiple devices.
iMyFone D-Back for Windows offers several key advantages, but it also has a few limitations. Let's break it down:
Pros
Cons
Many users have praised iMyFone D-Back for its effectiveness in recovering deleted files and its easy-to-use interface. Here are a few real reviews from users:
"The software supports over 20 data types, ensuring that you will be able to recover not just your images, but also a wide range of other file types such as videos, office documents, archives, and more."
"It appears to be effective. It is the most effective method for recovering deleted photos or movies on Windows. It helped me regain my photographs after I purchased it last week. After trying the trial version and seeing that it really displayed my lost photos after scanning, I decided to buy it. Glad that it works! Thank you!"
"The scanning time was a bit slow on my 1TB hard drive, but it did find my lost files and saved them. The free version could use more functionality, though."
While iMyFone D-Back is a popular and effective data recovery tool for Windows, there are other alternatives worth considering. One such option is Coolmuster Data Recovery, which provides similar functionality but may be more cost-effective for users with specific needs.
Key features of Data Recovery:
How to use the iMyFone D-Back for Windows alternative?
01Download and install the appropriate version of Data Recovery for your operating system (Windows or macOS). Connect the storage device from which you want to recover data, and then launch the program.
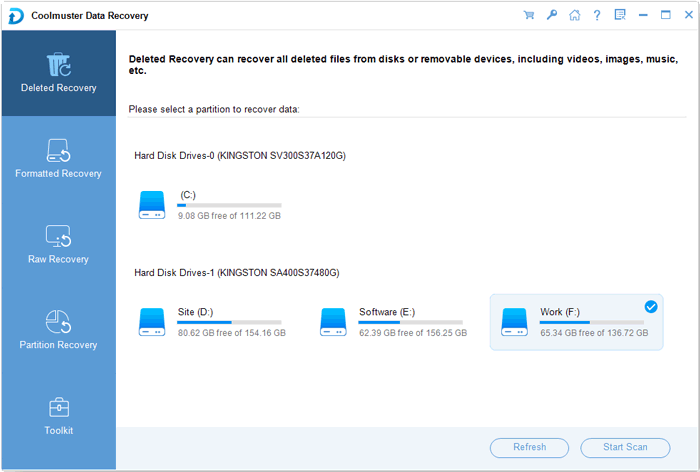
02On the left panel of the interface, choose the "Deleted Recovery" mode. Then, select the specific partition or device you want to scan and click the "Start Scan" button to begin the scanning process.
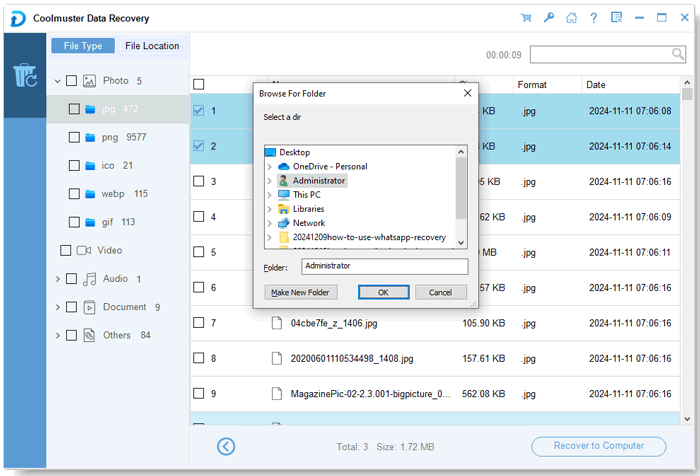
03Once the scan is complete, all recoverable files will be displayed. Use the filter options to sort the files by type or location, making it easier to locate the files you want to restore.
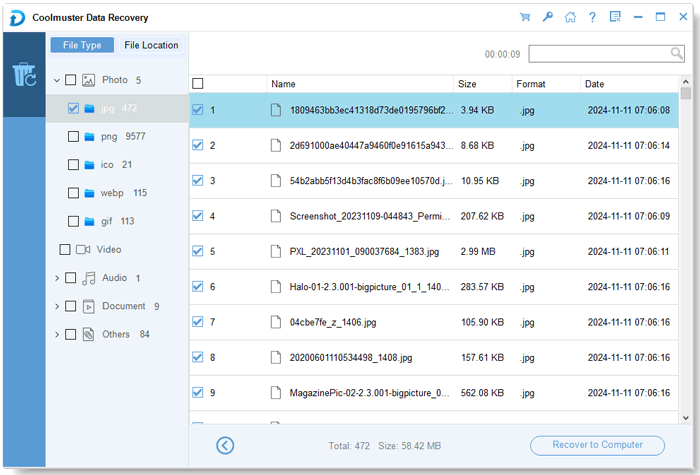
04Select the files you want to recover and click the "Recover to Computer" button. Choose a safe location to save the recovered files (make sure not to recover them to the same device) and click "OK" to start the recovery process.
If you'd like to see the process in action, check out our detailed video tutorial below to guide you through the entire recovery procedure.
Overall, iMyFone D-Back for Windows is a reliable data recovery tool that covers a wide range of devices and file types. Its preview feature and ease of use make it a good option for personal data recovery needs, although the free version's limitations and the pricing for business plans might be concerns for some users.
For those looking for a solid alternative, Coolmuster Data Recovery offers a competitive feature set and might be more suitable for users on a budget. Try the free versions of both tools and see which one meets your needs better.
Related Articles:
How to Recover Deleted PNG Files: Practical Solutions to Rescue PNG
How to Recover Data from Lexar SD Card: Complete Guide 2026
How to Perform Pen Drive Data Recovery with 4 Methods [2026]
FonePaw USB Data Recovery Review - The Useful Data Recovery Tool


 Free Download for PC
  Free Download for Mac

