We know that the Nexus 10 is a popular tablet PC that developed by two famous Android manufacturers all over the world - Google and Samsung. It is no doubt that Nexus 10 have provided users with lots of surprising during the using. But for some specific reasons, you may still wish to root the Nexus 10 for owning more rights while you're using it. For example, every tablet has its limited storage space, the more files you have saving on the device, the less space you'll leave in the future. Thus, you wish to uninstall the pre-installed apps to get more space; Or you wish to update the device to the latest Android operating system. Even though there are so many reasons that result in rooting your Nexus 10 here, but many people are afraid of putting the device into brick or losing data after the rooting. Actually, things are not hard and horrible like you imagine. In this article, we'll recommend two different methods to help you root Nexus 10 step by step. You can compare them and decide which one is better according to your own needs.
Method 1. Root Google Nexus 10 with OneClickRoot
Method 2. Rooting Nexus 10 with Nexus Root Toolkit
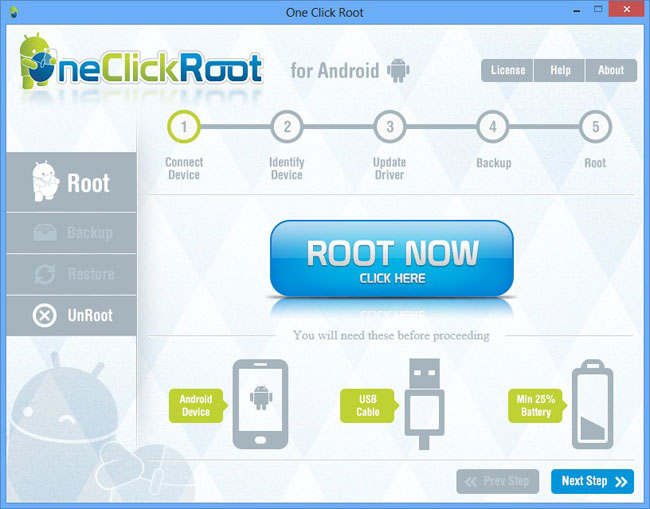
OneClickRoot is a desktop application, allows users to safely, easily and quickly root your Android devices with one simple click. With it, you'll find that rooting Android device is so easier than imagine. What's more, the program is not only useful for Google Nexus devices, but also works well with other Android devices, including Samsung Galaxy, HTC, LG, Motorola, Sony, etc. Now, just follow the below steps to start the whole process.
Step 1. Download and install OneClickRoot program on your PC or Mac, then connect the Nexus 10 to the computer with its USB cable.
Step 2. Enable USB debugging on your device, and then run OneClickRoot program on the computer, and click "Root Now" button to finish all remaining steps.
First of all, you need to download the latest Nexus Root Toolkit and install it on your computer. Here, you'll be required to choose your Nexus model and the Android build just like the below picture shows:
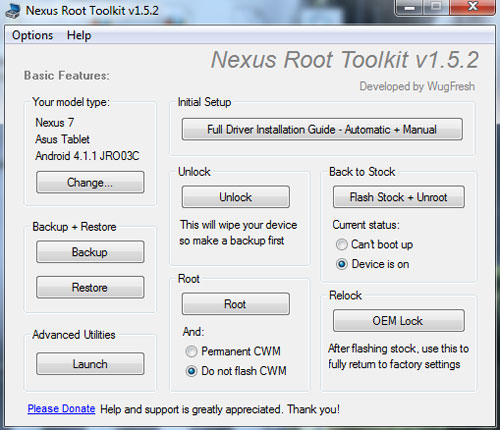
Here, you can directly choose Nexus 10 and the Android build, then continue the process until the program be successfully installed on your computer.
Secondly, please be sure the USB debugging have been opened. If not, you can go to the Settings to finish it. After that, you can use the USB cable to connect the Nexus 10 with your computer. And here you need to confirm the order of "Allow USB debugging" on your device.
Thirdly, click "Backup" button to backup your Nexus 10 before starting the whole process. Of course, if you have done it with other tool like Android Assistant, you can directly skip this step and click "Unlock" button to unlock the bootloader of your Nexus 10.
Finally, directly click on the "Root" button to root your Nexus 10.
Note: If you found something lost during the rooting process, you can find them from your backup file as you like, or you can use Coolmuster Lab.Fone for Android to get back the lost Android data.