The Benefits that Rooting the Nexus 9 Can Brings You
- Get the administrative rights and change and customize the tablet as you like.
- Remove the applications that were preinstalled by the carrier to free the memory space.
- It can make the battery life longer and performance better.
- You can update the operating system to the latest version.
Something You Should Know
1. This method is only suitable to Windows computer.
2. This will void the warranty of your tablet and you may face the risk of the rooting failure.
3. Backup all the files of your tablet before the process, because this will delete all your data in the tablet.
Tools You May Need
- Download and unzip CF-Root for Nexus 9 on your computer
- Download and unzip ADB and Fastboot tools on your computer.
Unlock the Bootloader on Your Nexus 9 before the Rooting Process
1. Save the data from ADB and Root Package on your computer.
2. Turn on your tablet and click Menu - Settings - About tablet buttons in turns, then tap on the Build number for 7 times and you will be the developer.
3. Head to Menu - Settings - Developer options on your device and enable OEM unlock, open the USB debugging.
4. Now you connect your tablet to the PC with a USB cable.
5. Hit the "Shift" on your keyboard and right click the blank area of the screen to choose Open command window.
6. Type in "adb reboot bootloader" to the Command Prompt Window and hit "Enter".
7. Reboot the device and your device will be in the bootloader mode.
8. Highlight the Fastbook USB button by using Power buttons and select it by using Power key. And the device will be in fastboot mode.
9. Input "fastboot oem unlock" into the Command Prompt Window and hit "Enter".
10. At last click "Confirm" and you will unlock the Bootloader.
Step 1, link the tablet to your PC when it is still in the bootloader mode. Input "fastboot boot inject.img" into the Command Prompt Window and hit "Enter". Then it will put SuperSU files into your device.
Step 2, your tablet will be back to the bootloader mode after that and again, input the "fastboot flash boot patched.img" into the Command Prompt Window, then it will flash the patched kernel for SuperSU to actually work.
Step 3, input the "fastboot reboot" command and reboot your device. Now you did it and your Nexus 9 is rooted now!
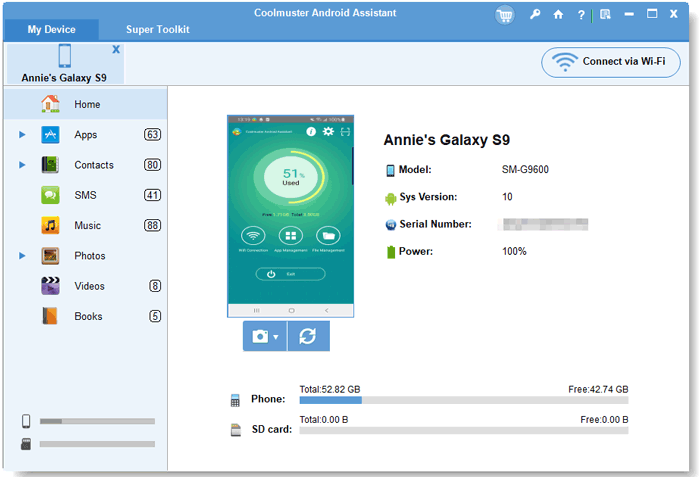
Congratulations! You successfully rooted your Nexus 9 and now you can manage your files freely. I recommend you a tool to help you - Coolmuster Android Assistant. With it, you can export all the files from your tablet to the computer or from PC to the device. The software can also support all brands of Android devices including Samsung, HTC, LG, Sony, etc with high compatibility.


 More Solutions
Mastering Nexus 9: The Ultimate Guide to Rooting and Expanding Your Tablet's Possibilities
More Solutions
Mastering Nexus 9: The Ultimate Guide to Rooting and Expanding Your Tablet's Possibilities


