TL;DR:
Many users want to access iPhone or iPad storage like a USB drive on Mac, but iOS doesn't offer a real Disk Mode.
Many users expect to plug their iPhone or iPad into a Mac and access it like a traditional USB drive, but Apple does not provide a true Disk Mode for iOS devices. Instead, file access is limited and managed through specific system tools. This guide explains what Disk Mode means in the iOS context and how it actually works on Mac. You will learn several practical ways to access, transfer, and manage iPhone files efficiently using Finder, iCloud Drive, and third-party solutions.
Many users expect to use iPhone or iPad as a USB drive when connected to a Mac, but Apple does not provide a real "Disk Mode" for iOS devices. Unlike traditional external storage devices, iPhones and iPads run a closed iOS system that restricts direct file system access for security and stability reasons. This means you cannot browse the full internal storage as a normal disk.
On Mac, there is no true Disk Mode for iPhone or iPad. Instead, macOS only allows limited access through Finder, iCloud, and specific apps, such as Photos or File Sharing. While people often search for "iPhone disk mode on Mac," what they actually need is a file management or data transfer solution rather than a real disk mounting feature.
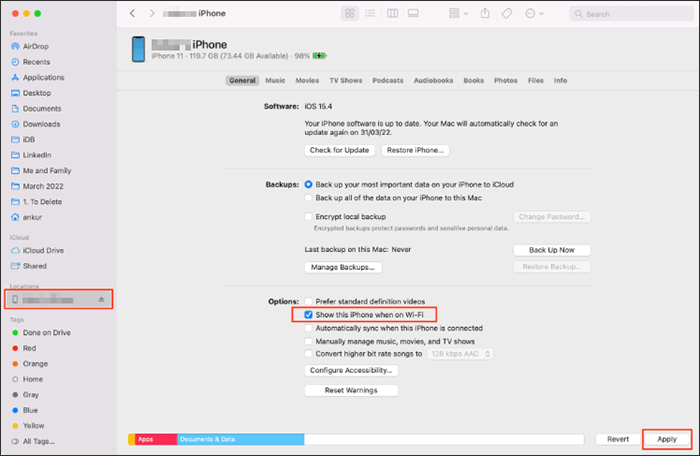
Finder is the default iPhone Manager tool on macOS for managing iPhone and iPad data, but it does not function like a real Disk Mode. Instead of showing full storage access, it only provides limited file transfer, backup, and sync options, which means users cannot browse the complete iOS file system as they would on a USB drive.
To access iPhone/iPad files on Mac via Finder, follow these steps:
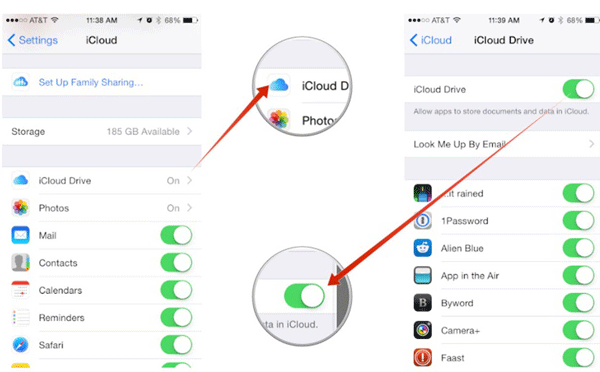
iCloud Drive is Apple's built-in cloud service that lets you transfer and access iPhone or iPad files on Mac without using a USB cable. It is commonly used as a wireless alternative when searching for "iPhone file transfer Mac" or "access iPhone files without cable," but it still relies on cloud syncing rather than direct disk-style access. (How to Use iCloud Drive on iPhone?)
To use iCloud Drive for wireless file transfer between iPhone/iPad and Mac, follow these steps:
When Mac Finder and iCloud Drive are not enough for full iPhone file access, a dedicated tool like Coolmuster iOS Assistant becomes a powerful Disk Mode alternative. It is designed for both Windows and Mac users who want to manage iPhone/iPad data more freely, allowing you to browse, transfer, and back up files in a way that feels closer to using a USB drive. This makes it especially useful for users searching for a practical "iPhone Disk Mode on Mac" solution.
Key features of Coolmuster iOS Assistant:
Free download Coolmuster iOS Assistant on your computer now:
How to access iPhone files on PC without iTunes:
01 Download and install Coolmuster iOS Assistant on your Mac. Connect your iPhone or iPad to the Mac using a USB cable. Launch the software and tap "Trust" on your device if prompted..
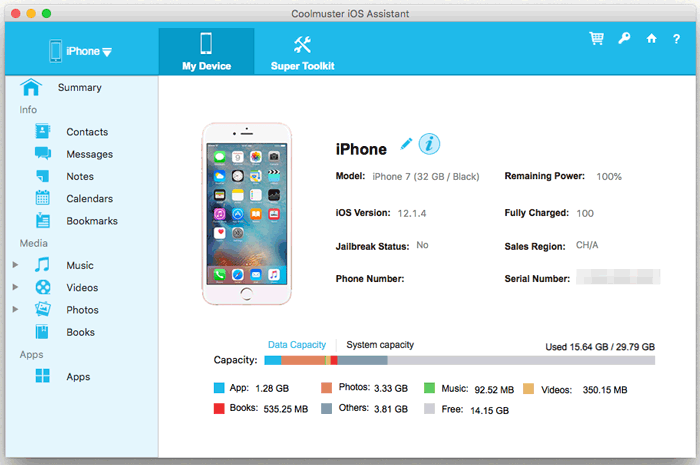
02 Wait for the software to detect your device, then preview and choose the data categories such as photos, messages, contacts, videos, and more from the left panel.
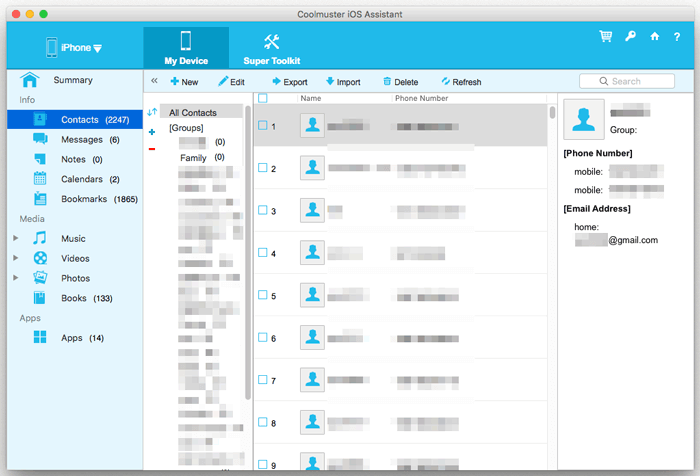
03 Manage your iOS data in detail by using options like export, import, add, or delete, depending on your needs, directly within the software interface.
Video Guide:
Although iPhone and iPad do not support a real Disk Mode on Mac, there are still several practical ways to access and manage files. Finder and iCloud Drive offer basic transfer and sync options, while third-party tools provide more flexibility. Among them, Coolmuster iOS Assistant delivers the closest experience to a Disk Mode by allowing full file browsing, selective transfer, and easy data management between iPhone/iPad and Mac or Windows computers.
Related Articles:
[Full Guide] How to Back Up iPhone to External Hard Drive
[SOLVED] How to Access iPhone Files on PC without iTunes
5 Ways to Transfer Files from iPhone to PC without iTunes
5 Ways to Transfer Videos from External Hard Drive to iPhone


 Free Download for Mac
  Free Download for PC

