How to Use iCloud Photo Library for iPhone, iPad, iPod and Mac?

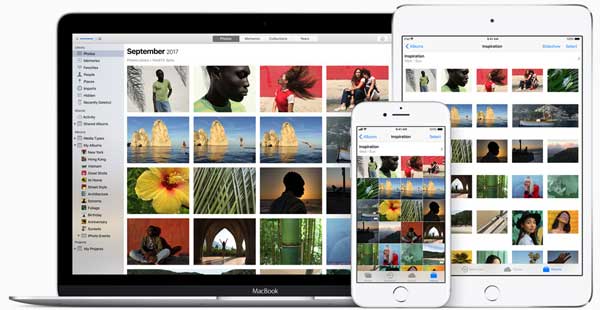
iCloud Library Library is a feature of Apple device, which can help you automatically upload every photo you take in full resolution, and save space on your device by replacing pictures with small versions. And the iCloud Photo Sharing makes it easy to share photos and videos with others. So how to set up and use iCloud Photo Library on iOS device? This article will tell you what you want to know.
Tutorial 1. How to Enable/Disable iCloud Photo Library on iOS Device/Mac
Tutorial 2. How to Access Photos from iCloud Photo Library on iOS Device
Tutorial 3. How to Transfer Photos To and From iCloud

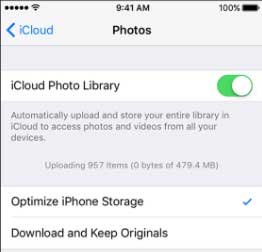
You can set up iCloud Photo Library either on iPhone, iPad, iPod or Mac. Before setting up iCloud Photo Library, please make sure you are running an updated iOS software on your device, and the iCloud storage have enough space to store all your photos, and please connect to an available Wi-Fi network during syncing process. Now you can follow the steps as below to turn on or turn off iCloud Photo Library feature and sync your photos.
Here is how:
- For iPhone, iPad or iPod users, please unlock your device, and go to "Settings" > "Photos & Camera", then turn on "iCloud Photo Library" feature here.
- For Mac users, please launch iTunes and go to "System Preferences" > "iCloud" > "Options" besides Photos, then check "iCloud Photo Library" to enable it.

After enabling iCloud Photo Library feature, you will see a progress bar to show how many pictures have been uploaded to iCloud. Please keep your device connected to a good Wi-Fi network till the whole syncing process is finished. And the internet speed can also effect the speed of uploading.
See Also: Everything You Need to Know about iCloud Backup
After syncing photos to iCloud Photo Library, you can access your photos from all devices associated with the same Apple ID directly on your device. And your iCloud-enabled device's "Camera Roll" album will be replaced with an "All Photos" album, for there is not only from one device's Camera Roll any more but from all Camera Roll of all devices of yours.
You can access all your pictures directly on your device:
- Simply unlock your iPhone.
- Launch Photos app on your device.
- Tap "All Photos" album to open it and view all pictures from all devices of yours.
And all photos will be automatically organized by Years, Collections or Moments.

Can't Miss: Delete Old iCloud Backups on iOS Device/Mac/Windows to Free Up Storage
Let's suppose you have images stored on your Mac, you can either import pictures from your computer to iCloud Photo Library or export photos from iCloud Photo Library to computer. During the process, please keep your device connected to a stable Wi-Fi network.
Way to add pictures to iCloud Photo Library:
- Launch iTunes on Mac, and click "File" > "Import" option on iTunes window.
- Then select the pictures you want from computer to add to iCloud Photo Library.
- Click "Review for Import" > "Import All New Photos". Thus the pictures will be automatically added to your iCloud.

Way to move photos from iCloud Photo Library to your device:
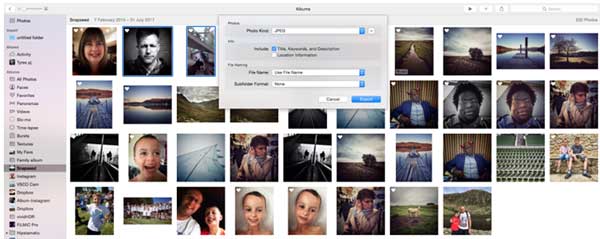
- Run iTunes on your Mac and click "File" > "Export" option on iTunes.
- Choose the pictures from the library and click "Export" button.
- Select the location you want to store the exported photos, then click "Export" button again.

Above, we have described a lot about iCLoud photo library. Includes how to enable/disable iCloud Photo Library, how to access photos in iCloud Photo Library on iOS devices, and how to import photos to iCloud or restore photos from iCloud. Go and try it yourself now.
Related Articles:
Easy Way to Share iMovie Videos to iCloud
How to Use iCloud Drive on iPhone/iPad
What if iTunes Won't Recognize iPhoto Library?
Full Guide to Restore from iCloud Backup without Reset
How to Import Contacts from iPhone to Mac? (Best 4 Ways)
[Fixed] How to Transfer Photo Albums from iPhone to PC with Ease?