Photos on your iPhone or iPad can take up a lot of storage. These include pictures you've taken with your device, screenshots, and images saved from apps. If you need to free up space or back up your memories, transferring photo albums from your iPhone or iPad to your PC is a good option. You may be wondering, "How do I transfer photo albums from iPhone to Windows 11/10?"
There are various methods to move photos from your iPhone/iPad to your computer. However, not all allow you to transfer photos by album. Here are some solutions for transferring photo albums from your iPhone or iPad to your PC.
If you want to transfer photos from your iPhone or iPad to your PC (or Mac) by album, Coolmuster iOS Assistant is a trusted choice. This software allows you to either transfer all your photos and albums at once or selectively copy images based on your preferences. Additionally, it supports transferring files from your computer to your iOS device. Besides photos, it can handle other content like videos, music, ringtones, contacts, messages, voice memos, and more.
Why choose Coolmuster iOS Assistant?
How do I transfer photo albums from iPhone to PC with iOS Assistant in one click?
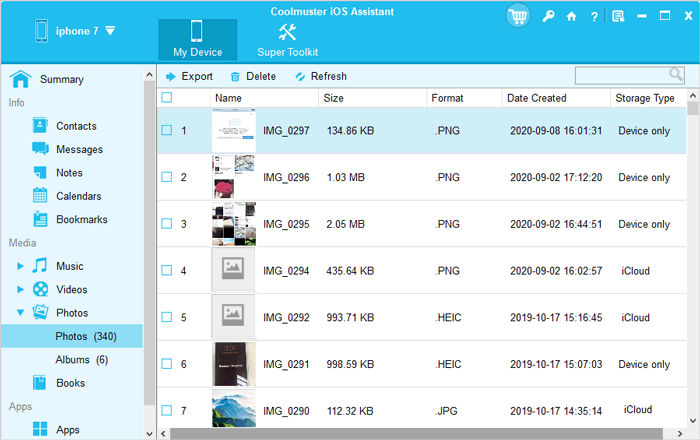
01Launch the program and connect the iPhone to the computer. Hit the "Trust" button when the pop-up window asks you whether to trust this computer. After that, tap on the "Continue" option on the PC to go on. The interface will show like this below when your iPhone successfully connects with your PC via this program.

02Select the "Photos" icon on the left panel, and "Photos", and "Albums" will show up. Click "Albums", choose the album you'd like to transfer, tap on the "Export" button and the program will start to export the album to your computer automatically. Now, you can view the pictures from the album that you transfer on your computer.
Video guide:
The other way to transfer photo albums from iPhone to PC is by using iTunes. It is a free tool provided by Apple. Although the process can be somewhat complicated, it is still a common solution.
Here is how to transfer photo albums from iPhone to computer using iTunes:
Step 1. Make sure the latest version of iTunes is installed on your computer. If not, please visit the official Apple website to download and install it.
Step 2. Connect your iPhone to the computer and tap "Trust This Computer" on your device.
Step 3. In the iTunes interface, click the device icon in the top left corner. (iPhone not showing up in iTunes?)
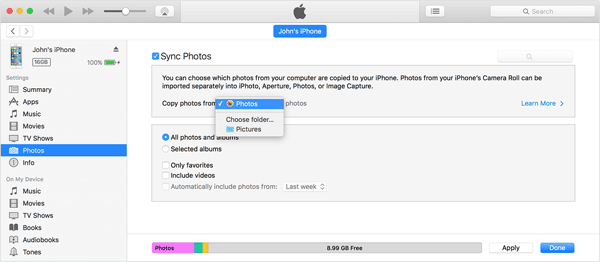
Step 4. Click the "Photos" tab, check the "Sync Photos" box, and then choose either "All photos and albums" or "selected albums".
Step 5. Click the "Apply" button in the bottom right corner and wait for the sync to complete.
If you prefer wireless transfer, iCloud is another option worth considering. With iCloud enabled, you can sync your iPhone albums to iCloud, and then download the photos from those albums to your computer.
Here is how to transfer photo albums from iPhone to computer via iCloud:
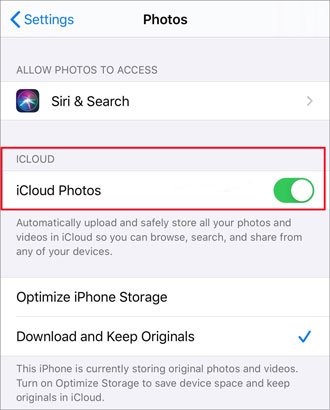
Step 1. On your iPhone, go to "Settings" > [your name] > "iCloud" > "Photos" and enable "iCloud Photos".
Step 2. On your PC, go to iCloud.com and sign in with your Apple ID. Ensure you're using the same Apple ID as on your iPhone.
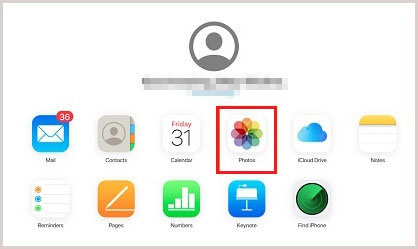
Step 3. Select "Photos" from the options, and you will see all your iPhone photos and albums. (iCloud photos not syncing?)
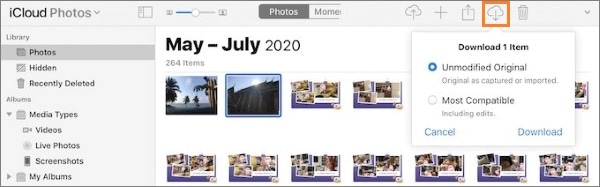
Step 4. Choose the photo album containing the images you wish to transfer, then select the photos you want to copy.
Step 5. Click the "download" button, choose either "Unmodified Originals" or "Most Compatible", then click "Download" to begin transferring photos from your iPhone to your computer.
If you're okay with transferring all your photos at once (instead of keeping them organized in different folders), you can easily import photos from your iPhone or iPad to your PC using a USB cable. If you are using Windows 10 and 11, You can do this through Windows File Explorer.
How to Import Photos from iPhone to PC Using File Explorer:
Step 1. Connect your device to your PC.
Step 2. Unlock your device, trust the computer, and enter your password if prompted.
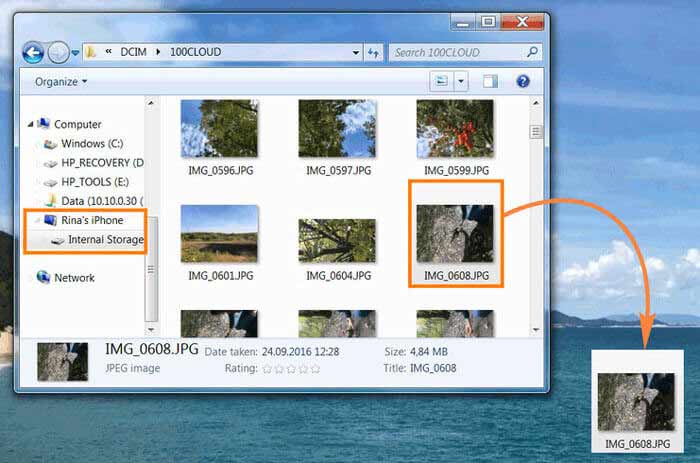
Step 3. Go to "This PC" > [your device name] > "Internal Storage" > "DCIM" > "100APPLE" to view your photos. (Note: You'll only see photos taken with your iPhone/iPad camera or screenshots. Images from other apps or sources won't be visible. iPhone Photos Disappeared from Camera Roll?)
Step 4. Copy and paste the photos from your iPhone/iPad to your PC.
You can also use Photos app, which is available in Windows 8 and 10 to transfer photos from your iPhone or iPad to your PC. Keep in mind that both File Explorer and Photos app don't support transferring photos by album, so all your photos will be stored in one folder. If that's fine with you, here's how to transfer photos from your iPhone or iPad to your PC using a USB cable.
How to Import Photos from iPhone/iPad to PC Using the Photos App:
Step 1. Connect your iPhone/iPad to your PC.
Step 2. Tap "Allow" on your device to trust the computer.
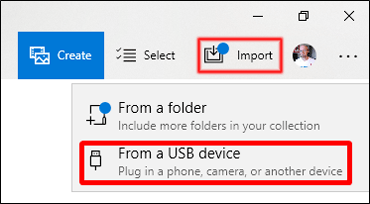
Step 3. Open the "Photos" app and click "Import."
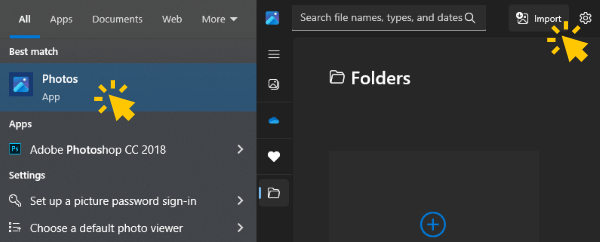
Step 4. From the dropdown menu, select "From a USB device." The app will automatically search for your device and show you how many photos it has found.
Step 5. Choose whether you want to import all the photos or select only specific ones.
Step 6. Click "Continue" to begin transferring your photos from your iPhone/iPad to your PC.
With the five methods introduced in this article, you can easily transfer your iPhone albums to your computer. Among them, Coolmuster iOS Assistant stands out as the recommended choice for its fast and efficient transfer experience and user-friendly interface. Why not give Coolmuster iOS Assistant a try and enjoy the ease of managing your photos?
Related Articles:
How to Move Photos to Album on iPhone in 2 Effortless Methods
How to Delete Albums on iPhone Easily and Quickly?


 Free Download for PC
  Free Download for Mac

