TL;DR: Learn how to make a reaction video for YouTube, TikTok, and Instagram with simple step-by-step methods. This guide covers creating reaction videos using Video Converter Ultimate, CapCut, and Clideo.
Reaction videos have become one of the most popular types of content on platforms like YouTube, TikTok, and Instagram Reels. Whether reacting to the latest movie trailers, trending music videos, gaming livestreams, or viral online events, more and more creators are attracting audiences by sharing their genuine reactions and opinions.
So, how to make a reaction video? This article will provide a complete step-by-step guide to creating a reaction video, helping you quickly make high-quality reaction content suitable for YouTube, TikTok, and Instagram.
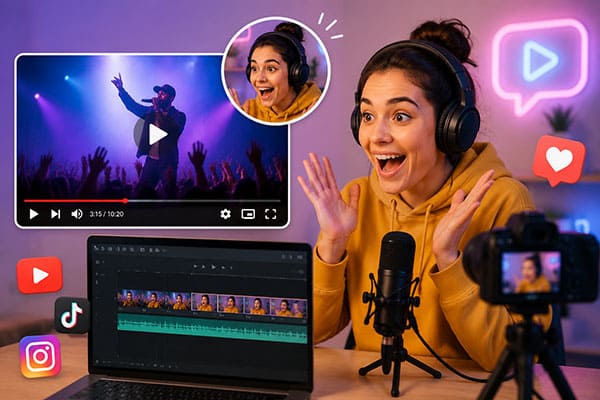
A reaction video is a type of content in which one or more people film themselves watching, listening to, or experiencing original material for the first time. The main purpose is to capture their genuine thoughts, feelings, and responses as they happen, allowing viewers to see their real-time reactions while the content is being played.
Common topics for reaction videos include:
But how do you create a reaction video? Continue reading to learn more about the production process in the next section.
There are two main approaches to creating a reaction video: you can either record your reaction separately and add it to the original footage later using a video editor, or record yourself watching the content while capturing the screen at the same time, which is a simpler and more efficient method.
Below, we will introduce three easy and effective ways to create a reaction video.
Video Converter Ultimate is more than just a video format converter—it also offers a wide range of editing features, including video trimming, merging, cropping, and subtitle addition. It comes with a built-in split-screen feature that lets you place your reaction footage and the original video side by side or in various customizable layouts. This makes it an ideal solution for creating YouTube reaction videos, TikTok reaction videos, and Instagram Reels without complicated editing workflows.
With the split-screen feature, there's no need to manually arrange multiple video layers. Simply choose a layout, import your videos, customize the screen positions, and enhance your video with background music, subtitles, and visual effects.
Key features of Video Converter Ultimate:
Here is how to make reaction videos on YouTube/TikTok with Video Converter Ultimate:
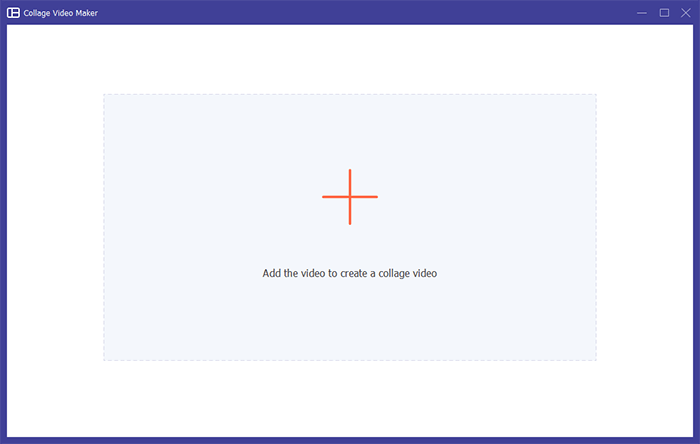
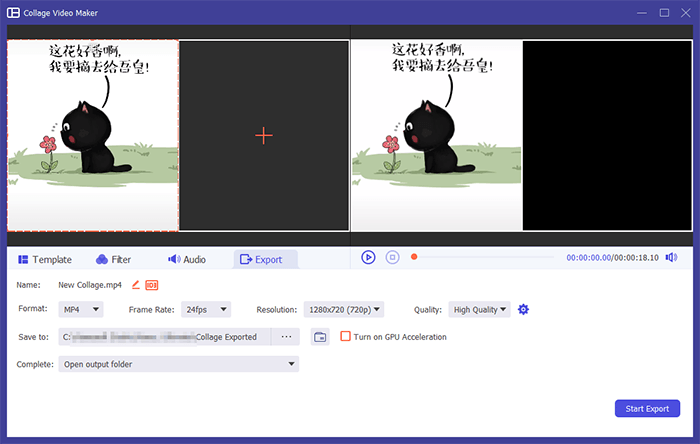
01Open "Collage Video Maker" from "More Tools" or the "Video" tab. Choose a split-screen layout, then click "+" to import your reaction video and the original video.
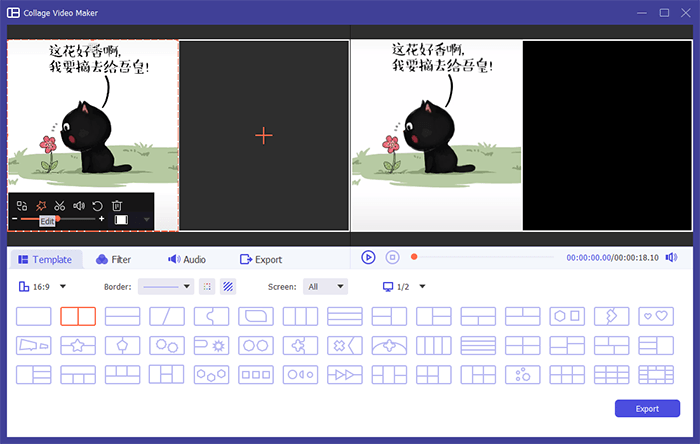
02Drag the split line to adjust the size of each video. Click "Edit" to crop, rotate, add subtitles or watermarks, and apply filters if needed.
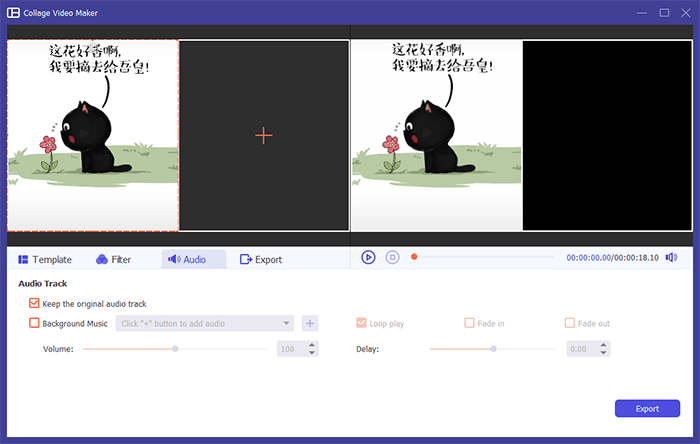
03Keep the original audio or add background music from the "Audio" tab. You can also adjust the volume, fade in/out, or enable loop playback.
04Open the "Export" tab, choose the output format, resolution, and save location, then click "Start Export" to save your reaction video or share it directly to social media.
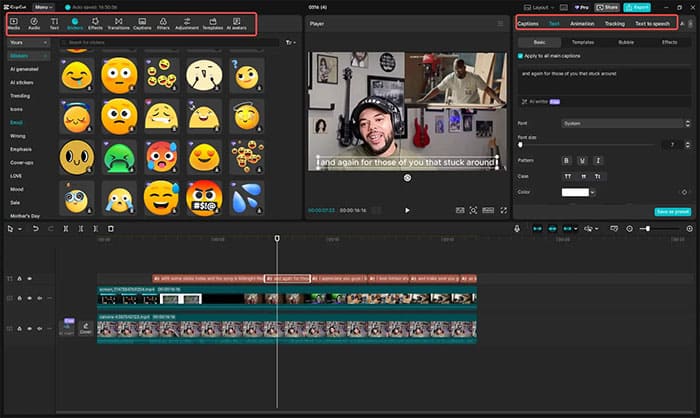
CapCut is one of the most popular video editing tools today, especially for creating reaction videos for TikTok and Instagram Reels. It offers a wide range of templates, visual effects, auto-generated subtitles, and stickers, making it an excellent choice for short-form content creators.
Here is how to make a reaction video on TikTok using CapCut:
Step 1. Launch CapCut, click "Record Screen", and enable your camera and microphone. Play the video you want to react to, then click "Start Recording". When finished, click "Edit More".
Step 2. Place your reaction video on the main track and resize the original video to a smaller picture-in-picture window. Position it in a corner and adjust the timing if needed.
Step 3. Enhance your reaction video with transitions, filters, effects, stickers, sound effects, and AI-powered auto captions.
Step 4. Click "Export", choose your preferred format and resolution, then save the reaction video to your computer or share it on social media.
Clideo is an online video editing platform that lets you create reaction videos directly in your browser without downloading or installing any software. For users who only make videos occasionally, Clideo is a simple and convenient choice.
Here is how to create a reaction video online using Clideo:
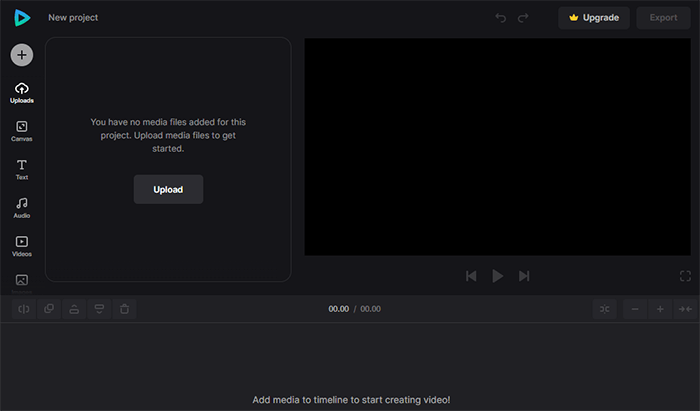
Step 1. Open Clideo Online Video Editor and click "Get started". Upload your reaction video and the original video from your device or cloud storage.
Step 2. Drag the uploaded files to the timeline or preview area. Adjust the canvas ratio based on the platform where you plan to share the video.
Step 3. Combine the two videos using the side-by-side or picture-in-picture effect. Resize and reposition the clips to create the desired reaction video layout.
Step 4. Edit the video settings, add adjustments, and make any final changes to improve the overall quality.
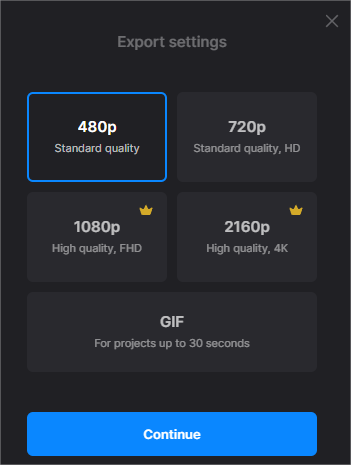
Step 5. Click "Export" and choose your preferred option to save and share your reaction video.
Q1. How do reaction videos make money?
Reaction videos mainly generate income through ad revenue. When creators upload reaction videos to platforms like YouTube and join the YouTube Partner Program, they can enable monetization and allow ads to appear in their content. Earnings are typically based on factors such as video views, ad impressions, viewer engagement, and audience location. In general, the more views and interactions a reaction video receives, the greater the potential for earning revenue.
Q2. Are reaction videos legal?
Reaction videos can be legal depending on how they use copyrighted content. In many cases, they may fall under "fair use", which allows limited use of copyrighted materials for purposes such as criticism, commentary, parody, education, and research.
Q3. How do I avoid copyright infringement when making reaction videos?
It is impossible to create reaction video content without using another person's video content. YouTube videos are protected by intellectual property regulations, meaning using them without the original owner's permission can result in liability on your part.
At the very least, ensure you credit the original video creator and owner. You can also contact them to request permission to use the video directly.
Q4. How to make a reaction video on your phone?
You can use the CapCut app to create reaction videos on your phone. Import the main video first, then add your camera recording as an overlay using the picture-in-picture feature to display both clips together. Enhance your video with captions, transitions, filters, effects, animations, and stickers. You can also add royalty-free music and sound effects before sharing your reaction video on platforms like Instagram, TikTok, Facebook, or WhatsApp.
Learning how to make a reaction video does not require advanced editing skills. With the right tools, you can easily combine your reactions with original content, improve the video quality, and create engaging videos for YouTube, TikTok, and Instagram.
Among the available editing solutions, Video Converter Ultimate is a great choice for creators who want a more complete workflow. It allows you to edit, convert, enhance, and customize videos with ease, helping you create professional reaction videos with better control over video quality and presentation.
Whether you are a beginner starting your first reaction channel or an experienced creator looking to improve your content, choosing a reliable video editing tool can make the entire process faster and more efficient.
Related Articles:
11 Best MP4 Splitter Options to Split MP4 Easily and Quickly
[Step-by-Step Guide] How to Crop Videos on Windows 10/11 in Minutes?
Top 7 Split Screen Video Editors: Review and How-To Guide
How to Add Your Own Sound to TikTok with Ease: 4 Easy Methods




 Free Download for PC
  Free Download for Mac


