Are you using a Sony XQD card in your camera and now looking for a way to completely erase everything on it? Whether you plan to sell the card or protect your private photos and videos from being recovered, it is important to know how to erase data from a Sony XQD card permanently.
In this guide, we will show you several effective ways to securely wipe a Sony XQD card on both Windows and Mac, helping you remove data safely and optimize the card for future use.
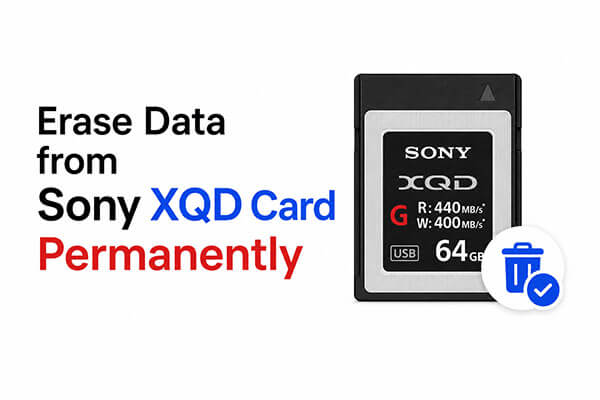
If your goal is to completely erase all data from a Sony XQD card, using a professional data erasure tool is the safest option. Regular deletion only removes file references, while the actual data still remains on the storage chip until overwritten.
To erase data from a Sony XQD card permanently and make it unrecoverable, you can use Coolmuster Data Erasure. This software is designed to securely erase data by overwriting the existing information multiple times, ensuring that no recovery software can retrieve your files.
What can Coolmuster Data Erasure do for you?
How do I permanently erase data from a Sony XQD card? Here are the steps:
01Download and install this data erasure tool on your Windows computer, then launch the program.
02Next, connect your Sony XQD card to the PC using an XQD card reader and ensure the device is properly recognized by the system. Once detected, go to the "Drive Wiper" section from the left sidebar and select your XQD card from the available drives.
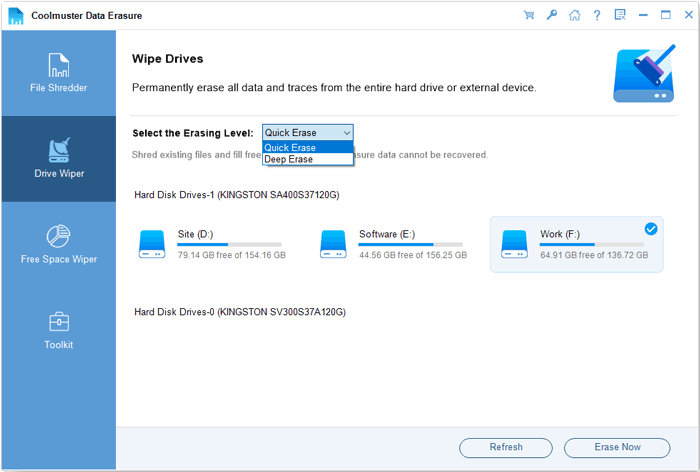
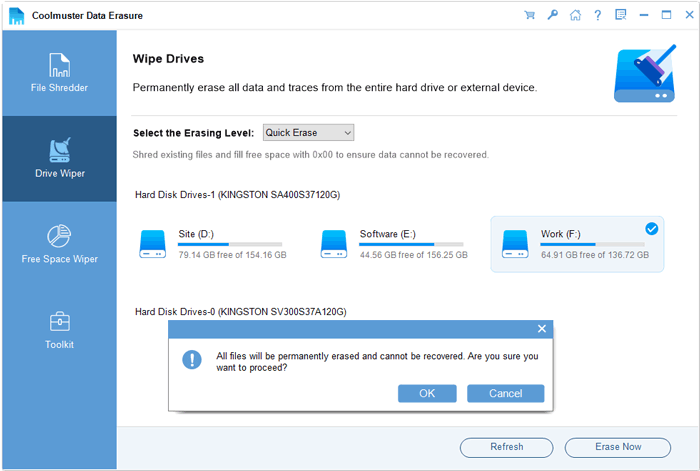
03After that, choose your preferred erasure level and click "Erase Now". When the confirmation window appears, click "OK" to begin the wiping process. Once the erasure is complete, safely eject and remove the XQD card from your computer.
Video Tutorial:
If you simply want to quickly clear your XQD card, you can use the built-in formatting feature in Windows. However, keep in mind that regular formatting does not permanently erase the data, and there is still a chance that the files can be recovered.
Here is how to format a Sony XQD on Windows:
Step 1. Connect your Sony XQD card to the Windows computer using a compatible XQD card reader, and wait for Windows to recognize the device.
Step 2. Open File Explorer by pressing "Windows" + "E", then go to "This PC".
Step 3. Locate your Sony XQD card under "Devices and drives", right-click the card, and select "Format".
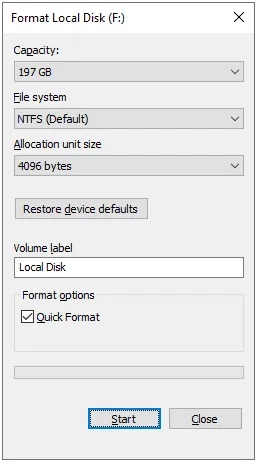
Step 4. Choose a suitable file system for the card. For most Sony cameras, "exFAT" is generally the recommended option.
Step 5. If you want a more thorough format, uncheck the "Quick Format" option. This performs a full format instead of a quick one. Although it may not completely erase data permanently, it is more secure than a quick format.
Step 6. Click "Start" to begin formatting. Windows will warn you that all data will be deleted. Confirm the action and wait for the formatting process to finish.
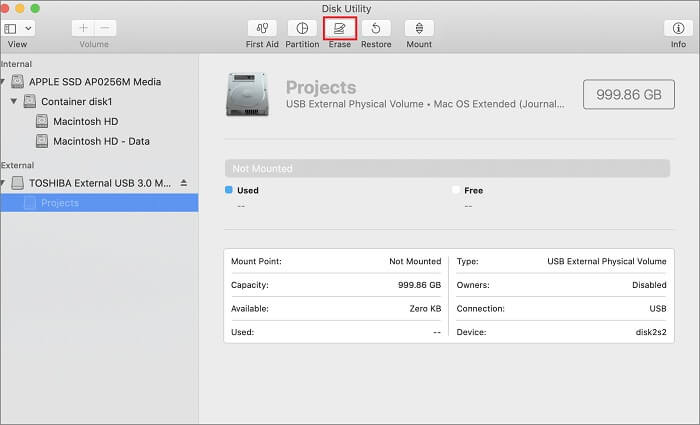
For Mac users, the built-in Disk Utility in macOS can also help erase data from a Sony XQD card. This tool allows you to format, partition, and repair storage devices directly on macOS without installing any additional software.
Here is how to erase data from a Sony XQD card on a Mac using Disk Utility:
Step 1. Insert your Sony XQD card into a compatible card reader and connect it to your Mac. Then open Disk Utility from "Applications" > "Utilities".
Step 2. In "Disk Utility", locate your Sony XQD card under the "External" section in the left sidebar and select it. Next, click the "Erase" button at the top of the window to access the formatting options.
Step 3. If you want to securely erase the data, click "Security Options" before starting the process. You can choose different security levels, from a single overwrite pass to multiple overwrite passes for enhanced protection.
Step 4. Once you have selected your preferred settings, click "Erase" to begin. Disk Utility will overwrite the existing data on the XQD card, making the files much more difficult to recover.
If you only want to quickly clear your Sony XQD card, a regular format is usually sufficient. However, if you want to permanently erase the data and prevent any possibility of recovery, it is recommended to use a professional data erasure tool for deep wiping.
Compared with the built-in formatting methods in Windows or macOS, Coolmuster Data Erasure is easier to use, more secure, and more effective at preventing data recovery, making it an ideal choice for users who need to protect privacy or handle sensitive files.
Related Articles:
3 Effective Ways to Permanently Erase Data After Reinstalling Windows OS
[Step-by-Step Guide] How to Erase a SanDisk SD Card on PC and Mac Easily?
How Long Does a Factory Reset Take? [Windows/Android/iPhone]
How to Clear a Pen Drive on Windows and Mac? Solved in 4 Safe Ways







 Free Download for PC


