Listening to podcasts on your iPhone is a great way to pass the time, but as you add more episodes, they can quickly eat up valuable storage. To keep your iPhone running smoothly, it's important to free up some space. One of the best ways to do this is by transferring your podcast files from iPhone to iTunes or your computer. In this article, we'll look at 3 simple and effective methods to get your podcasts off your iPhone and onto your iTunes or computer. Let's dive into the top option!

iOS Transfer is a reliable tool for transferring podcasts and other files between your iPhone and computer. Compatible with both Windows and macOS, it supports various file types such as music, photos, videos, contacts, and messages. The software is designed with a simple, user-friendly interface, making it easy for anyone to use—even first-timers.
iOS Transfer supports all iOS versions and offers fast, stable transfer speeds without risking data loss or corruption. You can also choose specific files to move instead of transferring everything, saving both time and storage space. Whether you're organizing your files, backing up important data, or just trying to free up space on your iPhone, this program can get the job done quickly and securely.
Key Highlights of iOS Transfer:
How to Transfer Podcasts from iPhone to Computer and Then Add to iTunes
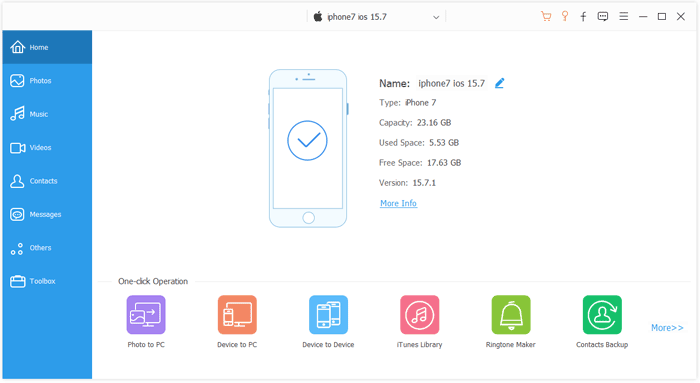
01First, download and install a reliable iOS transfer tool on your computer. Connect your iPhone using a USB cable and launch the program.
02On the left sidebar, click on the "Music" section. In the middle panel, you'll see different audio categories like Music, Podcasts, Ringtones, iTunes U, and more. Choose Podcasts, and all your podcast episodes will appear on the screen. Select the ones you want to transfer.
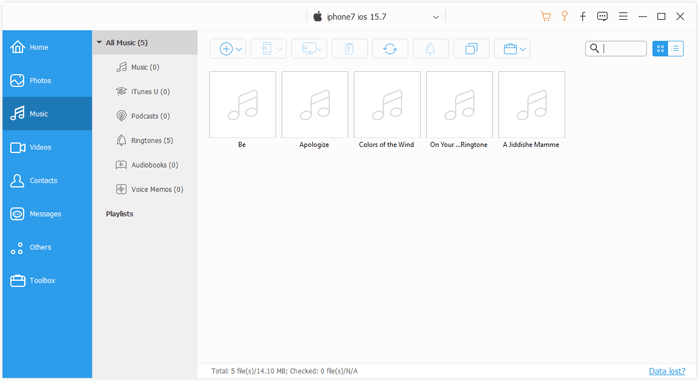
03Click the "Export to PC" button to save the selected podcasts from your iPhone to your computer.

04 [Optional] To move the podcasts into iTunes, open iTunes on your computer, go to the Podcasts section, then click "File" > "Add File to Library", and choose the podcast files you just exported.
You might like:
[Full Guide] 4 Effective Methods to Back Up Music on iPhone
One easy way to move podcasts from your iPhone to your PC is by using the Sync Library feature. This tool lets your Apple devices stay up to date with the same podcast subscriptions, playback positions, and stations. It also works for transferring music.
Just keep in mind - this isn't meant for creating backups. Instead, it keeps your podcast library the same across all your devices signed in with the same Apple ID. So, any changes you make on one device will show up on the others. If you have a large podcast collection, syncing may take some time.
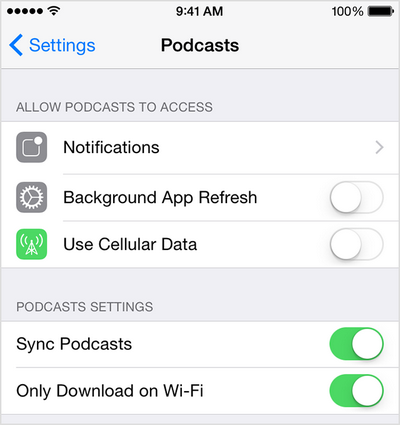
Step 1: On your iPhone, go to "Settings" > "Podcasts", and turn on "Sync Podcasts".
Step 2: Open iTunes on your PC. If you haven't installed it yet, download and install it first. Then, connect your iPhone to the computer.
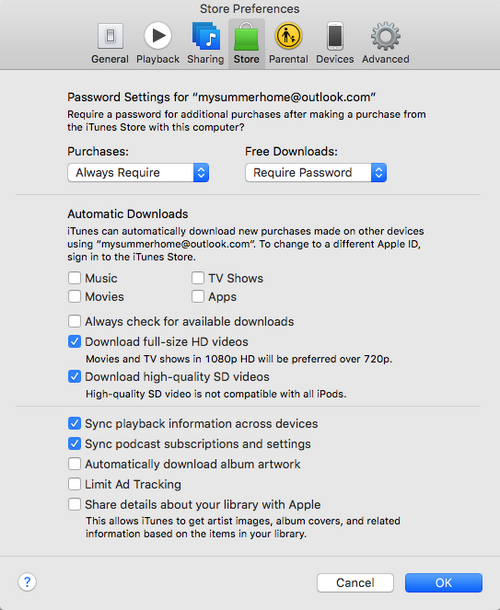
Step 3: In iTunes, go to "Edit" > "Preferences" > "Store". Check the box that says "Sync podcast subscriptions and settings", then click "OK".
Step 4: Wait for the syncing to complete. (9 Fixes to iTunes Not Syncing with iPhone after iOS Update)
Syncing podcasts from your iPhone to your PC using iTunes is a reliable option, especially since it's Apple's official tool. But iTunes does come with some downsides - it's often slow, uses a lot of system resources, and might not run smoothly on older computers. The interface can also be overwhelming, especially for first-time users.
Another limitation is its focus on Apple-friendly file formats, which can make working with other media types a bit tricky. Backup and restore functions don't always work perfectly and may lead to missing data (How to Fix iTunes Backup & Restore Problem?). Plus, iTunes has a tendency to create duplicate files and often requires manual effort to keep things organized. Still, despite these drawbacks, many iPhone users stick with it for syncing tasks. Here's how you can transfer your podcasts using iTunes:
Step 1: Launch iTunes on your PC and connect your iPhone using a USB cable.
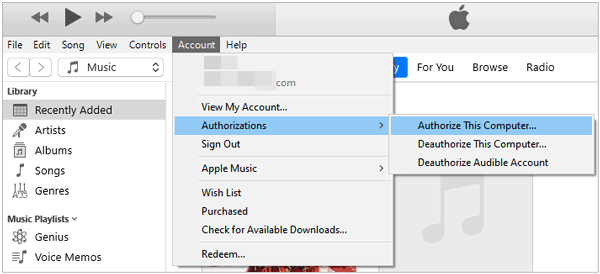
Step 2: At the top menu, click "Account" > "Authorizations" > "Authorize This Computer". When prompted, enter your Apple ID and password, then click "Authorize" to give your PC access.
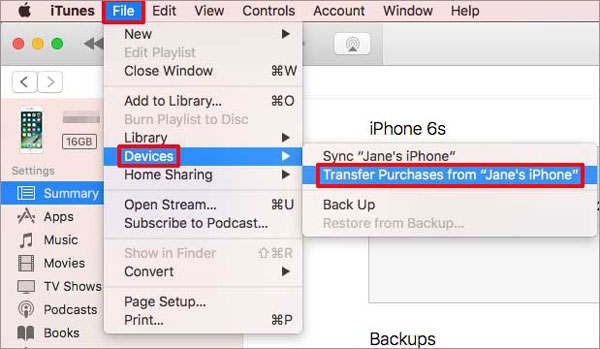
Step 3: Go back to the top menu, click "File > Devices > Transfer Purchases from [your device name]". This will start transferring any purchased podcasts and other media to your PC.
If you're looking to free up space on your iPhone and keep your podcast collection organized, transferring podcasts to your PC or iTunes is a great option. While you can use Sync Library or iTunes, iOS Transfer tool is a much quicker and easier way to get the job done. It offers fast transfer speeds and ensures your data stays safe. Just follow the simple steps in this guide, and you'll have more space on your phone in no time, all while keeping your podcasts neatly stored on your PC.
Related Articles:
2 Simple Ways to Sync iPhone with Multiple Computers
How to Transfer Music from iPhone to Computer Effectively? (4 Tips)
Top 10 iTunes Alternatives for Windows You Can't Miss
How to Transfer Voice Memos from iPhone to Computer without iTunes [4 Simple Ways]


 Free Download for PC
  Free Download for Mac

