Reducing image size is crucial in many situations, such as optimizing websites, achieving faster loading times, and saving storage space. Large image sizes can significantly impact user experience and website performance, leading to slower loading times, increased bandwidth usage, and potential loss of visitors. Then, how do I reduce the size of a photo?
You are in the right place. In this comprehensive guide, we will explore various methods to reduce image size. We will cover choosing the right file format, resizing images, and employing compression techniques, along with step-by-step instructions for each method. Let's dive in.
When it comes to reducing image size, selecting the right file format is your first and fundamental step. The choice of format can significantly impact the quality, file size, and compatibility of your images. There are three primary image formats to consider: JPEG, PNG, and GIF.
JPEG (Joint Photographic Experts Group): Best suited for photographs and images with gradients. JPEG offers a high level of compression with minimal loss of image quality.
PNG (Portable Network Graphics): Ideal for images with transparency or text, as it preserves sharp edges and supports high color depth. PNG is a lossless format, which means it doesn't compress as much as JPEG but retains better quality.
GIF (Graphics Interchange Format): Mostly used for animations and simple images. GIF supports transparency and animation but has limited color depth and should be avoided for high-quality photos.
Choose the format that best suits your specific image type and quality requirements.
Further Reading: As soon as the image size is reduced, you can choose to transfer these photos from your computer to your phone.
Resizing images is a fundamental technique to reduce photo size while retaining visual integrity. Image resizing involves changing the dimensions of an image, such as its width and height. This process can significantly impact the file size while allowing you to maintain control over image quality and presentation. Resizing is particularly useful when you need to adapt images for different display or usage purposes. In the quest to resize images efficiently, we will consider the following five methods.
Adobe Photoshop is one of the best image compressor for image editing that allows for precise image resizing while maintaining quality. Here, we'll walk you through how to resize images using Photoshop to reduce image file size:
Step 1. Launch Adobe Photoshop and open the image you want to resize by selecting "File" and then "Open".
Step 2. Once your image is open, navigate to the "Image" menu at the top of the screen. From the dropdown menu, select "Image Size".

Step 3. In the "Image Size" dialog box, you'll see options to modify the dimensions of your image. You can either specify the new dimensions in pixels or choose a percentage of the original size. It's crucial to maintain the aspect ratio to avoid distortion, so make sure the "Constrain Proportions" box is checked.
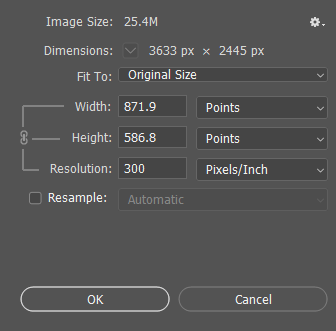
Step 4. Below the "Dimensions", you'll find the "Resample" option. For resizing images, select "Bicubic Sharper," which is suitable for reducing image size while preserving quality. For enlarging images, you might choose "Bicubic Smoother".
Step 5. Once you are satisfied with the changes, click "OK" to apply them.
Step 6. After resizing, save your image using the "File" menu and selecting "Save" or "Save As".
If you're a Mac user, you can take advantage of the Preview app for resizing images efficiently. Preview is a built-in application that offers basic image editing features, including resizing images. Here is how to use it to reduce the size of the image:
Step 1. To open the image file, perform a right-click and opt for "Open With" followed by "Preview".
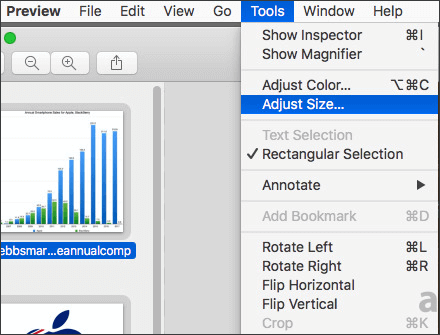
Step 2. In the Preview application, go to the "Tools" menu. Then, select "Adjust Size". A dialog box will appear.
Step 3. Enter the desired dimensions in the "Width" and "Height" fields. Ensure the "Resample image" option is checked.
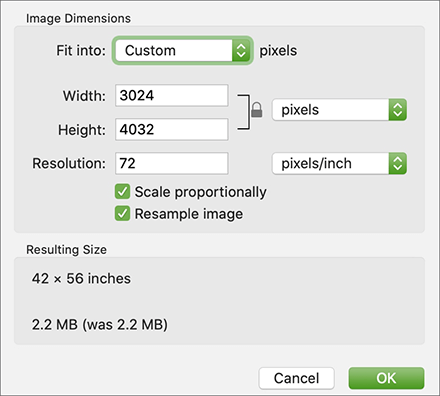
Step 4. Press the "OK" button to resize the image.
Step 5. Navigate to the top menu and click on "File", followed by "Export". Next, designate a filename, location, and format, and complete the process by clicking the "Save" button to preserve the resized image.
Extended Reading: Get the Best Photo Manager for Android | A List Contains 8 Options
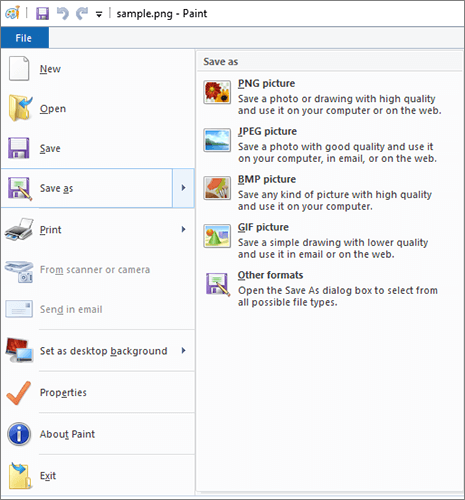
For Windows users, the built-in Paint application provides a straightforward way to resize images. Here is how to use it to reduce picture size:
Step 1. Right-click the image file and choose "Open with" > "Paint" to open the image in the Paint application.
Step 2. Go to the "Home" tab at the top of the Paint window. Then, click the "Resize" button to open the "Resize and Skew" dialog box.
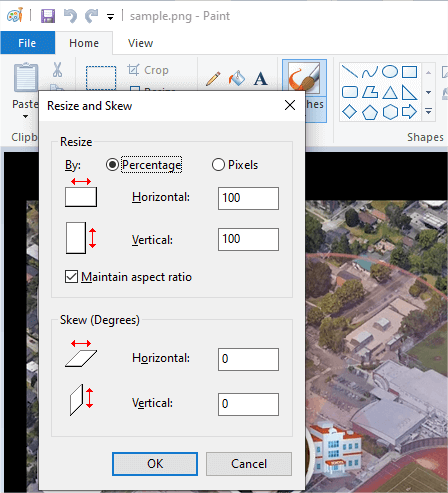
Step 3. In the "Resize and Skew" dialog, input the desired dimensions in pixels. Ensure that the "Maintain aspect ratio" option is selected to prevent distortion.
Step 4. Observe the preview of the image as you adjust its dimensions. Once you are satisfied with the dimensions, click "OK" to resize the image.
Step 5. Click the "File" menu in the top-left corner, then select "Save" or "Save as". Choose a file name, location, and format for the resized image. After configuring the saving settings, click the "Save" button to save the resized image.
ReduceImages is a no-cost web-based image resizing tool that enables you to adjust image dimensions, convert formats, apply compression, and save the resized images in JPG, PNG, or GIF formats. Here is how to reduce image file size via ReduceImages:
Step 1. Visit the official website of ReduceImages.
Step 2. Press the "Select Image" button to upload the picture you want to reduce.
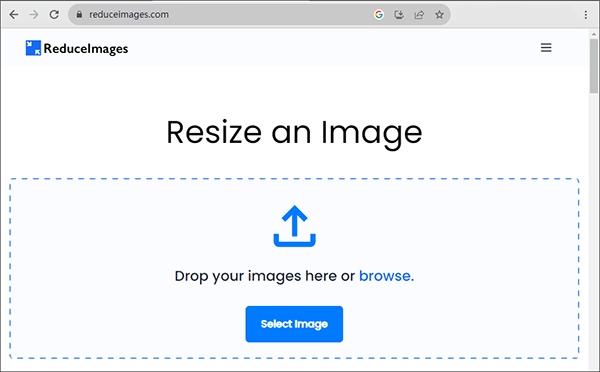
Step 3. Once uploaded, choose the new dimensions and format. Once the settings are complete, click the "Resize Image" button to reduce the image size.
Step 4. Click the "Download Image" button to download the resized image and choose a location to save it.
Image Resizer is an online tool that allows you to easily resize and optimize your images. With this user-friendly tool, you can adjust the dimensions of your images and choose different formats, all in one place. It's a convenient solution for anyone looking to quickly and effortlessly resize and optimize their images for various purposes, such as web usage or sharing on social media. Here is how to use it to reduce image file size:
Step 1. Go to the official website of Image Resizer.
Step 2. Click the "Select Image" button to upload the image you want to reduce.
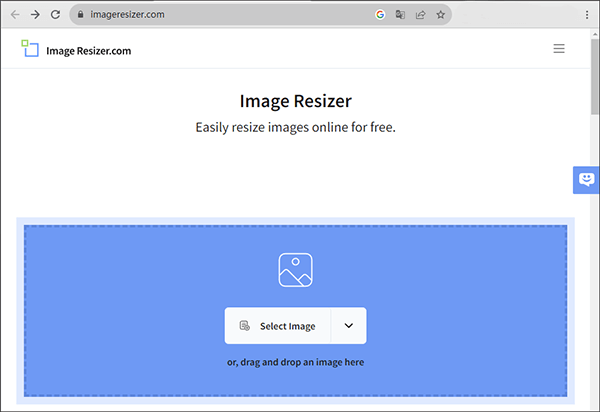
Step 3. After a successful upload, go to the "Resize" section, enter your desired height and width, configure the export format, and then click the "Resize Image" button to apply the settings.
Step 4. Wait for a moment and click the "Download Image" button to download and save the resized image.
Image compression is another technique for reducing file size while retaining acceptable quality. The benefits of image compression are multifaceted, encompassing faster web page loading, reduced storage space requirements, and improved user experiences. Here are various online tools to help you with image compression.
TinyPNG is an online image optimization tool designed to reduce image size while preserving its quality. With TinyPNG, you can easily upload your images, and the tool will compress them, making them more suitable for web use. This service is particularly useful for web developers and designers looking to improve website performance by reducing image file sizes. TinyPNG is known for its simplicity and effectiveness in delivering smaller image files that load faster on web pages. Here is how to use it to reduce photo size:
Step 1. Launch your web browser and navigate to the TinyPNG website.
Step 2. On the TinyPNG homepage, locate the designated area for uploading your image. Click on the box that says "Drop your Webp, PNG, or JPEG files here!" to choose and upload your image for compression. Alternatively, you can simply drag and drop your image file into this area.
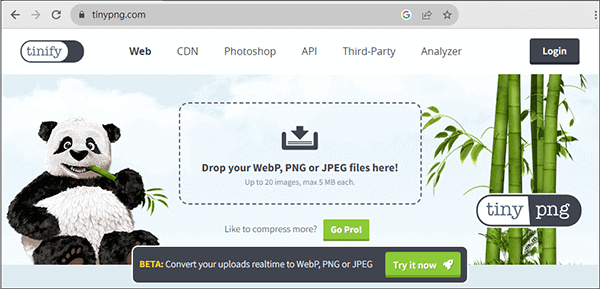
Step 3. Once your image is uploaded, the TinyPNG website will initiate the lossless PNG compression automatically.
Step 4. When the compression process is finished, the website will provide you with a download link for your compressed PNG image. Press the link to save the optimized image to your computer.
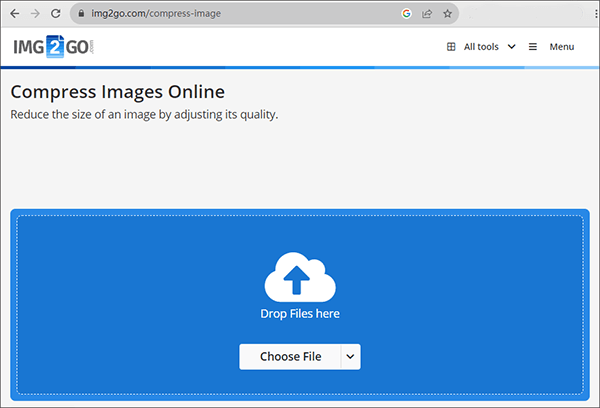
IMG2GO is an online tool that specializes in image compression. With IMG2GO, you can easily reduce the size of your images, making them more suitable for web use or sharing. This user-friendly tool allows you to upload your images, apply compression, and download the optimized versions with just a few clicks. It's a handy solution for anyone looking to efficiently compress images for faster loading times and better online performance. Here is how to use it to reduce the size of the image:
Step 1. Go to your web browser and visit the official website of IMG2GO.
Step 2. Click the "Choose File" button to select the image file you want to compress from your computer. Alternatively, you can drag and drop the image onto the designated area on the webpage.
Step 3. After uploading the image and, if necessary, adjusting the settings, click the "Compress Image" button.
Step 4. Once the compression process is complete, the website will provide a link to download the compressed image. Click the "Download" link to save the compressed image to your computer.
Whether you're managing a website, preparing images for social media, or just saving space on your device, reducing image size is a valuable skill. This guide has covered the key aspects of choosing the right file format, resizing images, and employing compression techniques. By following our step-by-step instructions, you can optimize your image files for various purposes, making your digital experience smoother and more efficient.
Related Articles:
Effortless PDF Size Reduction: Reviewing Free PDF Compressor Software
Top 6 MP4 Compressor: Reduce File Size without Compromising Quality
11 Best Free AI Image Upscaler Tools You Do Not Know [Never Miss!]


