TL;DR: Learn how to permanently delete Word documents on Windows and Mac. This guide covers multiple methods, including emptying the Recycle Bin/Trash, using Shift + Delete, PowerShell commands, and Coolmuster Data Erasure to securely erase files and prevent sensitive documents from being recovered.
Have you ever deleted a Word document only to find that it can still be recovered from the Recycle Bin? A standard deletion process only moves the file to the Recycle Bin or marks the storage space as available, meaning the data does not immediately disappear from your device. If these Word files contain private information, work documents, or sensitive content, simply deleting them may not be secure enough.
So, how to permanently delete Word documents? This article will introduce several effective methods to help you completely delete Word documents on Windows and Mac, ensuring that the files cannot be easily recovered.

Here are four effective methods to permanently delete a Word document from your Windows PC and prevent it from being recovered.
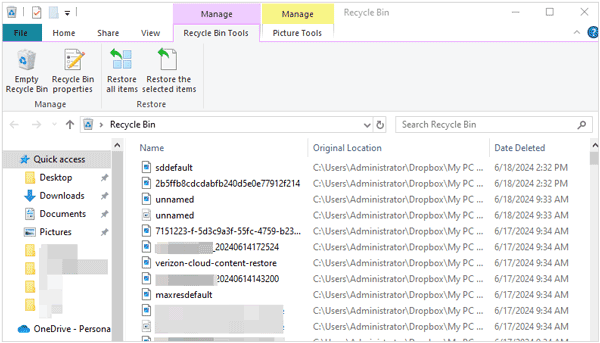
When you delete a Word document on Windows, it is usually moved to the Recycle Bin instead of being removed immediately. This makes it easy to restore files if you delete something by mistake. If you no longer need the document, you can delete it and empty the Recycle Bin to remove it from your system.
However, this method only removes the file reference, and the actual data may still remain on your drive. It works well for regular files but is not the best choice for sensitive or private documents.
Here is how to delete Word documents:
Step 1. Find the Word document you want to delete, then right-click it and select "Delete".
Step 2. Open the "Recycle Bin" on your desktop and locate the deleted Word document.
Step 3. Click "Empty Recycle Bin", then click "Confirm" to permanently delete the file.
Windows provides a shortcut that lets you delete files without sending them to the Recycle Bin. However, Shift + Delete does not actually overwrite the file's data. As a result, advanced data recovery software may still be able to recover the file.
Here is how to delete a Word document using Shift + Delete:
Step 1. Open File Explorer by pressing "Windows" + "E", then locate and select the file you want to delete.
Step 2. Press "Shift" + "Delete" on your keyboard.
Step 3. When prompted to confirm the permanent deletion, click "Yes".
If you need to ensure that a deleted Word document cannot be recovered, a professional data erasure tool is a safer choice. Unlike standard deletion methods, data erasure software overwrites the original file data multiple times, making recovery extremely difficult. This is especially useful when deleting private documents, business files, legal records, or other sensitive information.
Coolmuster Data Erasure is one such tool. It allows you to select specific files and folders, permanently shred data, and securely overwrite deleted files with ease.
What can Coolmuster Data Erasure do for you?
How do I permanently delete Word documents? Follow the steps below:
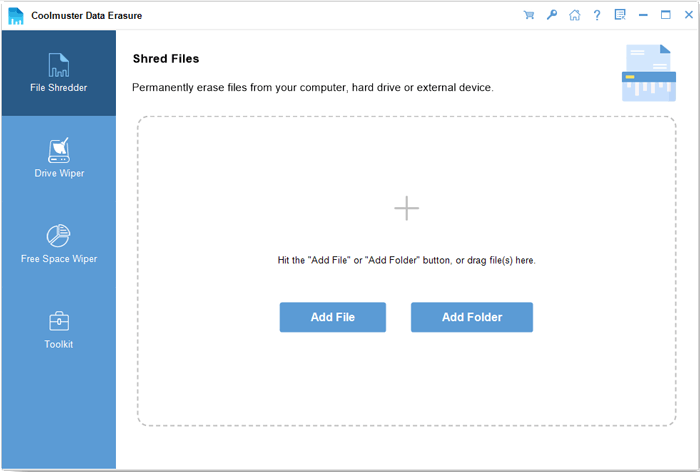
01Install and launch Coolmuster Data Erasure on your Windows computer, then select "File Shredder" from the left panel.
02Click "Add File" to locate the Word document you want to erase, or simply drag and drop it into the designated area.
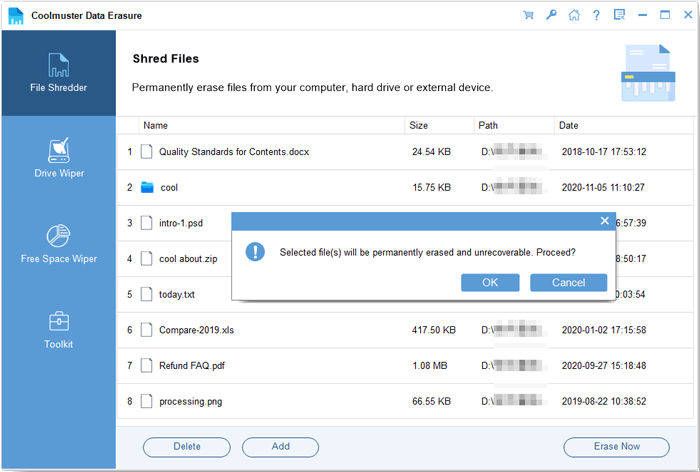
03After adding the file, click "Erase Now" and then "OK" to begin the erasure process. Once completed, the Word document will be permanently erased.
Video Tutorial:
For advanced Windows users, PowerShell provides another way to delete Word documents through the command line. However, this method is slightly more complex.
Here is how to erase Word documents using PowerShell:
Step 1. Right-click the "Start" button and select "Windows PowerShell (Admin)" or "Terminal (Admin)".
Step 2. Type "Remove-Item -Path "C:\Path\To\Your\Document.docx" -Force" to delete the Word document, replacing the path with the actual file location, and then press "Enter".
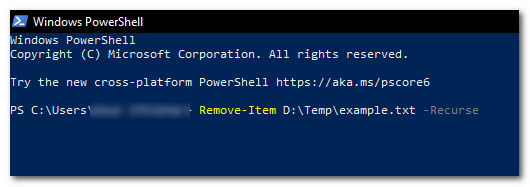
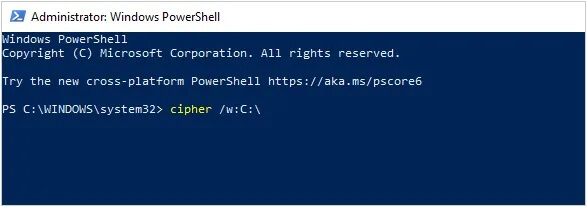
Step 3. Run "cipher /w:C:\Path\To\Folder" to overwrite the deleted file's data in the drive's free space, replacing the folder path as needed, and press "Enter".
When Mac users delete a Word document, the file is first moved to the Trash. The file is only removed from the system after the Trash is emptied. The following are the methods to permanently delete a Word document on Mac:
Step 1. Open Finder and navigate to the folder where your Word documents are stored.
Step 2. Select the Word documents you want to delete. You can choose one or multiple files at the same time.
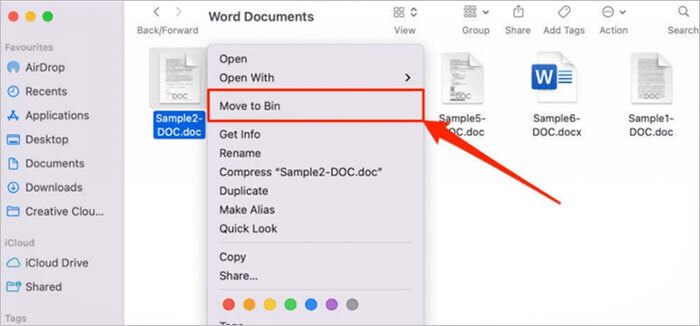
Step 3. To delete a Word file, right-click the file and select "Move to Bin". Alternatively, select the file and press "Command" + "Delete" on your keyboard. You can also drag the file directly to the Trash icon in your Mac's Dock to remove it.
Step 4. Click the "Trash" icon in the Dock to open it, then review the deleted Word documents to make sure the correct files are selected.
Step 5. Click "Empty Trash" and confirm the deletion. The selected Word documents will be permanently removed from your Mac.

That's all about how to permanently delete Word documents. However, if you want to ensure that the documents are completely overwritten, you need to use a dedicated tool such as Coolmuster Data Erasure. This program helps users permanently delete Word files and other types of data, preventing sensitive information from being recovered.
Related Articles:
[Ultimate Guide] How to Permanently Delete PDF Files on Computer?
How to Permanently Shred PowerPoint Files on PC: 3 Reliable Methods
[Full Guide] How to Shred Photoshop Files Permanently and Securely?
How to Force Delete a File on Windows and Mac: Complete Guide







 Free Download for PC


