If your iPhone is overflowing with photos and feeling a bit cluttered, moving them to your computer is a great way to organize them. This helps free up space on your phone, makes it easier to find specific photos later, and keeps your precious memories safely backed up. Plus, it's easier to sort and manage your photos on a larger screen.
In this guide, we'll show you several simple ways to organize your iPhone photos on your computer. Whether you use a Mac or a Windows PC, there's a method that's right for you. Let's find out how to get started.
The first way you can try to organize your iPhone photos is via iCloud.com, no matter you are a Mac user or a Windows user. Make sure you have enabled iCloud Photos on your iPhone. Here is how to organize iPhone photos on computer via iCloud.com:
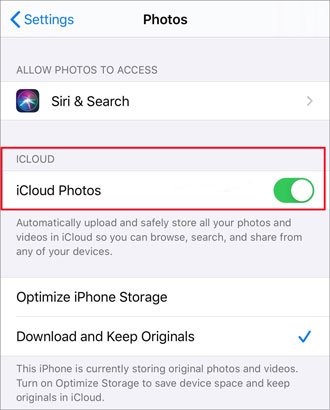
Step 1. Go to "Settings" > your name > "iCloud" > "Photos" on your iPhone. Then, turn on "iCloud Photos" to upload photos to iCloud.
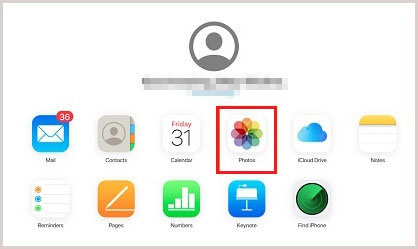
Step 2. Open a web browser on your computer and go to iCloud.com. Sign in with your Apple ID and then click "Photos" to access iCloud Photos on your computer.
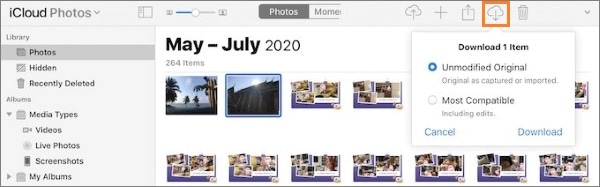
To download iPhone photos to your computer: Select the photos you want to download and click the download button on the top right, which looks like a cloud with an arrow pointing down.
To upload iPhone photos from your computer to iCloud: Select the photos you want to upload to iCloud on your computer and then click the upload button, which looks like a cloud with an arrow pointing up.
To delete iPhone photos on your computer: Select the photos you want to delete and then click the trash button.
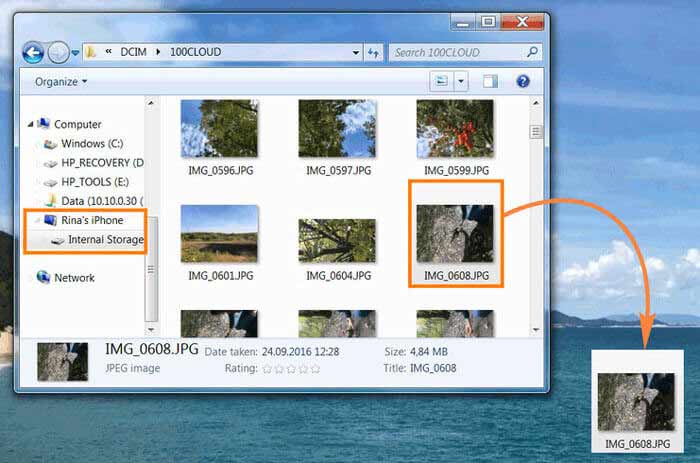
For Windows users, you can use the built-in tool - File Explorer to organize iPhone photos. What you need to do is connect your iPhone to your computer via a USB cable and import iPhone photos to your Windows computer. Here is how to organize iPhone photos on computer on Windows 10/11:
Step 1. Connect your iPhone to the computer using a USB cable. If prompted, unlock your iPhone and select "Trust This Computer".
Step 2. Open File Explorer on your Windows computer.
Step 3. Under "This PC", locate and open your iPhone device.
Step 4. Navigate to the "Internal Storage" > "DCIM" folder. Here, you can copy, move, or delete photo files.
You May Like: iPhone photos not showing up on your PC? Click here to find the reasons and solutions.
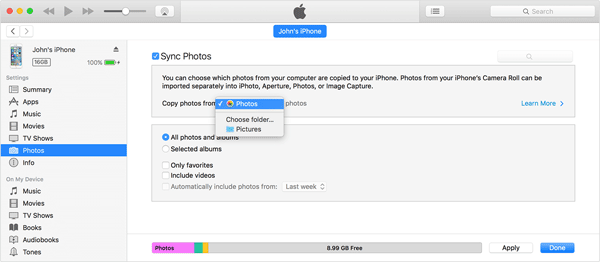
Although iTunes is primarily used for managing music and videos, it also includes some photo synchronization and management features. If you are accustomed to using iTunes to manage your iOS devices, then this method may suit you well. Here is how to do it:
Step 1. Open iTunes and connect your iPhone.
Step 2. Select the device icon, then click on the "Photos" tab.
Step 3. Check the "Sync Photos" box and select a folder from the drop-down menu.
Step 4. Click "Apply" to start syncing.
We've discussed three methods for organizing iPhone photos. So, what's the best way to organize iPhone photos? Coolmuster iOS Assistant is an excellent iOS management tool. It not only helps you transfer all your iPhone data to your computer, but also allows you to manage your iPhone data directly on your computer. This includes not only photos, but also videos, contacts, text messages, notes, apps, and more. Whether you're using Windows or Mac, this software works flawlessly.
Key features of Coolmuster iOS Assistant:
Here is how to use iOS Assistant to organize your iPhone photos on your computer:
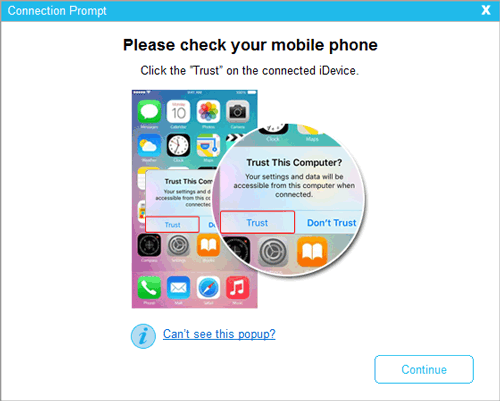
01Once you download this software, launch it on your computer. Then, connect your iPhone to your computer and trust your device.
02After a successful connection, you will see the main interface of this software.

03Click "Photos" on the left panel and you will see all iPhone photos here. Then, you can organize your iPhone photos on your computer.
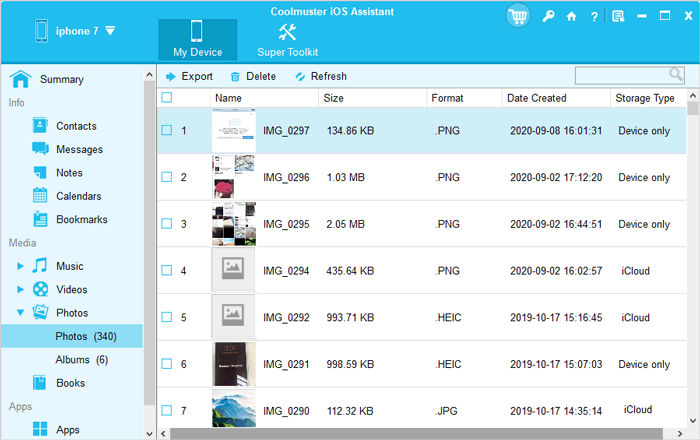
To transfer iPhone photos to your computer: Choose the photos you want to transfer from your iPhone to your computer and then click the "Export" button to start the transfer process.
To delete iPhone photos on your computer: Choose the photos you want to delete and then click the "Delete" button to delete them from your iPhone. (If you want to delete photos from your both iPhone and computer, you can check this guide.)
Video Tutorial:
By reading this article, you will learn how to organize iPhone photos on computer. We have introduced four methods in total and the methods you choose based on your situation and preference.
Therefore, Coolmuster iOS Assistant is the best way to organize your iPhone photos on your computer. It can not only manage your iPhone data, not limited to photos but also supports both Windows and Mac systems. Download this software and give it a try. It will never disappoint you.
Related Articles:
How to View iPhone Photos on PC? 4 Easy Ways
[Fixed] How to Transfer Photo Albums from iPhone to PC with Ease?
How to Transfer Photos from Mac to iPhone? [6 Easy Ways]
How to Transfer Contacts from iPhone to Computer Successfully


 Free Download for PC
  Free Download for Mac

