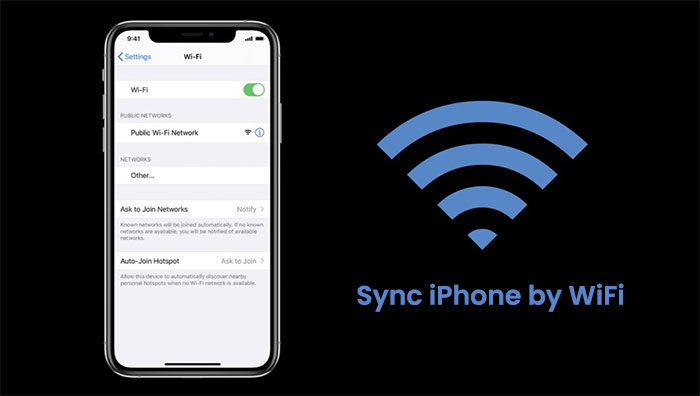
Want to sync your iPhone without plugging in a cable every time? WiFi syncing makes it easy to transfer data between your iPhone and computer wirelessly. Once set up, your device can sync automatically whenever it's connected to the same network. In this guide, you'll learn how to sync your iPhone over WiFi using iTunes or Finder, how to fix common issues, and the best alternative if WiFi syncing doesn't work well for you.
Syncing your iPhone over WiFi with iTunes allows you to transfer data without using a cable every time. Once set up, your iPhone can sync automatically when connected to the same network.
Step 1: Use a USB cable to connect your iPhone to your Windows computer for the first time. This initial connection is required to enable WiFi syncing.
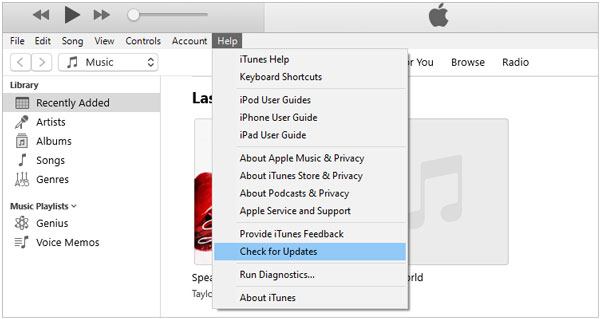
Step 2: Launch iTunes on your PC. Make sure you are using the latest version to avoid compatibility issues.
Step 3: Click the device icon in the top-left corner of iTunes to access your iPhone's summary page.
Step 4: Scroll down to the "Options" section, then check the box labeled "Sync with this iPhone over WiFi."
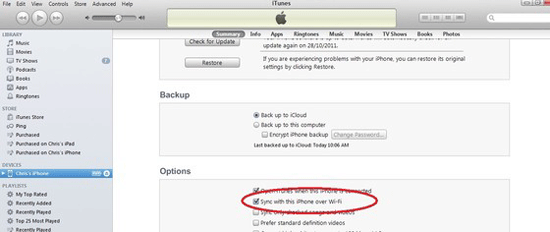
Step 5: Click the "Apply" button to save your changes. Wait for the sync process to complete.
Step 6: Unplug your iPhone. As long as your iPhone and PC are connected to the same WiFi network, your device will now sync wirelessly.
Tip: For automatic iTunes WiFi syncing, keep your iPhone charging and connected to WiFi.
If you're using a Mac, you can sync your iPhone to Mac over WiFi through Finder instead of iTunes. The setup is simple and only needs to be done once.
Step 1: Use a USB cable to connect your iPhone to your Mac for the initial setup.
Step 2: Open Finder and locate your iPhone under the "Locations" section in the sidebar.
Step 3: Click your device name to enter the iPhone management interface.
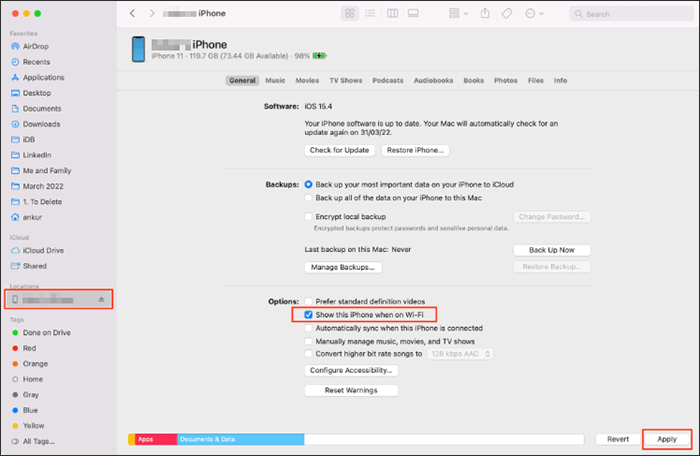
Step 4: Under the "General" tab, check the option "Show this iPhone when on WiFi."
Step 5: Click the "Apply" button to save your settings and complete the setup.
Step 6: Disconnect the USB cable. As long as your iPhone and Mac are connected to the same WiFi network, you can sync your device wirelessly anytime.
Tip: Your iPhone can sync automatically when it is charging and connected to the same WiFi network.
If your iPhone won't sync over WiFi, don't worry. Follow these detailed fixes step by step:
A simple restart can clear temporary system glitches.

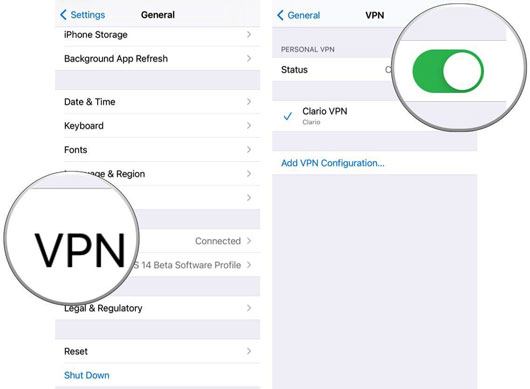
WiFi sync only works when both devices are on the same network.
Outdated software may cause compatibility problems.
Update iTunes:
Update macOS
The WiFi sync option may not be properly enabled.
Network restrictions can block communication.
This helps fix deeper network issues. Please note this will erase saved WiFi passwords, so you'll need to re-enter them.

If WiFi syncing is unstable or too slow, using a USB cable is a more reliable option. Here, Coolmuster iOS Assistant is a great alternative. It allows you to manage, transfer, and back up iPhone data easily without relying on network conditions. With a simple interface and fast speed, it is especially suitable for users who want a stable and secure syncing experience.
Key Functions of iOS Assistant:
How to sync iPhone using USB Cable step by step:
01Download and install Coolmuster iOS Assistant on your computer, then open it. Use a USB cable to connect your iPhone to the computer. Tap "Trust This Computer" on your iPhone if prompted.
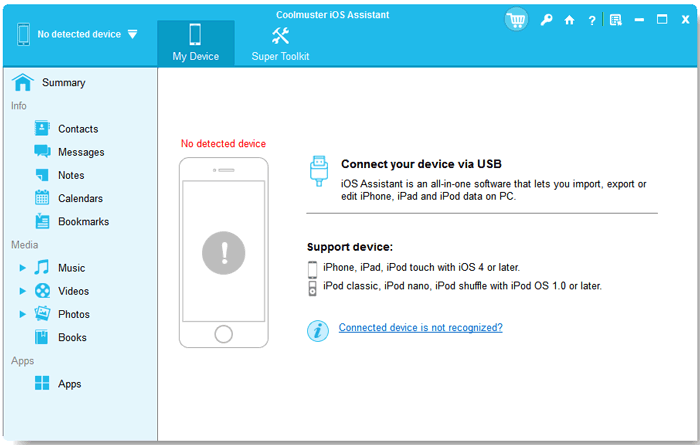
02Once connected, the software will automatically recognize your iPhone and display its main interface.

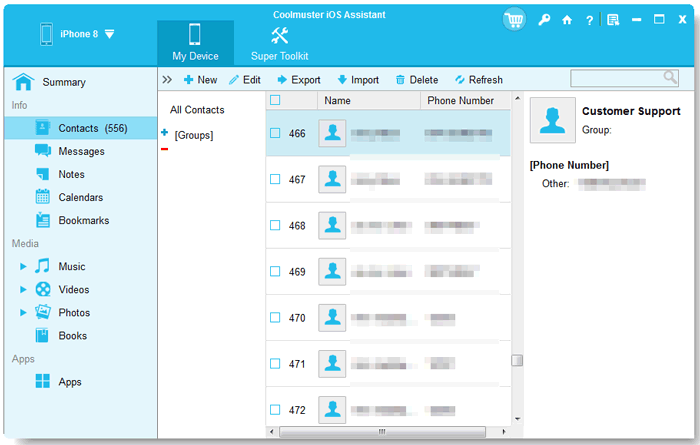
For selective sync: Select a data category (like Photos, Contacts, or Messages), preview the files, and click "Export".
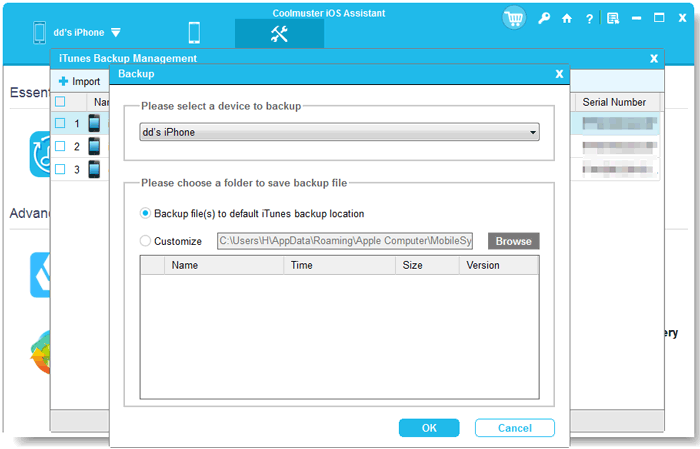
For full backup: Go to "Super Toolkit" > "iTunes Backup & Restore" > "Backup", then choose your device and start.
03Wait for the process to finish. Your data will be safely transferred and saved on your computer.
Video Guide:
Q1: Why is WiFi syncing so slow?
WiFi syncing can be slower than USB because it depends on your network speed and stability. Large files like videos or photos may take longer to transfer. To improve speed, use a stable and fast WiFi connection and avoid network congestion.
Q2: Can I sync my iPhone over WiFi without iTunes or Finder?
No, the built-in WiFi syncing feature requires iTunes (Windows) or Finder (Mac). If you want to sync without them, you'll need to use a third-party tool, usually with a USB cable.
Q3: Does WiFi syncing use mobile data?
No, WiFi syncing only works over a local WiFi network. It does not use your cellular/mobile data.
Q4: Can iPhone sync automatically over WiFi?
Yes. Your iPhone can sync automatically when:
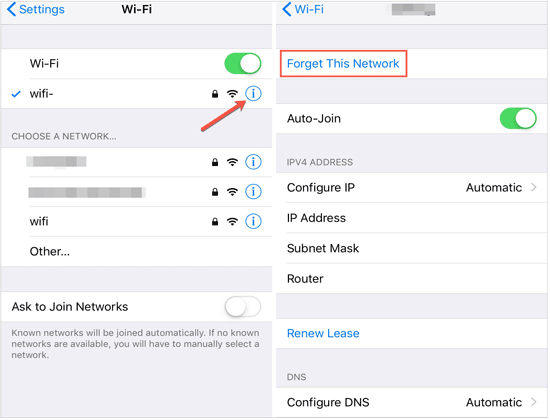
Q5: How do I stop WiFi syncing on iPhone?
You can turn it off easily:
Syncing your iPhone over WiFi is a convenient way to transfer data without cables, especially for daily use and automatic backups. By following the correct setup steps in iTunes or Finder, you can easily enable wireless syncing and keep your data up to date. However, if you encounter slow speeds or connection issues, switching to a USB-based solution like Coolmuster iOS Assistant can provide a faster and more stable experience. Choose the method that best fits your needs for smooth and efficient iPhone syncing.
Related Articles:
2 Ways to Transfer Music from iPhone to iTunes Library
2 Simple Ways to Transfer iPhone Purchases to iTunes


 Free Download for PC
  Free Download for Mac

