Want to transfer iPhone ringtones to Android but don't know how to do that? This is a tutorial that shows you how to transfer iPhone ringtones to Android easily and quickly. Even though both devices run different systems, you can still move or copy your ringtones without effort.
The short answer is yes, you can transfer iPhone ringtones to Android, but not directly. Apple's iOS and Google's Android are distinct operating systems, and their file systems and ringtone formats differ.
iPhone ringtones are typically in M4R format, which is an AAC audio file renamed. Android devices, on the other hand, commonly use MP3 or WAV formats for ringtones. This incompatibility means you can't simply drag and drop ringtone files between the two devices. However, with a few extra steps and the right tools, you can easily get your iPhone ringtones onto your Android phone.
MobieSync is a professional phone transfer tool designed to manage and transfer various types of data between iOS, Android, and computers. It simplifies the process of moving ringtones from your iPhone to your Android device. This software can detect and display your iPhone ringtones on the interface, so you can select what you want and import it to your Android device.
Main features of this ringtone transfer:
Download MobieSync here.
Here's how to copy iPhone ringtones to Android with this software:
01Download and install the MobieSync software on your computer. Then launch it on the desktop.
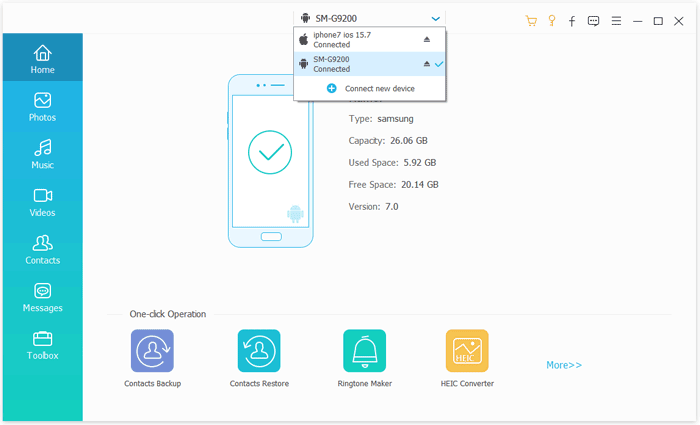
02Connect both your iPhone and your Android phone to your computer using USB cables. Once both devices are recognized, select your iPhone as the source device from the top menu.
03On the left sidebar, navigate to the "Music" > "Ringtones" section . You'll see a list of your iPhone ringtones. Select the ringtones you wish to transfer.
04After selecting, click the "Export to Device" button and choose your Android phone from the pop-up list. Your ringtones will be imported to your Android phone.

iCloud can be a useful intermediary for transferring ringtones, especially if your ringtones are already synced to iCloud Music Library or you can upload them there. This method requires you to first get the ringtones from your iPhone to iCloud, and then download them to your Android device.
Here's how to do it:
Step 1: iPhone ringtones are typically created and managed through iTunes. If your custom ringtones aren't already on your computer, you'll need to transfer them from your iPhone to your computer via iTunes (refer to Part 5 for details on finding ringtone files in iTunes).
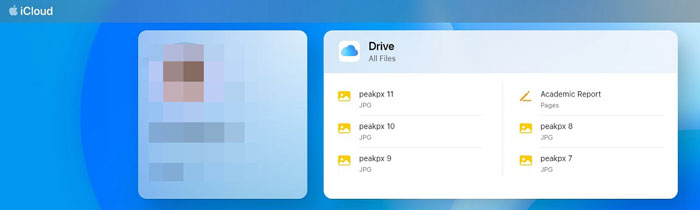
Step 2: On your computer, locate the M4R ringtone files. Then open your web browser and go to iCloud.com. Log in with your Apple ID. Drag and drop the M4R ringtone files into your iCloud Drive.
Step 3: On your Android phone, open a web browser and go to iCloud.com. Log in with your Apple ID. Navigate to iCloud Drive.
Step 4: Locate the ringtone files you uploaded. Tap on each ringtone file and select the download option.
Step 5: Since the downloaded files will likely be in M4R format, you'll need a third-party app from the Google Play Store (like "Audio Converter" or "MP3 Converter") to convert them to MP3. Once converted, you can set them as your ringtone on your Android device.
Read also: You can create MP3 ringtones on your iPhone, enabling you to copy them to your Android phone without hassle.
Google Drive offers a straightforward cloud-based solution for transferring ringtones. This method involves uploading your ringtones to Google Drive from your computer and then downloading them to your Android device.
Here are the steps:
Step 1: Similar to the iCloud method, you'll first need to get your M4R ringtone files from your iPhone onto your computer. This can be done by syncing with iTunes.
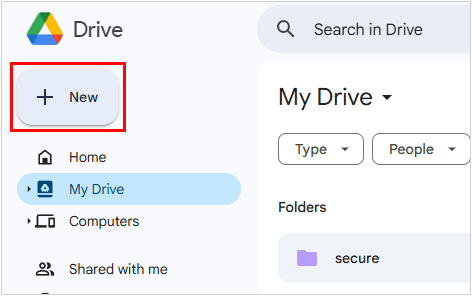
Step 2: On your computer, open your web browser and go to drive.google.com. Log in with your Google Account.
Step 3: Click on the "+ New" button on the left sidebar and select "File upload". Browse and select the M4R ringtone files from your computer and upload them to your Google Drive.
Step 4: On your Android phone, open the Google Drive app. Locate the ringtone files you uploaded. Tap on the three-dot menu next to each ringtone file and select "Download".
Step 5: The downloaded M4R files will need to be converted to MP3 using a third-party audio converter app from the Google Play Store.
While iTunes doesn't directly transfer ringtones to Android, it's crucial for getting your custom iPhone ringtones onto your computer, which is a necessary first step for most other transfer methods.
Here how to move iPhone ringtones to Android with iTunes:
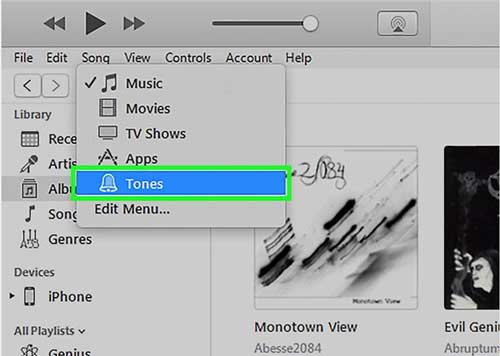
Step 1: Connect your iPhone to your computer and open iTunes. If your ringtones were purchased from the iTunes Store, they should be in your iTunes library under "Tones" or "Ringtones".
Step 2: For custom ringtones you've created, they are usually located in the following path on your computer: C:\Users\[Your Username]\Music\iTunes\iTunes Media\Tones.
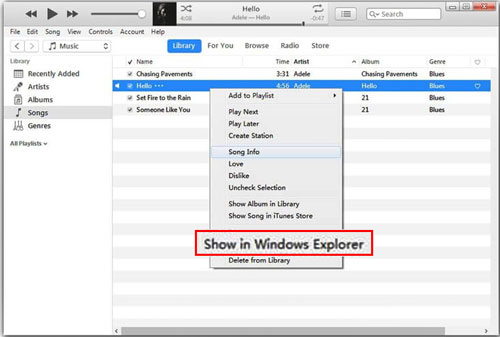
Step 3: If you can't find them there, they might be directly associated with your device. You may need to right-click on the ringtone in iTunes and select "Show in Windows Explorer" to locate the M4R file.
Step 4: Once you've located the M4R ringtone files, copy them to an easily accessible folder on your computer. Now that the M4R files are on your computer, you can proceed with a M4R-to-MP3 converter to convert your ringtone format. Then use a USB cable to drag and drop them to your Android phone.
Transferring ringtones from iPhone to Android may not be a one-click process, but it's definitely achievable. Whether you use professional software like MobieSync, cloud services like iCloud and Google Drive, or manual tools like iTunes, each method offers a solution depending on your needs and preferences. Once the transfer is complete, you can enjoy your favorite ringtones on your new Android device without compromise.
Related Articles:
How to Add Ringtones to iPhone without iTunes & Make a Custom Ringtones on iPhone
How to Transfer Ringtones from iPhone to iPhone?
Switching from iPhone to Android: What to Consider and How to Do It?
iPhone vs. Android: What's the Difference, and Which One Should You Buy?


 Free Download for PC
  Free Download for Mac

