"I'm on a 2015 iMac, running Mojave 10.14.6, with an iPhone 12 Mini. Since updating my iPhone to iOS16.0.2, iTunes can't connect to my iPhone. I get an error saying 'iTunes could not connect to this iPhone. Could not connect to the device.' I've tried different USB cables and ports, to no avail, restarted the phone, restarted the computer, etc, all to no avail. Any ideas how to solve this problem?"
- from Apple Community
iTunes is a very handy tool for iPhone users to back up their iPhone, transfer data, and organize and play digital media collections on the computer. When you connect your iPhone to a computer, normally, it will automatically launch and recognize your iPhone. But what if it does not recognize your iPhone and a window pops up in front of you and reads that iTunes could not connect to this iPhone? Well, if you encounter this frustrating problem, don't worry. This post introduces 8 effective ways to fix the problem iTunes could not connect to this iPhone.
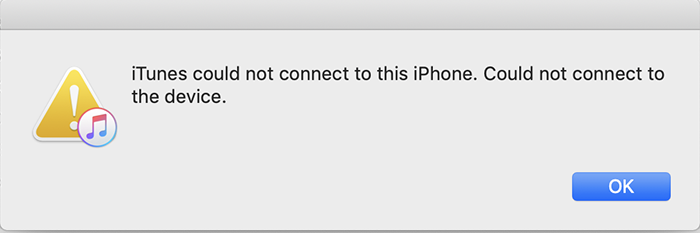
Here are some possible error messages you may encounter when the "iTunes could not connect to this iPhone" issue occurs:
Why does my iTunes not have permission to connect to my iPhone? Common reasons that prevent iTunes from connecting to the iPhone include:
In this part, we will introduce 8 specific solutions to the problem iTunes could not connect to this iPhone according to the problem that may occur, including an unknown error (0xe80000a), invalid response or the value is missing, etc.
Hardware issues are one of the main causes of the "iTunes could not connect to this iPhone" error. Problems with the USB port or cable can result in a failed connection. To test the USB cable and port, follow these steps:
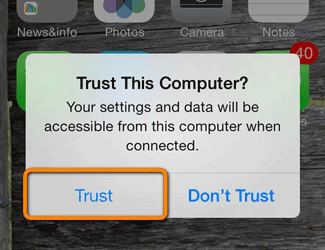
If the device does not trust the computer, you may encounter the "iTunes could not connect to this iPhone you do not have permission" message. Trusting the computer is a crucial step for ensuring a successful connection.
Here are the steps:
Step 1. Connect the iPhone to the computer and make sure the device is unlocked.
Step 2. When the "Trust This Computer?" prompt appears on the screen, tap "Trust".
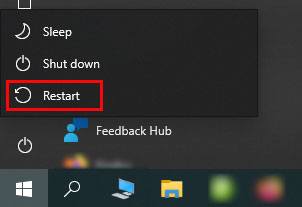
Temporary system errors may cause the "iTunes could not connect to this iPhone the value is missing" issue. Restarting both the device and the computer can clear the cache and resolve most system glitches.
For iPhone X, 11, 12, 13, or newer models:
For iPhone 6, 7, 8, or SE (2nd and 3rd generation):
For iPhone SE (1st generation), iPhone 5, or earlier:

Step 1. Click the "Windows" button, then select the "Power" icon.
Step 2. Choose "Restart" to begin the process of rebooting your PC.
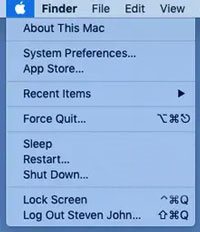
Step 1. Select "Restart" from the Apple menu.
Step 2. Click "Restart" again to confirm and begin the process.
Outdated software versions can also cause iTunes could not connect to this iPhone error. For example, older versions of iTunes or iOS may be incompatible with the device. Regular updates can help resolve this issue.
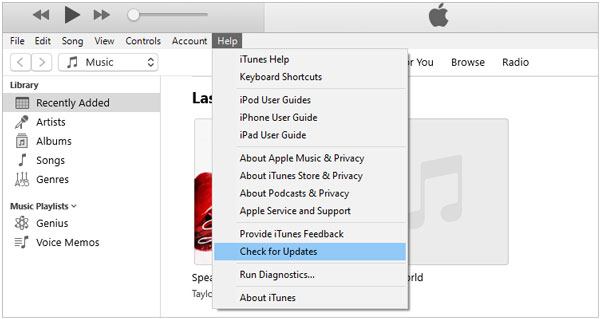
Step 1. Open iTunes on your PC, then click "Help" in the top menu.
Step 2. Select "Check for Updates".
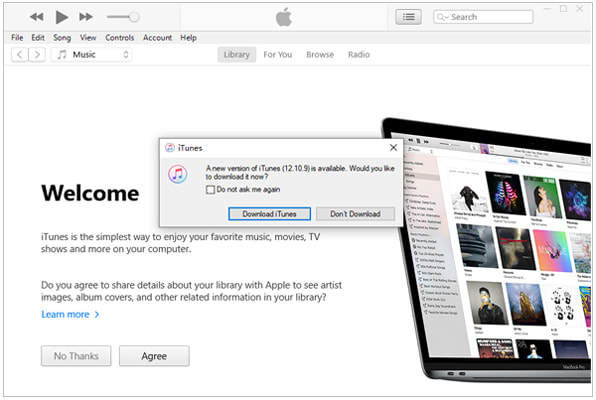
Step 3. If an update is available, a window will pop up saying "A new version of iTunes is available". Click "Download iTunes" to proceed.
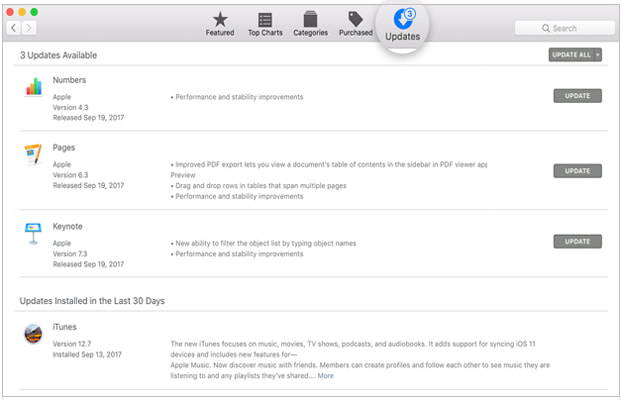
Step 1. Open the App Store on your Mac.
Step 2. Click the "Updates" tab at the top of the window.
Step 3. If an iTunes update is available, click the "Update" button to download it.
Step 1. Open the "Settings" app on your iPhone and go to "General".
Step 2. Tap "Software Update", then select "Download and Install" to update to the latest iOS version. (iPhone software update failed?)

A damaged iTunes component could be one of the reasons for the error "iTunes could not connect to this iPhone 0xe8000015". Uninstalling and reinstalling iTunes is an effective solution to resolve such issues.
Here is how to fix iTunes could not connect to iPhone:
Step 1. Open the "Start" menu, then go to "Control Panel" > "Programs" > "Programs and Features".
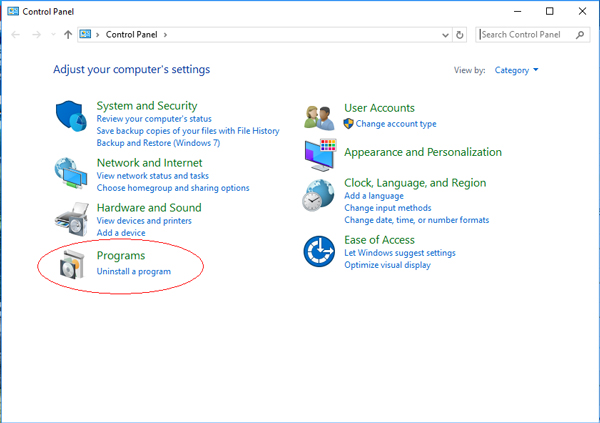
Step 2. Locate iTunes, right-click on it, and select "Uninstall". Wait for the uninstallation process to complete.
Step 3. Visit the Microsoft Store, search for iTunes, then click the "Install" button to reinstall it.
Your iPhone may have default restrictions, such as parental controls, which can trigger the "iTunes cannot connect to this phone and you have no permission" message.
To resolve this, go to "Settings" > "Screen Time" > "Content & Privacy Restrictions" and turn it off.

Outdated or corrupted drivers may cause the "iTunes could not connect to this iPhone, the value is missing" error. Updating the drivers is key to resolving this issue.
How do I fix my iPhone when it says disabled connect to iTunes? Follow the steps below:
Step 1. Open "Device Manager" on your Windows computer.
Step 2. Expand "Portable Devices" and locate "Apple iPhone".
Step 3. Right-click the driver, select "Update Driver", and follow the on-screen instructions.
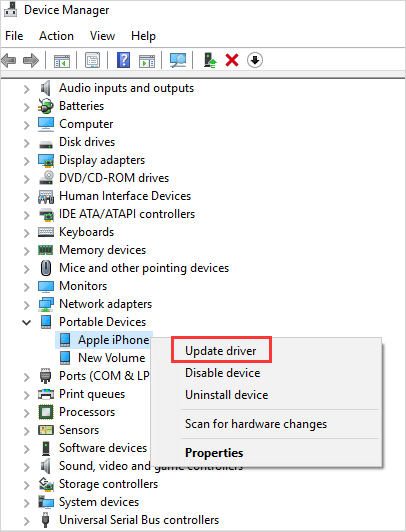
Step 4. Once the update is complete, reconnect your device to check if the issue is resolved.
If the above methods don't work, you can use a professional tool to fix system issues. For example, iOS System Recovery can effectively resolve the "iTunes could not connect to this iPhone" error. The software supports fixing a variety of iOS system problems, including devices that won't restore, are stuck on the Apple logo, or are in recovery mode. It is easy to use, safe, and won't cause data loss, making it an ideal solution for resolving such issues.
Here is how to fix iTunes could not connect to iPhone using iOS System Recovery:
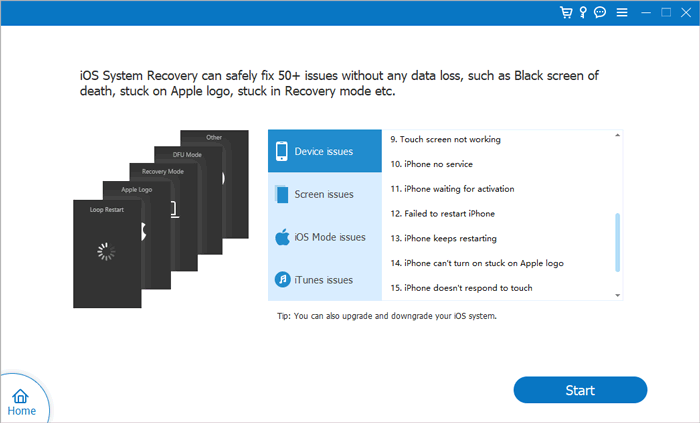
01Install and launch the software on your computer. Then, connect your iPhone to the computer using a USB cable and select "iOS System Recovery" on the main interface.
02The program will automatically detect any system issues with your device. Once it appears on the screen, click "Start" to proceed.
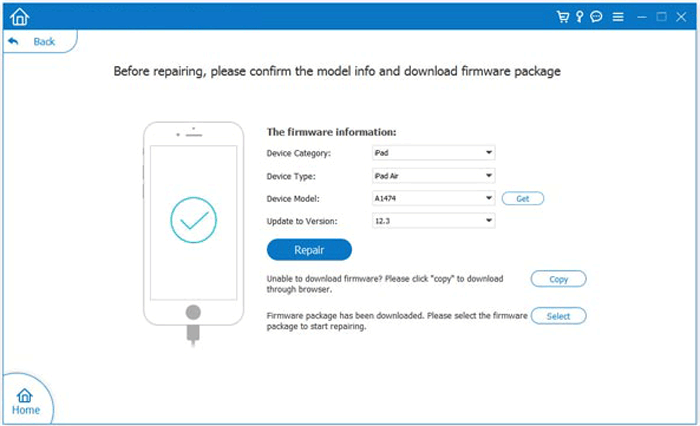
03Verify the iPhone information displayed on the interface. If it's incorrect, select the correct details from the drop-down menu. Then, click the "Repair" button to fix the "iTunes could not connect to this iPhone" issue immediately.
As you can see from the above description, once iTunes could not connect to this iPhone, fixing the connection is very complex. Thus, if you do not want to do the complex job and prefer to connect your iPhone to the computer using a simple way, you can choose the alternative way below to connect your iPhone to the computer without iTunes. Coolmuster iOS Assistant is one such tool.
Key features of Coolmuster iOS Assistant:
How to connect an iPhone to the computer using iOS Assistant?
01Install and launch iOS Assistant on your computer.
02Connect the iPhone to the computer via a USB cable, unlock the iPhone, tap "Trust" when the "Trust This Computer" window pops up, and hit the "Continue" option on this program to move on. After this program recognizes your iPhone, you will see the main interface below.

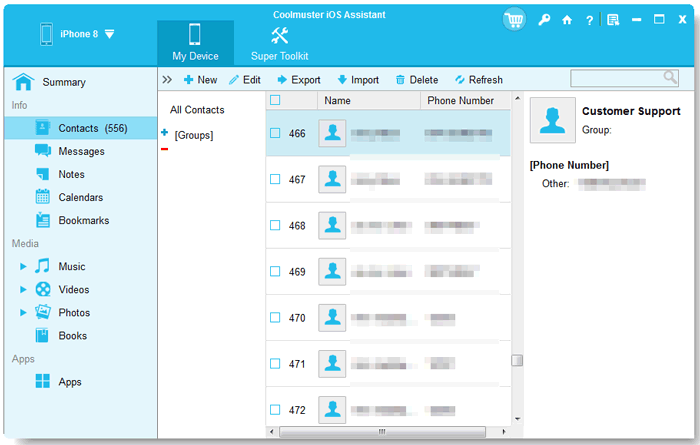
03Transfer and manage iOS data. For example, click "Contacts" from the left panel, hit "Export" to export files from iPhone to PC, hit "Import" to import files from computer to iPhone, and hit "Delete" to delete contacts from your iPhone, etc.
Video Tutorial:
If you encounter the problem of iTunes could not connect to this iPhone, you can try the above solutions to fix the connection issue. Or, you can also choose Coolmuster iOS Assistant, the alternative program to iTunes, to connect iPhone to computer and manage files. Personally, I highly recommend you use this easy-to-use, fast, absolutely secure, and powerful app.
If you encounter any problem during use, feel free to leave a comment below.
Related Articles:
How to Fix iTunes Error 0xE800002D in 4 Easy Ways?
4 Solutions: How to Fix iPhone Is Disabled Connect to iTunes Issue
Why Is iPhone Not Showing Up in iTunes? [Reasons & Solutions]
Why iTunes Error 50 (or -50) Occurs and How to Fix It [Resolved]


 Free Download for PC
  Free Download for Mac

