It's true that you can use iPhoto to import photos from your iPhone to your Mac, as it's a built-in app that helps manage and transfer iPhone photos. However, iPhoto only lets you transfer photos from the Camera Roll. This is likely why many people are looking for ways to transfer photos from iPhone to Mac without using iPhoto. If you're one of them, keep reading to discover six different methods to easily import your photos without iPhoto.

To move all your photos from the Camera Roll, Photo Stream, and Photo Library on your iPhone to a Mac, whether you want to transfer everything at once or pick specific photos, you can use the iOS data transfer tool, Coolmuster iOS Assistant. Once you install iOS Assistant on your Mac (it also works on Windows PCs with version 7 or later), you can easily transfer files from your iPhone or iPad (iOS 8 or higher) to your Mac, or the other way around, from your Mac to your iPhone or iPad.
What can iOS Assistant transfer or manage for you:
Coolmuster iOS Assistant is a great option if you want to move photos from your iPhone to your Mac without using iPhoto or the Photos app. Just follow these simple steps to transfer your photos quickly and easily.
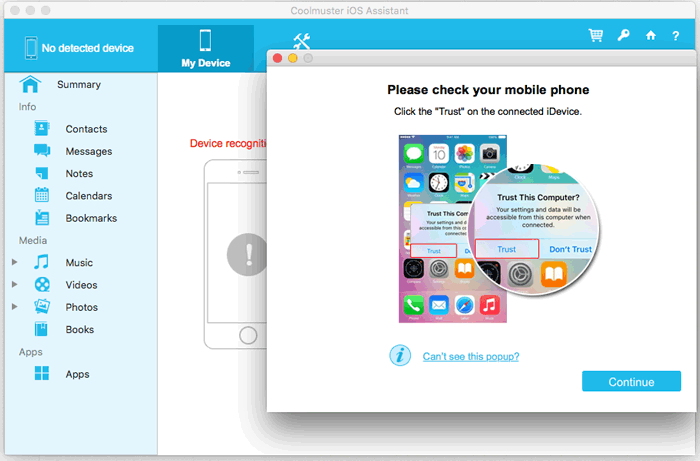
01 Install and launch iOS Assistant
After installation, launch the Coolmuster iOS Assistant program on your Mac. Then, press "Trust" > "Continue" on the iPhone screen as prompted for the detection by the program.
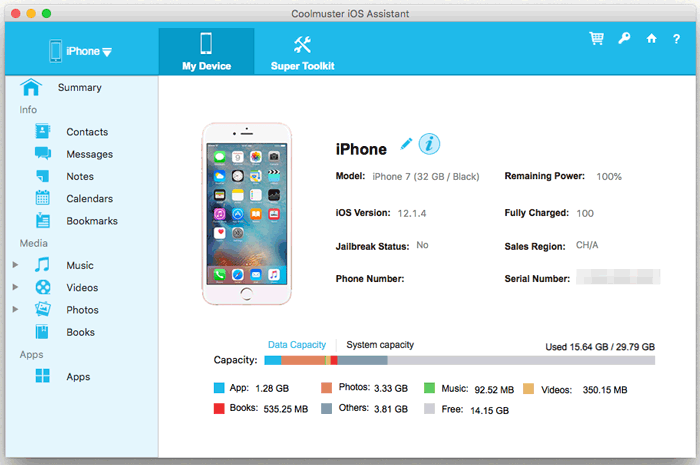
02 Preview and select the photos you need
Once the software recognizes your device, it will show the main screen, which is laid out like the image below. On the left side, you'll see different folders organized by category. To find your photos, simply click on the "Photos" folder and let the software scan your device.
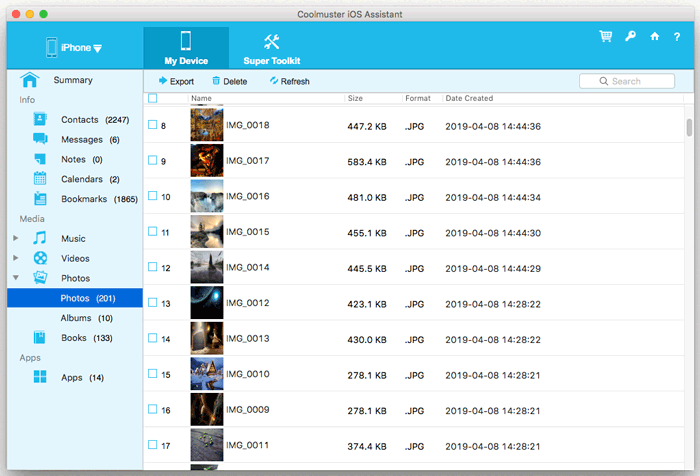
03 Transfer photos from iPhone to Mac
After the scan, you can preview and select your wanted pictures. Click on the "Export" button on the top menu to transfer iPhone photos to Mac. You can find or create a folder to save the exported photos on your Mac.
Video Guide:
The Photos app is Apple's new tool for managing photos, replacing iPhoto. It's quicker, simpler, and offers more editing options. To use it, all you need to do is connect your iPhone to your Mac with a USB cable and open the Photos app. Here's how you can transfer your photos:
1. Plug your iPhone into your Mac using a USB cable.
2. Open the Photos app on your Mac (if it doesn't open automatically, just do it manually).
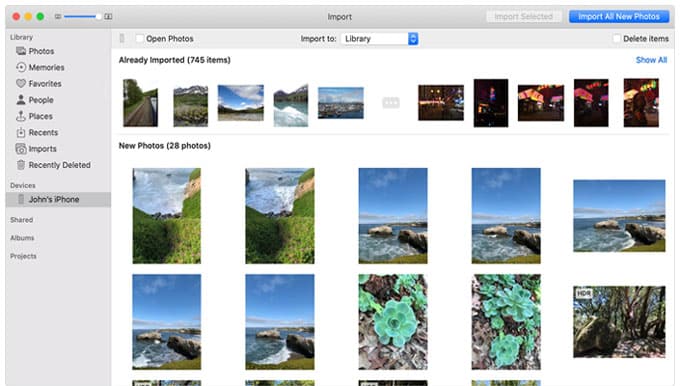
3. Click on "Import" at the top-right corner of the screen in the Photos app.
4. Choose the photos you want to transfer, and click the "Import" button to start moving them over. (Photos Not Importing from iPhone to Mac?)
You can wirelessly sync your iPhone photos to your Mac using iCloud, without needing iPhoto. Just make sure both devices are signed in with the same Apple ID. Apple offers 5 GB of free iCloud storage, but if you need more, you can upgrade your storage plan.
Here's how to set it up on both devices:
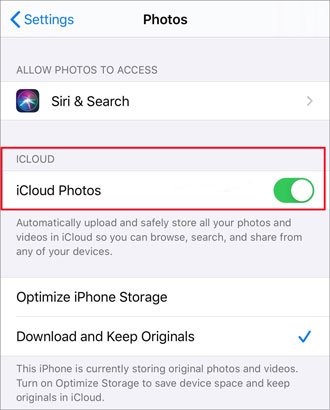
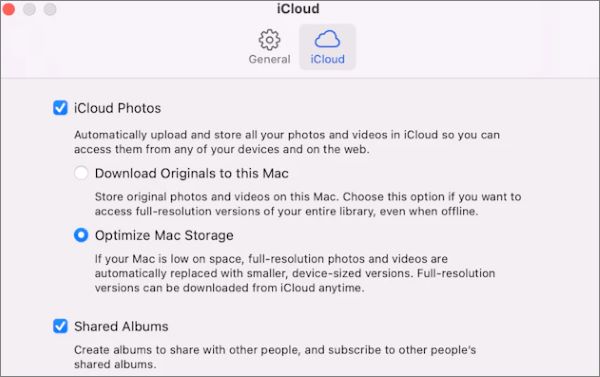
Once both devices are set up with the same iCloud account, your photos will automatically sync. The only catch is that you can't choose specific photos to transfer—it will sync everything.
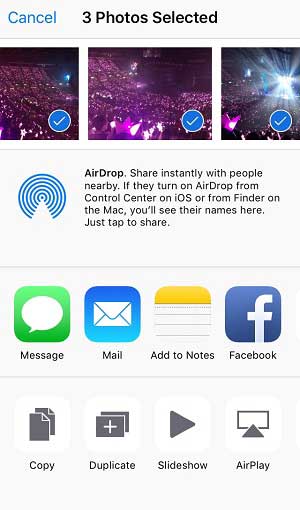
If you want to transfer photos from your iPhone to your Mac without using iPhoto or a cable, AirDrop is a great solution. Here's how to do it:
Step 1: Turn on AirDrop on your Mac

Step 2: Turn on AirDrop on your iPhone
Step 3: Transfer photos from your iPhone to Mac
My iPhone has run out of storage, and I want to delete iPhone photos from Mac to free up space. How do I do it? Read this article to find out.
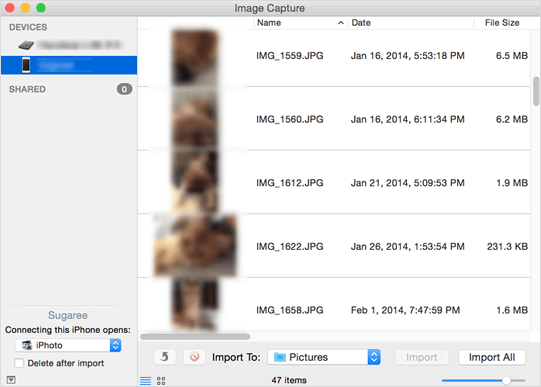
5 Easy and Quick Ways to Delete iPhone Photos from MacmacOS comes with many useful apps, and one you might not know about is Image Capture. It's a handy tool for transferring photos from your iPhone to your Mac. Here's how you can do it:
1. Plug your iPhone into your Mac. You may need to unlock your iPhone and confirm that you trust the computer.
2. Open the "Image Capture" app on your Mac. In the left sidebar, click on your iPhone's name under the "DEVICES" section. You'll see a list of all your iPhone photos.
3. Pick the photos you want to transfer. At the bottom of the screen, choose the folder where you want to save them by clicking the button next to "Import To."
4. Press the "Download" button to start transferring the photos. If you want to move everything, you can click "Download All" to transfer all the pictures at once.
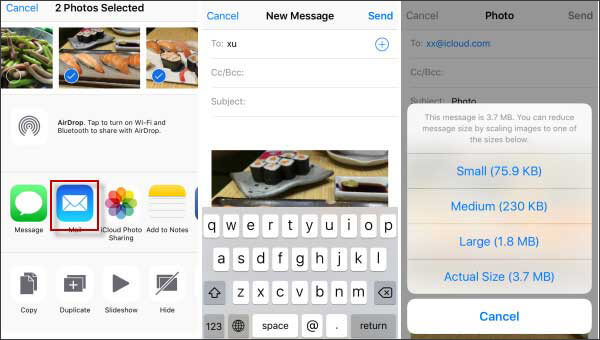
You can also email your photos from iPhone to Mac. This method is a bit slow, so it's best for sending just a few pictures at a time.
1. Open the Photos app on your iPhone and pick the photos you want to send to your Mac.
2. Tap the "Share" icon and choose "Email."
3. Type in your own email address.
4. On your Mac, open your email, find the message, and download the photos to your computer.
This guide explains six different ways to transfer photos from your iPhone to your Mac without using iPhoto. You can choose any of these methods and follow the steps provided. If you want an easy solution that handles everything for you, Coolmuster iOS Assistant is the best choice.
Related Articles:
How to Transfer Files from iPhone to Mac? - 7 Effective Ways
iPhone "Save Image" Not Working, How to Fix?
Photos Didn't Transfer to New iPhone? Work It Out with Easy Solutions


 Free Download for Mac
  Free Download for PC

