Protecting PDF files from editing with a password helps keep your private information secure. However, if you work with PDFs regularly, you may sometimes be required to unlock PDFs for editing. When such a need arises, plenty of automated tools can help encrypt password-protected files effortlessly. You can download or install them on your computer or use them for free online.
While both tools will offer quick decryption, offline tools are a better choice than online ones as they can remove passwords from documents effortlessly. What's more, some tools will even decrypt your documents based on the processing speed of your CPU power.
Want to learn more about how to unlock a PDF to edit? Check out a few tools you may want to consider using.
Offline tools provide seamless performance when removing passwords from PDF documents. They're also free to download and use. While this is the case, they'll have restrictions on the number of documents you can unlock simultaneously. Here's a breakdown of the best offline tools to consider when planning to remove passwords from PDF tools for free.
Coolmuster PDF Password Remover offers a convenient way to edit password-protected PDFs without configuring any plug-ins on your operating system. Using the platform is also easy, you only need to drag and drop the files you wish to decrypt on the user interface, and they'll be uploaded and decrypted immediately.
Check out some of the key features of using Coolmuster:
When planning to decrypt PDF files, here are steps to follow when using the Coolmuster PDF Password Remover:
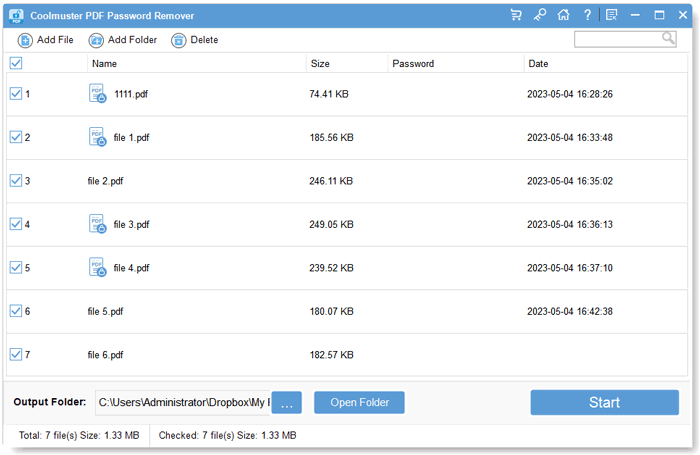
01Install and run the software application on your computer. Drag and drop your encrypted PDF files to the user interface or click Add File to upload the documents from your computer storage. Remember that the software allows batch decryption for quick conversion of multiple documents.
02Choose the output folder to save the unlocked documents by selecting the 3-dot button at the bottom of the application. Note that if you can see an icon on the PDF list, it shows that your document is protected with a user/open password. You'll need to input the correct password to unlock the document.
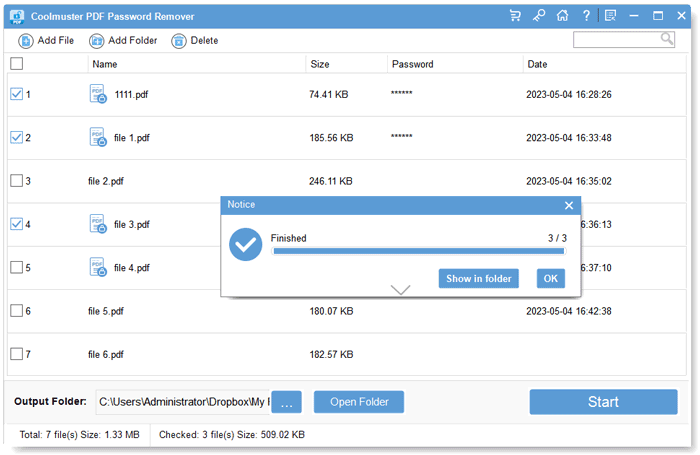
If there is no lock, the owner's password protects your document from getting edited, and Coolmuster will remove PDF password automatically. The application doesn't support your document when you see a cross icon.
03After you make the necessary settings, click Start to start unlocking. If you don't want to remove the password from all documents, right-click on the documents you want to decrypt and click Decrypt.
PDFgear Desktop offers a reliable way to remove passwords from documents. Here are the steps you should follow when using the PDFgear desktop to remove the password on your document.
Step 1. Download and launch the PDFgear application on your computer. Open PDF password remover on your computer and click the Open File option.
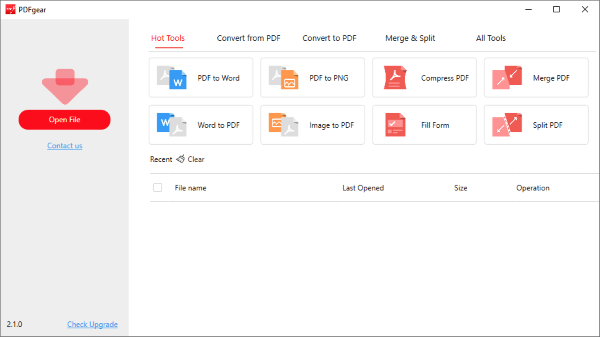
Step 2. Navigate to the Tools option on the taskbar and select Remove. A pop-up window will appear, prompting you to remove your password. Click Yes to remove the password. Go to the upper-left corner of the document and click on the Save icon to save changes to your decrypted file.

Besides offline tools, many online tools can help you easily decrypt PDFs. Since most tools are web-based, you can use the tools across different operating systems. Most online platforms will guarantee the safety of your documents as they'll delete any uploaded documents immediately or after a few hours of uploading.
If you find decrypting PDFs using online tools convenient, here are a few useful tools you may want to check out.
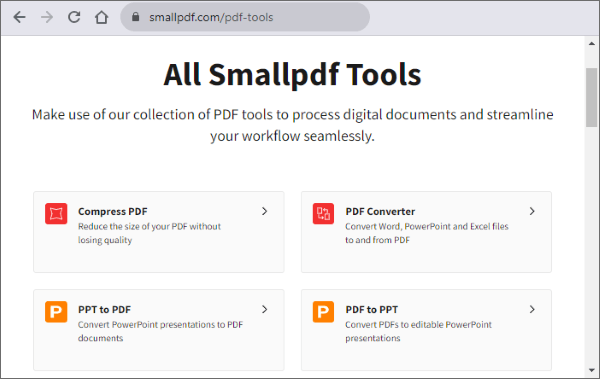
SmallPDF helps you remove passwords from your document instantly. While uploading files, they are transmitted via a secure connection, with the files deleted an hour after being deleted.
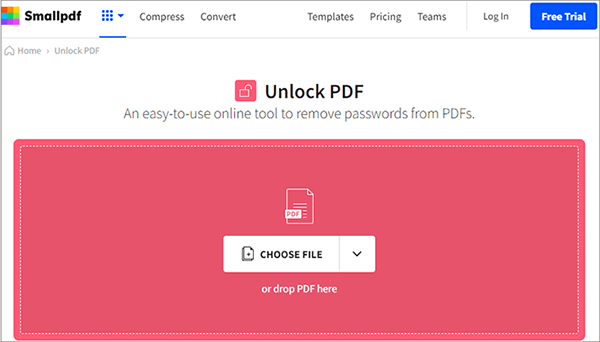
Step 1. Choose Unlock PDF on the official website of SmallPDF.
Step 2. Upload the files you wish to decrypt by dropping files on the interface or clicking on CHOOSE FILE to select the files to remove the password.
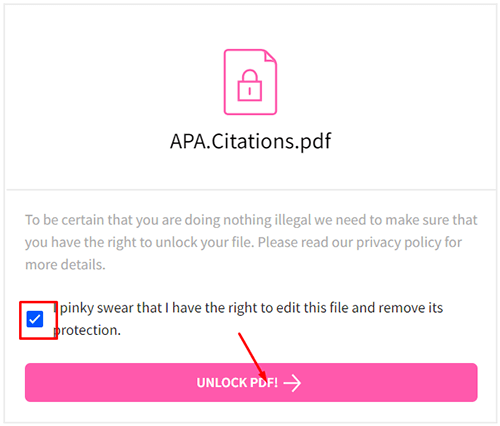
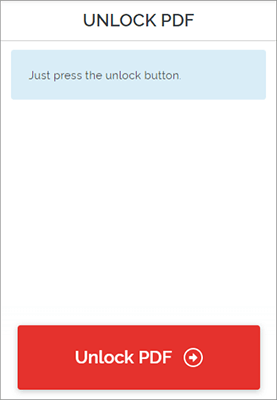
Step 3. Once uploaded, you'll be prompted to input the open password and click on UNLOCK PDF!.
Step 4. Your file is ready to download by clicking on the Download option. You also have the option to save PDF as Word, Excel, PowerPoint, or image.
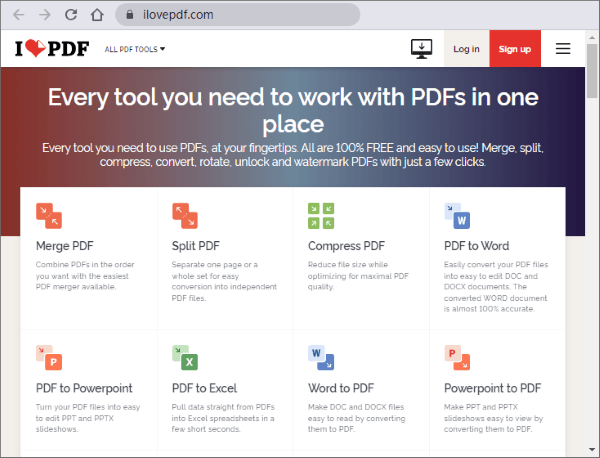
iLovePDF is a powerful online tool that includes a tool of editing tools that offer a solution for document management needs. You'll also love that it includes a user-friendly interface and quick processing and quick processing of information and safe processing of information.
Here are the steps to follow when using iLovePDF to remove the password from your document.
Step 1. Navigate to the iLovePDF page and Choose the Unlock PDF tool.
Step 2. Click Select PDF Files to choose the document you wish to remove your password from your computer. You can also select PDF documents from Dropbox or Google Drive. Once your files are uploaded, click Unlock PDF to start unlocking.
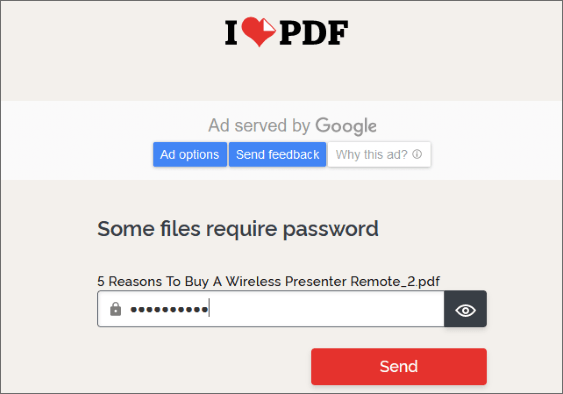
Step 2. You will need to enter the open password for the document. Input the password and click Send to begin the unlocking process. When the installation is complete, the files will download automatically.
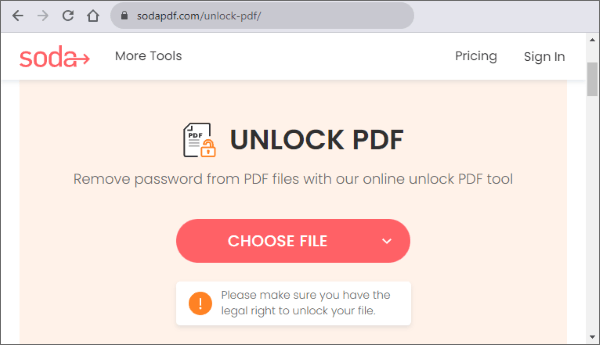
Soda PDF provides effective unlocking of passwords from your document. As long as you input the correct password to restrict your document, all restrictions will be lifted. After your document has been unlocked, you can download it or view it directly on your web browser.
Step 1. Click on CHOOSE FILE to select the documents you wish to decrypt. Select the files you wish to decrypt and drop them on the interface.
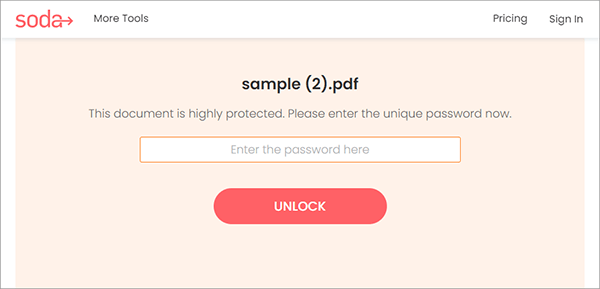
Step 2. Enter the open password to encrypt the document and click UNLOCK.
Step 3. Your file is ready to download. Click on Download to save the document on your computer.
PDF Converter is a convenient way to decrypt your PDF files while keeping your data secure by encrypting your data with 256-bit protection. This tool is also easy to use, as you can unlock your documents with simple clicks. Another great feature is that all major operating systems support the tools.
Check out the steps to help you unlock the PDF files.
Step 1. Choose the files you wish to unlock from your computer by clicking Choose PDF file. You also have the option to upload your preferred file from the website URL link, Google Drive, and Dropbox.
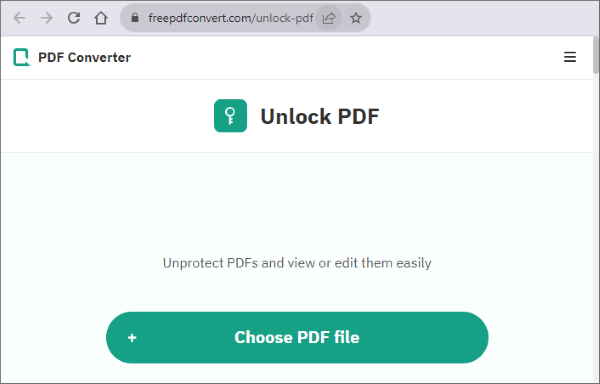
Step 2. After your files have been uploaded, enter the document, open the password, and click on Unlock PDF to remove the password from the document.
Step 3. Finally, click Download to save the document to your device.
Sedja is a popular online tool that allows users to unlock PDF documents effortlessly. By using this tool, the security of your document is guaranteed because all the files uploaded and decrypted on the Sedja server are deleted after two hours. Enjoy free password removal for documents that are less than 50 MB. The only limitation to using the free service is that you can only unlock three documents every hour.
If you have no idea how to edit password-protected PDFs, follow these steps to decrypt your document with Sedja.
Step 1. Click Upload PDF files to upload the documents you wish to unlock.
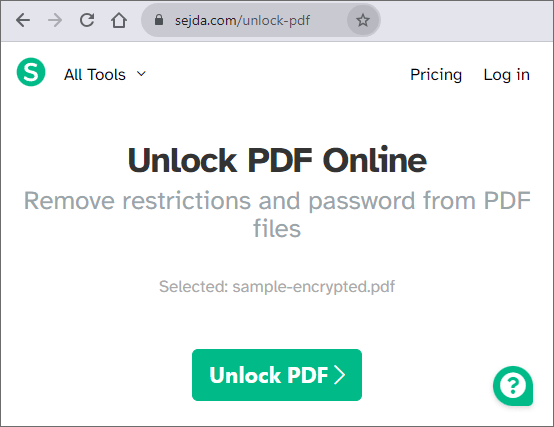
Step 2. After uploading the encrypted file, you'll be prompted to enter the open password. Input the password and click Unlock PDF to decrypt your file.
Password restrictions are essential in ensuring confidential information does not fall into the wrong hands. However, there are instances where you are authorized to access a document, but you can't edit it because it's encrypted with a password. If it's your first time working on such a document and wondering how to edit a password-protected PDF, consider using the Coolmuster PDF Password Remover.
Related Articles:
How to Encrypt a PDF File for Email? [Guide to Email Privacy]
How to Lock a PDF: Protecting Documents with Security Measures
[Solved] How to Remove Permissions from PDF Files Easy & Efficiently
[Useful PDF Tips] How to Open Password-Protected PDF Without the Password


 Free Download for PC
  Free Download for Mac

