If you enjoy listening to audiobooks on your iPhone, you might have noticed that these files can quickly take up a large portion of your device's storage space. Whether you've finished listening to a book or simply want to free up storage, knowing how to remove audiobooks from iPhone is essential. In this guide, we'll walk you through several effective methods to delete audiobooks from different sources. Let's delve in.

If you downloaded your audiobooks directly from Apple Books, you can easily remove them from the app itself. This is one of the most straightforward ways to manage your downloaded titles and instantly free up space.
How do I delete audiobooks on iPhone via Apple Books? Follow the steps below:
Step 1. Open the Apple Books app on your iPhone.
Step 2. Tap "Library" at the bottom of the screen.
Step 3. Find the audiobook you want to delete.
Step 4. Long-press the audiobook cover or tap "Edit" in the upper-right corner.

Step 5. Tap the "trash" icon and then choose the "Remove Download" option.
Many users prefer to listen to audiobooks through the Audible app. If your audiobook is from Audible, you can directly delete the downloaded content within the app to free up space on your device.
Here is how to remove audiobooks from iPhone using Audible:
Step 1. Launch the Audible app on your iPhone.
Step 2. Tap "My Library" at the bottom to see all your titles.
Step 3. Locate the audiobook you wish to delete.
Step 4. Swipe left on the title and select "Delete from device".

If you've synced audiobooks to your iPhone via iTunes, you can use your computer to remove them. This is ideal for users who prefer managing their entire audiobook collection from one place.
Here's how to remove audiobooks from iPhone via iTunes:
Step 1. Connect your iPhone to your computer using a USB cable.
Step 2. Open iTunes and click the device icon in the top-left corner. (iTunes doesn't recognize your iPhone?)
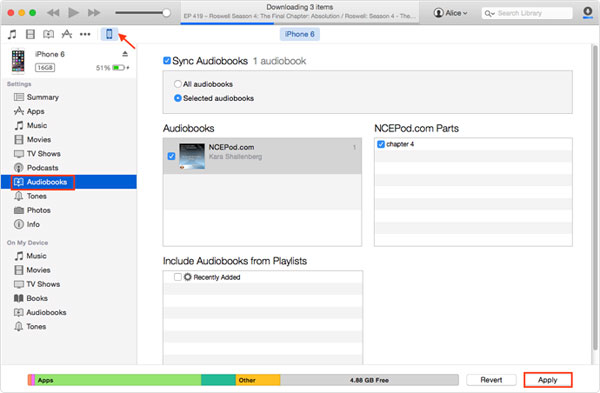
Step 3. Select "Audiobooks" from the left-hand sidebar.
Step 4. Uncheck the titles you want to remove from your iPhone.
Step 5. Click "Sync" or "Apply" at the bottom right to apply the changes.
Step 6. Once the sync is complete, the audiobooks will be deleted from your iPhone.
You can use the above method to delete audiobooks, but some tools may still be able to recover them. If you want to permanently delete audiobooks and ensure they cannot be restored, it's recommended to use a professional tool like Coolmuster iOS Eraser. This powerful iPhone erasure tool can completely wipe all data from your iPhone, making it ideal for users preparing to sell or transfer their device.
Main features of iOS Eraser:
How do I permanently delete audiobooks on iPhone? Follow the steps below:
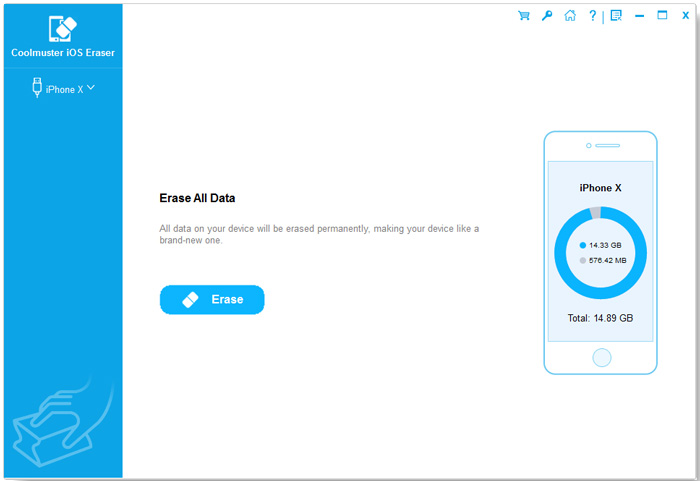
01Connect your iDevice to the computer using a USB cable. The software will automatically detect your device, and once connected, the main interface will display, ready for the erasure process.
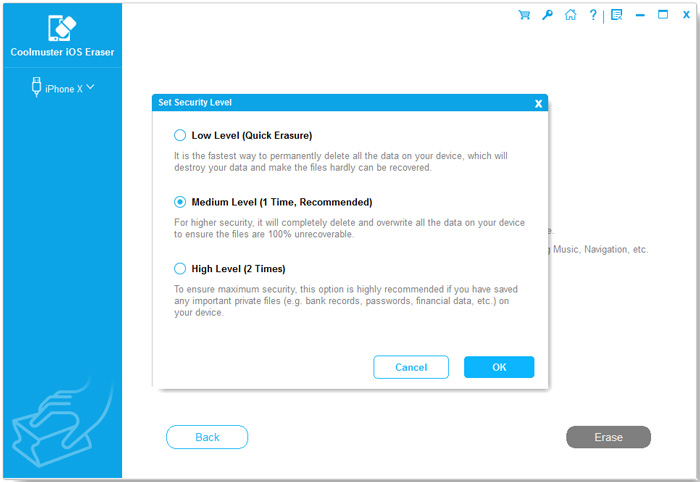
02Click the "Erase" button, select your desired security level (Low, Medium, or High), and confirm by clicking "OK".
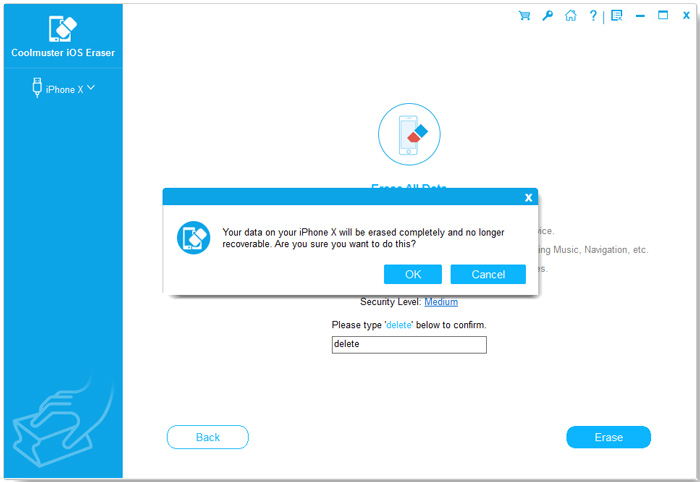
03When prompted, type "delete" to confirm, then click "Erase" again. A final confirmation message will appear—click "OK" to proceed with permanently deleting your data.
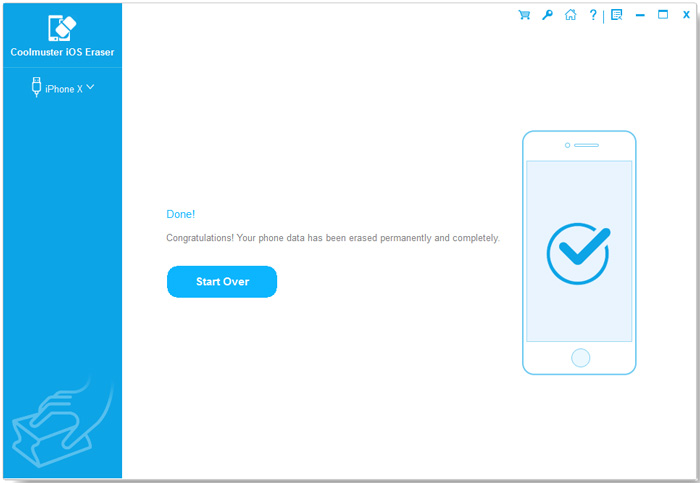
04Once the process is complete, all data on your device will be permanently erased and unrecoverable. You can now set up your iDevice as new.
Video Tutorial:
Now you know multiple ways on how to remove audiobooks from iPhone, depending on your needs. If you're looking for a permanent and secure solution, Coolmuster iOS Eraser is your best choice. The program offers three levels of erasing, giving you flexibility and peace of mind when it comes to data removal. By utilizing overwriting techniques, iOS Eraser ensures that your data is destroyed beyond restoration.
Related Articles:
How to Delete Purchased Books from iPhone/iPad? [Solved]
[Full Guide] How to Delete Playlists on iPhone/iPad in 3 Easy Ways
How to Add Books to iPhone/iPad: Audiobooks, eBooks, ePub, and PDF Included)
How to Transfer Ringtones from iPhone to Computer with or without iTunes?


 Free Download for PC
  Free Download for Mac

