TL;DR:
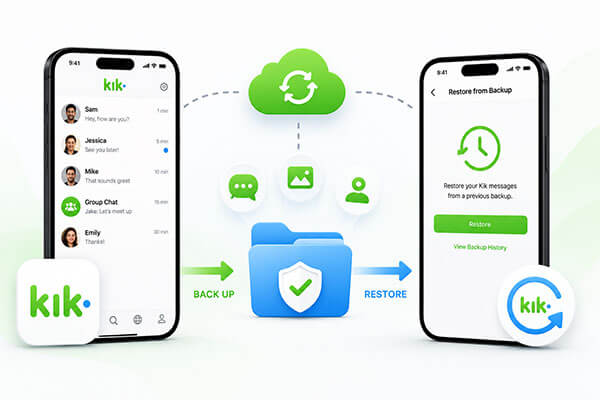
Kik backup restore is essential if you want to protect your Kik chats, photos, videos, and attachments from accidental deletion, device failure, or iPhone upgrades.
If you need a secure and user-friendly way to back up and restore Kik separately, iOS Data Backup and Restore is the recommended option thanks to its selective backup, preview, and recovery features.
Kik has become one of the most popular messaging apps worldwide, with millions of users relying on it to communicate, share images, videos, and important messages. Losing Kik chats due to accidental deletion, device loss, or iOS updates can be frustrating. That's why knowing how to back up and restore Kik is essential. In this guide, we will cover three reliable ways to back up and restore Kik on iPhone to help you easily protect and recover your Kik data.
If you're using an iPhone, iOS Data Backup and Restore is one of the easiest and most reliable ways to back up and restore Kik data. It is a professional iPhone backup tool that allows you to selectively back up app data on your iPhone, including Kik chats and attachments.
Unlike Apple's official iTunes and iCloud backup solutions, it enables you to back up Kik data separately without creating a full device backup. In addition, when restoring data, it will not overwrite your existing files and data on the device.
What can iOS Data Backup and Restore do for you?
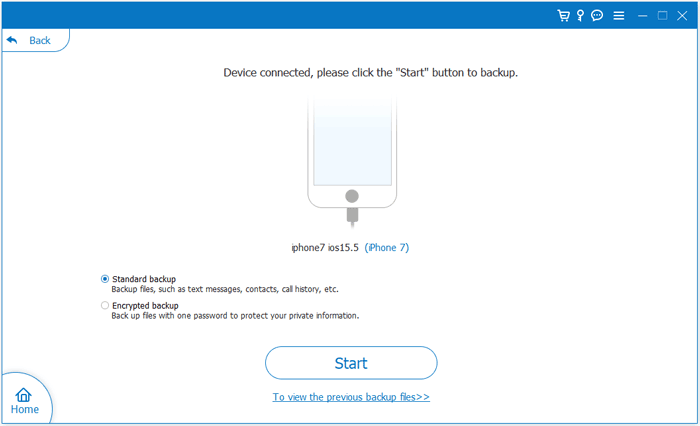
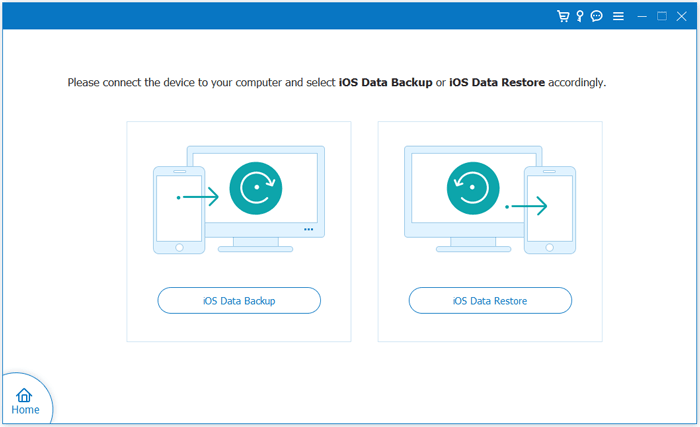
01Download and install the software on your PC or Mac. Launch the program and connect your iPhone to the computer using a USB cable. Select "iOS Data Backup", then choose either "Standard Backup" or "Encrypted Backup" according to your needs.
02Select "Kik" and "Kik Attachments" from the data types list. You can also choose any additional files you would like to back up.
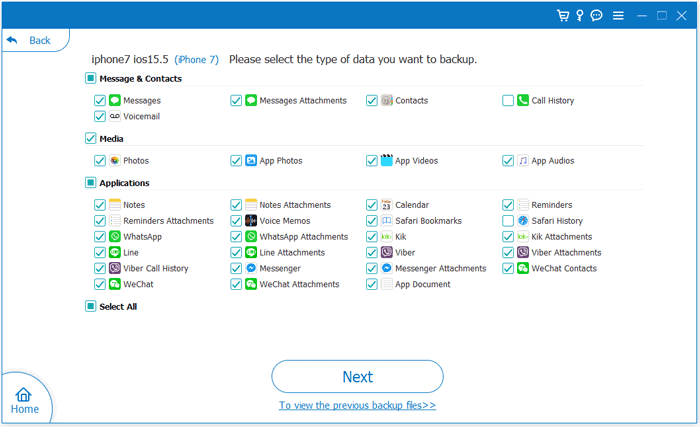
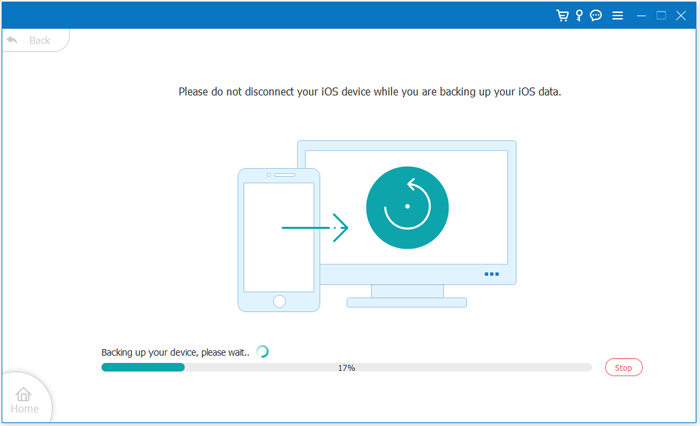
03Click "Next", choose a location on your computer to save the backup file, and start the backup process. Your Kik chats and attachments will be securely stored on your PC or Mac.
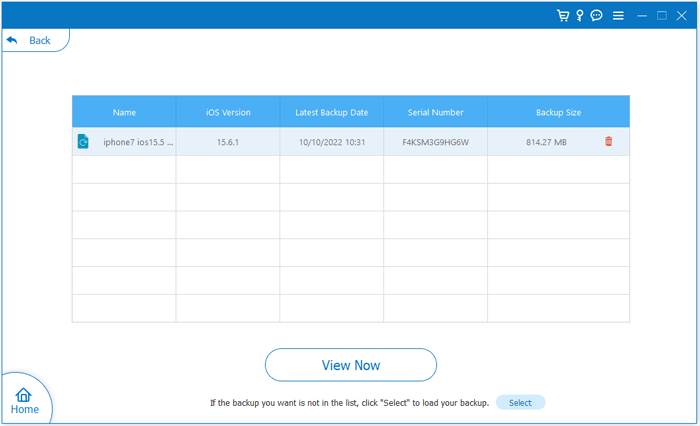
01Open the program and select "iOS Data Restore". Connect your iPhone to the computer via USB, and the software will automatically detect and scan available backup files.
02Choose the backup file you want to restore from the list and click "View Now" to preview its contents and verify that it contains the data you need.
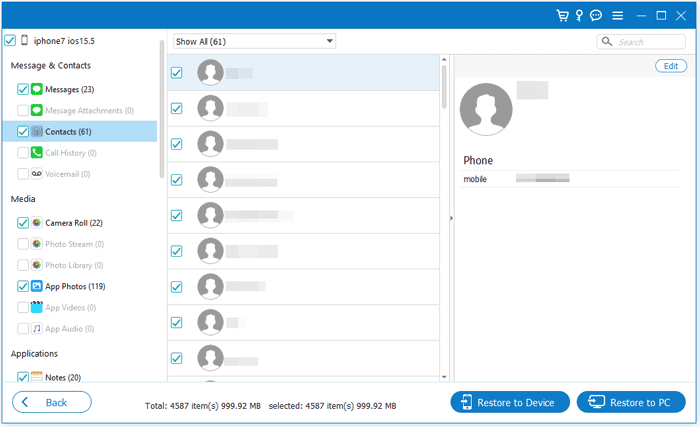
03Select the Kik data or other files you wish to recover, then click "Restore to Device" or "Restore to PC" to complete the restoration process. (Note: Currently, only contacts, notes, and their attachments can be restored directly to an iOS device.)
iTunes is Apple's official backup tool that can back up the entire iPhone, including Kik data. While iTunes is reliable, it does not allow selective backup or restore of Kik, and restoring a backup will overwrite current data. It's suitable for users who want a full device backup.
Step 1. Install and open the latest version of iTunes on your Windows PC or Mac (macOS Mojave and earlier). Connect your iPhone to the computer using a USB cable.
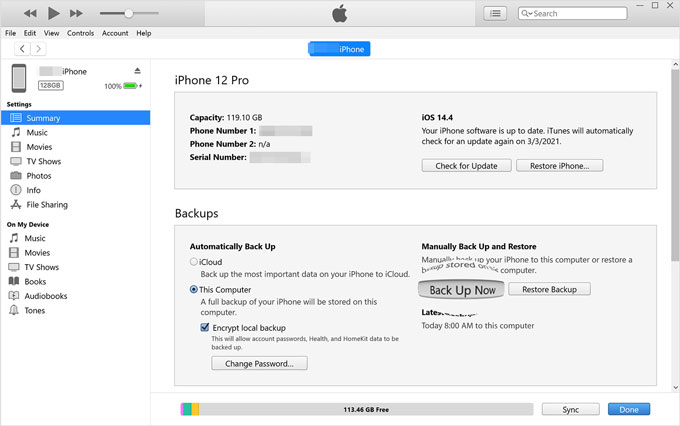
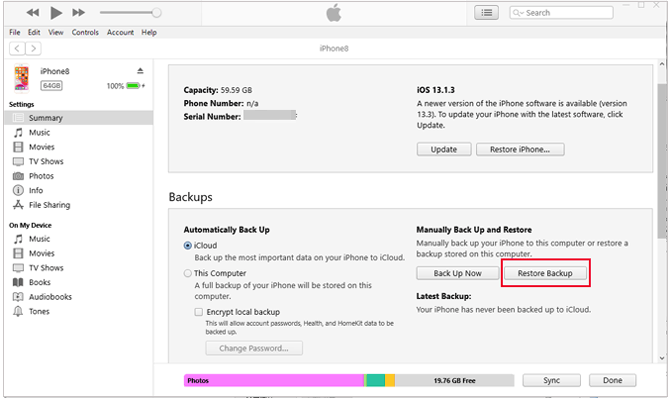
Step 2. Click the device icon when your iPhone appears in iTunes, then select "Summary" from the left panel.
Step 3. Under the "Backups" section, choose "This Computer". If you want to protect sensitive data, check "Encrypt local backup" and create a password.
Step 4. Click "Back Up Now" and wait for the backup process to finish. Your Kik chats, media files, and other iPhone data will be included in the backup.
Step 1. Open iTunes on your computer and connect your iPhone using a USB cable.
Step 2. Click the device icon when your iPhone appears in iTunes, then go to the "Summary" page.
Step 3. In the "Backups" section, click "Restore Backup".
Step 4. Select the backup file that contains your Kik data from the list. If the backup is encrypted, enter the password when prompted.
Step 5. Click "Restore" and wait for the process to complete. Your iPhone will restart automatically once the restoration is finished.
iCloud provides automatic cloud backups for iPhone, including Kik data. It is convenient for users who prefer wireless backup, but like iTunes, it does not support selective backup or restore for Kik. Restoring an iCloud backup will replace all data on your device.
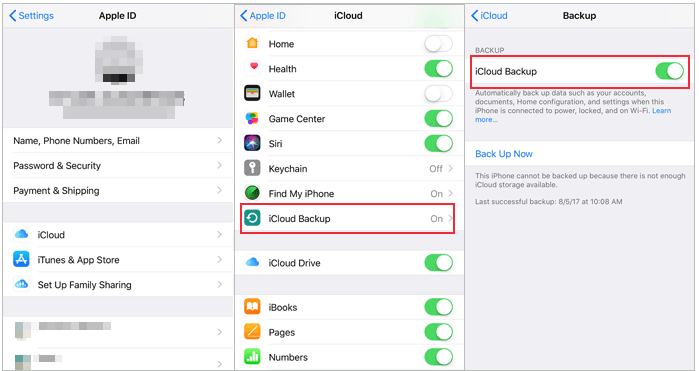
Step 1. On your iPhone, go to "Settings" > [your name] > "iCloud" > "iCloud Backup".
Step 2. Make sure "iCloud Backup" is turned on. You should also ensure that your iPhone is connected to a Wi-Fi network.
Step 3. Tap "Back Up Now" to start the backup process. Stay connected to Wi-Fi until the backup is complete.
Step 4. Once the backup finishes, your Kik chats, attachments, and other iPhone data will be securely stored in iCloud.
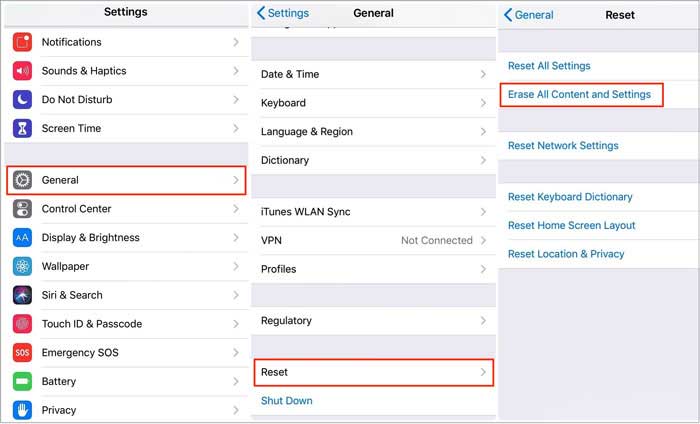
Step 1. On your iPhone, go to "Settings" > "General" > "Transfer or Reset iPhone" > "Erase All Content and Settings". This will prepare your device to restore from an iCloud backup. (iPhone won't erase?)
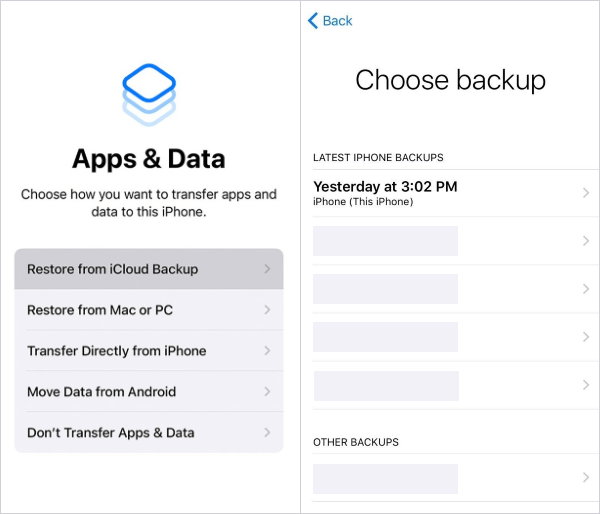
Step 2. After your iPhone restarts, follow the setup instructions until you reach the "Apps & Data" screen. Tap "Restore from iCloud Backup".
Step 3. Sign in with your Apple ID and select the backup that contains your Kik data.
Step 4. Wait for the restoration process to complete. Your iPhone will restart automatically, and all data from the backup, including Kik chats, attachments, and other apps, will be restored.
These are the three methods for Kik backup and restore. Although Apple's official methods can back up and restore Kik data, they are not very flexible and may overwrite other data. If you want to back up and restore Kik chats separately and more flexibly, iOS Data Backup and Restore is highly recommended. It is not only easy to use, but also allows you to freely select what you want to back up, ensuring your important conversations are kept safe and reliable.
Related Articles:
How to Retrieve Deleted Kik Messages on Android with 4 Solutions
A Comprehensive Guide to Recover Kik Photos on iPhone & Android
How to Retrieve Deleted Kik Messages on iPhone in 4 Easy Methods?


 Free Download for PC
  Free Download for Mac

