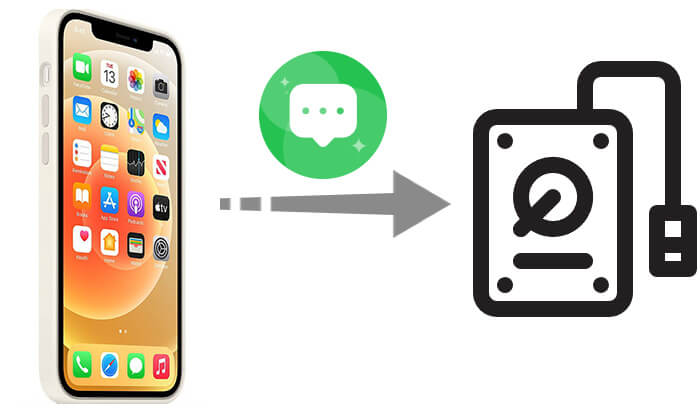
iMessage is a popular instant messaging tool for Apple device users, where many important chat records, photos, and voice messages are stored. However, over time, the storage space used by iMessage can grow larger, and if you're worried about losing important information, many people prefer to save iMessages to external hard drive. This way, they can free up space on their devices while safely preserving important data. So, can iMessage be transferred to an external hard drive? And how can you do it? This article will guide you through several practical methods!
If you want to bulk transfer iMessages to external hard drive, Coolmuster iOS Assistant is an ideal professional tool. It is a highly useful iOS data management software that supports exporting various data, such as messages, contacts, photos, and more, from iPhone/iPad to a computer or external hard drive.
Highlights of iOS Assistant:
Here is how to transfer text messages from iPhone to flash drive using iOS Assistant:
01Download, install, and launch iOS Assistant on your computer. Then, connect your iPhone and external hard drive to the computer using a USB cable.
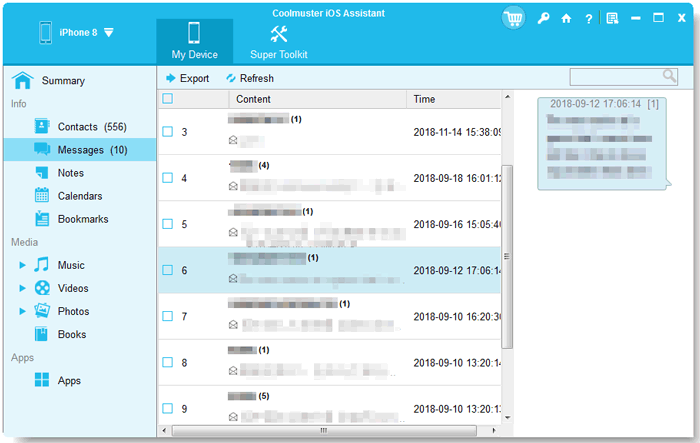
02A pop-up window will appear on your computer. Simply tap the "Trust" option on your device and then click "Continue" to proceed. Once the software detects your device, the main interface will appear as shown below. You'll see various file folders organized on the main screen.

03Click on "Messages" to preview your conversations, then select the SMS you want to transfer. Once you've made your selections, click "Export" at the top of the interface. You'll be prompted to choose an external hard drive as the destination to save your text conversations.
Video Tutorial:
If you don't want to download additional software, you can also save iMessages to an external hard drive via email. Simply email all the messages you want to your computer and save them as PDF files to an external hard drive.
How do I export iMessages to my hard drive? Here are the steps:
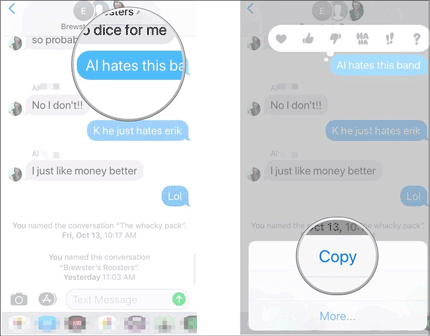
Step 1. On your iPhone, open the iMessages app and select the conversation you want to copy.
Step 2. Press and hold the conversation to copy the message, then create a new email and paste the message into the body of the email.
Step 3. Send the email to yourself and access it from your computer.
Step 4. Open the email on your computer, then copy and save the message to your external hard drive as needed.
If you'd like to keep an original copy of your text conversation in the iMessages app on your iPhone, you can take a screenshot of the conversation to save it as an image. Then, you can transfer the image directly to an external hard drive without needing a computer.
Here is how to transfer iMessages to external hard drive via screenshot:
Step 1. Take a screenshot of the desired conversations on your iPhone.
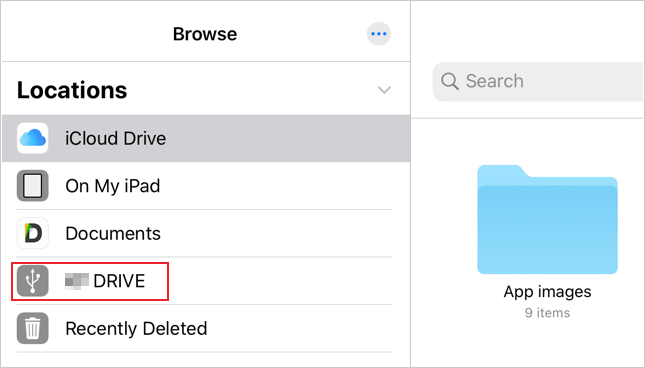
Step 2. Connect your external hard drive to your iPhone using a Lightning to USB adapter. Open the "Files" app to confirm that the external hard drive is connected.
Step 3. Open the "Photos" app on your iPhone, find and select the screenshots of the iMessages, then tap the "Share" button in the bottom left corner.
Step 4. Tap "Save to Files", select your external hard drive as the destination, and then tap "Save".
To save iMessages to an external hard drive on a Mac, you can directly copy the iMessage database or back up your iPhone through iTunes/Finder and transfer the backup. This method is efficient, but keep in mind that iMessages are stored in system files, and you may need third-party software for easier extraction and management. Always ensure that you have the proper permissions to access these files.
Step 1: Open Finder and navigate to the "Library" folder in your "Home Directory".
Step 2: Go to "Application Support" > "Messages".
Step 3: Locate the "chat.db" file, which stores iMessage data.
Step 4: Copy the "chat.db" file and any related files (like "Attachments" folder) to your external hard drive.
Step 5: Alternatively, back up your iPhone via iTunes/Finder, locate the backup folder, and copy it to the external drive.
Step 6: If you want a readable format, use a third-party tool to extract iMessages from the backup file.
Transferring iMessages to an external hard drive via iTunes/Finder is an efficient method for backing up your data. By creating a local backup of your iPhone or iPad, you can easily store the iMessage database along with other device data. However, keep in mind that iTunes/Finder doesn't offer an option to selectively back up messages, so the entire device data will be transferred.
Step 1: Connect your iPhone or iPad to your computer via USB cable.
Step 2: Open iTunes (or Finder on macOS Catalina and later).
Step 3: Select your device from the sidebar in iTunes/Finder.
Step 4: Choose the "Back Up Now" option under the "Backups" section.
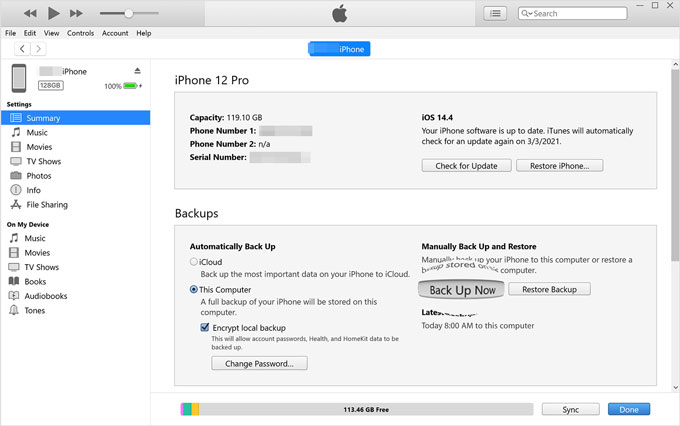
Step 5: Wait for the backup to complete. The backup will include all data, including iMessages.
Step 6: Once the backup is finished, locate the backup file on your computer.
Step 7: Copy the entire backup folder to your external hard drive for safekeeping.
We have introduced five ways to transfer iMessages to external hard drive. If you need to efficiently and bulk-export a large number of iMessages for long-term storage, Coolmuster iOS Assistant is undoubtedly the best choice. It offers an intuitive interface, supports multiple formats, provides fast export speeds, and also allows you to manage other data on your iPhone. For saving scattered messages, email and screenshot methods are more suitable for emergency use.
Related Articles:
[Solved] How to Transfer Music from iPhone/iPad to External Hard Drive?
How to Back Up iPhone to External Hard Drive on Windows or Mac
How to Transfer Photos from Android to Flash Drive [Solved in 5 Ways]
4 Reliable Ways to Transfer Videos from External Hard Drive to iPhone


 Free Download for PC
  Free Download for Mac

