Printing photos, documents, or emails directly from your iPhone can be incredibly convenient, especially when you're on the go or need to quickly print something important. Whether you're printing out work documents, school assignments, or cherished family photos, the process of connecting your iPhone to a printer has become easier than ever.
In this guide, we'll walk you through several methods to connect your iPhone to a printer, including using AirPrint, manufacturer-specific apps, third-party apps, and even Bluetooth. With these simple steps, you'll be able to print your content without any hassle, ensuring a smooth and seamless experience.
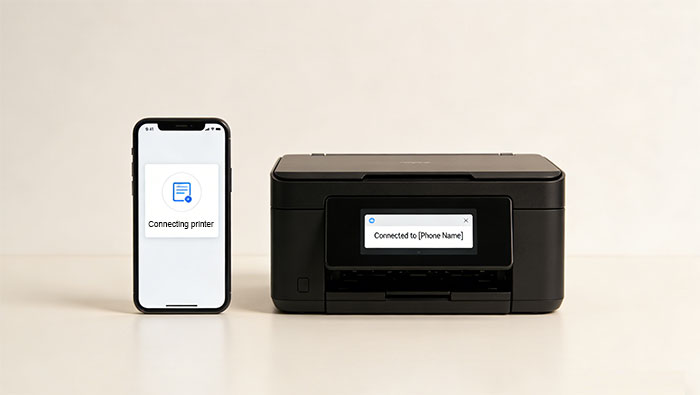
AirPrint is Apple's built-in solution for printing wirelessly from your iPhone to compatible printers. It's easy to set up and doesn't require any additional apps or software. If you have a printer that supports AirPrint, this method will allow you to print your notes, photos, documents, or emails directly from your iPhone without needing to connect any cables.
Step 1: Make sure your printer supports this feature by checking the model specifications.
Step 2: Connect both your iPhone and printer to the Same Wi-Fi Network
Step 3: On your iPhone, open the document, photo, email, or web page that you want to print.
Step 4: Tap the "Share" button and select "Print". This will open the print setup menu.
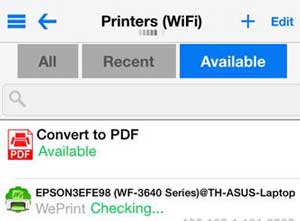
Step 5: Tap on "Select Printer" and choose your AirPrint-enabled printer from the list.
Step 6: You can customize your print settings, such as the number of copies, page range, color options, and more.
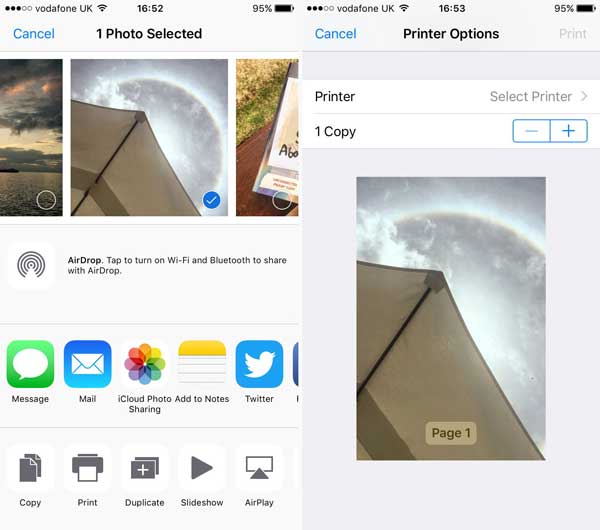
Step 7: Once you've configured your settings, tap "Print" and your document will be sent wirelessly to your printer, and it should start printing almost instantly.
Many printer manufacturers offer dedicated apps that make it easy to connect your iPhone to their printers. These apps not only enable wireless printing but also offer additional features such as scanning, ink monitoring, and managing printer settings. Popular apps include "HP Smart" (How to Print from iPhone/iPad to HP Printer?), "Canon PRINT", "Epson iPrint", and "Brother iPrint&Scan", all of which provide a seamless connection between your iPhone and printer.
Step 1: Visit the App Store and search for the app that corresponds to your printer's brand (e.g., HP Smart for HP printers, Canon PRINT for Canon printers). Download and install the app onto your iPhone.
Step 2: Connect the Printer and your iPhone to the same Wi-Fi network.
Step 3: Once the app is installed, open it on your iPhone. If this is your first time using the app, it may ask you to create an account or sign in.
Step 4: The app will typically guide you through the process of adding your printer to the app. This might involve scanning a QR code on your printer or manually entering the printer's details. Once added, your printer should appear in the app's printer list.
Step 5: After your printer is set up, you can now choose the document, photo, or calendar you want to print. Open the file on your iPhone and tap the "Print" option within the app.
Step 6: Within the app, select the printer you've connected to and adjust print settings like the number of copies, paper size, and color preferences. Some apps may also let you adjust the quality or type of print.
Step 7: After configuring the settings, tap "Print" to begin printing. Your printer should start printing directly from your iPhone.
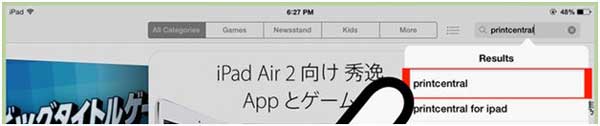
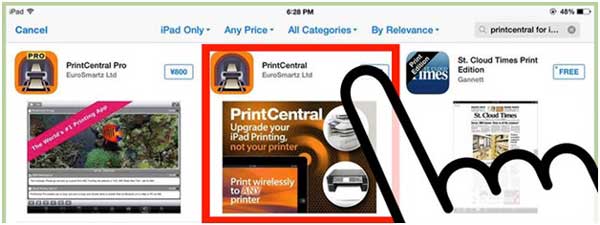
If your printer doesn't support AirPrint or if the manufacturer's app doesn't meet all your needs, third-party printing apps can be a great alternative. These apps offer additional functionality, often supporting a wide range of printers, even those that aren't directly compatible with AirPrint. Popular third-party printing apps include Printer Pro, PrintCentral, and Printopia. They allow you to connect your iPhone to almost any printer and provide more advanced printing options.
Step 1: Head to the App Store and search for a third-party printing app such as "Printer Pro" or "PrintCentral". Download and install the app on your iPhone.
Step 2: Open the app and follow the setup process to connect it to your printer. This might involve:
Step 3: Just like with AirPrint and manufacturer apps, your iPhone and printer must be on the same Wi-Fi network. Some apps also allow printing via Bluetooth or USB if Wi-Fi is unavailable.
Step 4: Choose the file, photo, or document you want to print from your iPhone.
Step 5: Within the third-party app, select your printer and configure the print settings. Depending on the app, you may have options like:
Step 6: Once you're satisfied with the settings, tap "Print" to start the printing process. The document will be sent to your printer, and you should see the results shortly.
Bluetooth printing is a quick and easy way to print from your iPhone without needing a Wi-Fi connection. If your printer supports Bluetooth, you can connect your iPhone directly to it for wireless printing.
Step 1: Make sure Bluetooth is turned on your printer (check the printer manual if needed).
Step 2: On your iPhone, go to "Settings" > "Bluetooth" and turn it on.
Step 3: In the Bluetooth menu, tap your printer's name to pair your iPhone with the printer. You might need to enter a pairing code.
Step 4: Open the document or photo you want to print and tap the "Share" button.
Step 5: In the print menu, select your Bluetooth printer and adjust the settings if needed.
Step 6: Tap "Print" to send the document to your printer.
If you prefer to print files from your iPhone but need a more versatile and reliable method, Coolmuster iOS Assistant is a great solution. This tool allows you to easily export data from your iPhone to your computer, so you can manage and print your documents, photos, or other files with greater flexibility. After transferring the content to your computer, you can print it from any printer connected to your system.
Key features of Coolmuster iOS Assistant:
Steps to Print from iPhone Using iOS Assistant::
01 Start by downloading and installing Coolmuster iOS Assistant on your PC or Mac. Use a USB cable to connect your iPhone to your computer. Launch the iOS Assistant software.

02 Once your iPhone is connected, the software will display your iPhone's data on the screen. Select the files you want to print (photos, documents, etc.).
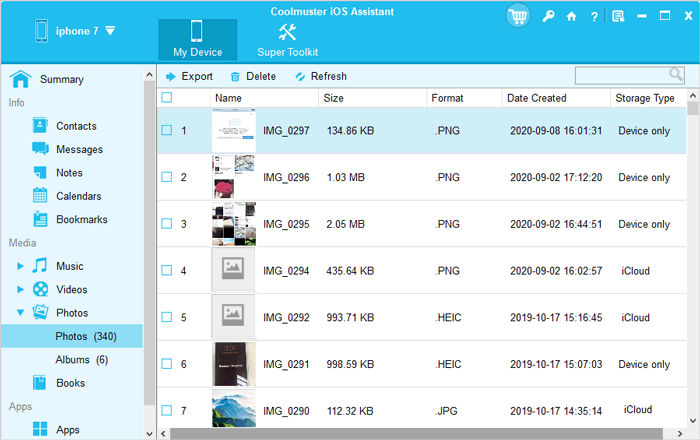
03 After selecting the files, click the Export button to transfer them from your iPhone to your computer. Choose a location to save them on your computer.
04 After exporting, navigate to the folder where you saved the files on your computer. Open them with the appropriate application (e.g., Photos, Microsoft Word, Adobe Acrobat) and print them using your printer.
Video Guide:
While connecting your iPhone to a printer is usually straightforward, you may encounter a few issues. Here are some common problems and troubleshooting tips to help you resolve them quickly:
Issue 1: Printer Not Showing Up
Solution:
Issue 2. Printer Not Responding or Stuck in Queue
Solution:
Issue 3. Slow Printing
Solution:
Issue 4. Poor Print Quality
Solution:
Issue 5. Error Messages on iPhone or Printer
Solution:
Issue 6. Printer Not Compatible with AirPrint
Solution:
Issue 7. App Not Detecting Printer
Solution:
In summary, connecting your iPhone to a printer is simple and versatile, with multiple methods available, including AirPrint, printer-specific apps, third-party apps, and Bluetooth. Each method offers unique advantages depending on your printer and environment. For those who prefer using a computer, Coolmuster iOS Assistant provides an easy way to export iPhone data and print it directly from your PC or Mac. With these solutions, printing from your iPhone is hassle-free and efficient, no matter your setup.
Related Articles:
[Tutorial] Top 6 Ways to Print Contacts from iPhone
How to Print Text Messages from iPhone [5 Easy Ways]


 Free Download for PC
  Free Download for Mac

