Want to know how to make your MP4 video files smaller on a Mac? Whether you need to save hard drive space or make it easier to share videos, this article will teach you everything about reducing MP4 file size on Mac. We will introduce several simple and effective methods to quickly reduce the size of your video files, making it easy to solve the problem of large files. Keep reading to discover these practical tips!
Video Converter Ultimate is a widely popular and used Mac video compressor. Fortunately, Video Converter Ultimate can also work for Windows users. The video file compressor is compatible with multiple file formats for videos and audios. It can compress your Mac video files significantly without affecting the video quality.
Features of Video Converter Ultimate:
Here is a general guide on how to compress video files on Mac using Video Converter Ultimate.
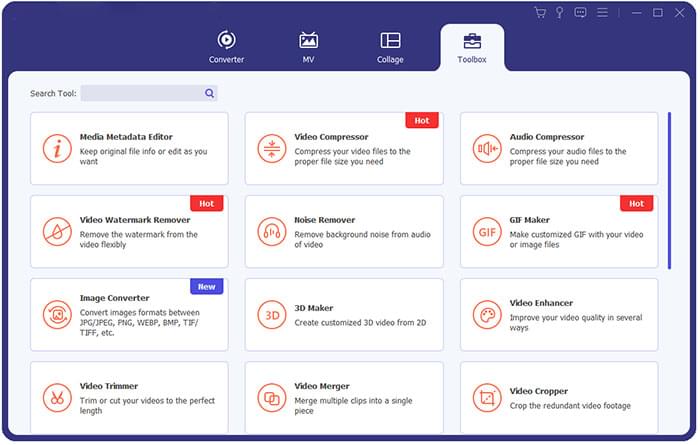
01Download, install, and run Video Converter Ultimate on your Mac device. Click "Toolbox" from the main menu and hit the "Video Compressor" button.
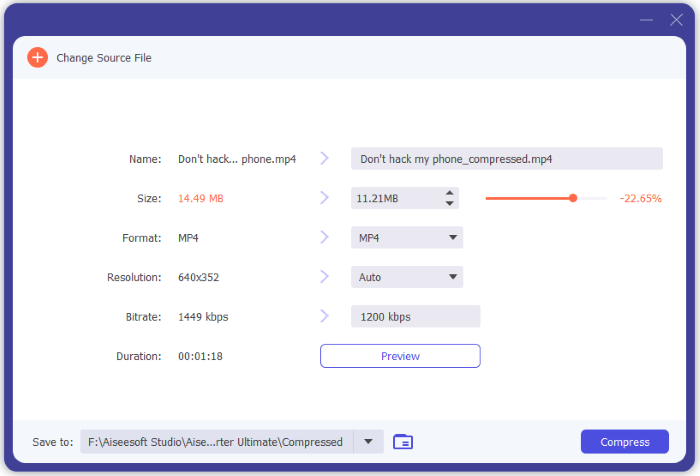
02Go to the Video Compressor window to customize the file name, output format, size, bitrate, and resolution.
03Click "Preview" to preview the video file before size reduction. Then, click "Compress" to reduce the video size.
MacBook has several in-built tools that can help you compress files on a MacBook. With these in-built file compressors, you don't have to download any software or use an online Mac video file compressor. Check out how to use these in-built tools to compress video files on Mac.
QuickTime Player is a media player that can also be used to edit and export videos in a variety of formats. It is a built-in Mac screen recorder that you can also download if you don't have it on your Mac device. To compress a video using QuickTime Player, follow these steps:
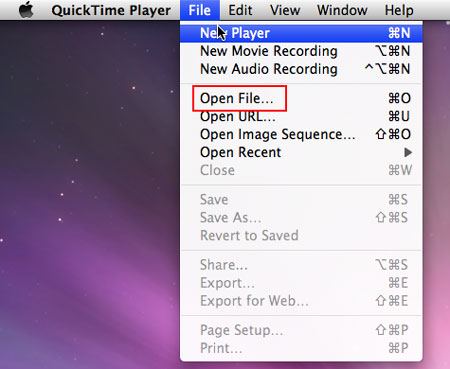
Step 1. Open QuickTime Player on your Mac. Click "File" in the menu bar and select "Open File" to choose the video you want to compress.
Step 2. Click "File" again and choose "Export As" to export the video.
Step 3. Choose a resolution and quality option to compress the video. Click "Save" to export the compressed video.
iMovie is a video editing software that comes pre-installed on Mac and offers simple video compression options. Here is how to compress video files on Mac.
Step 1. Open iMovie on your Mac. Click "File" in the menu bar and select "Import Media" to choose the video you want to compress.
Step 2. Drag the video file to the timeline at the bottom of the screen.
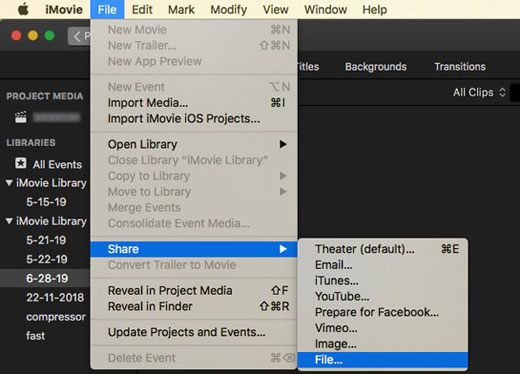
Step 3. Click "File" in the menu bar and select "Share", and then "File" to export the video.
Step 4. Choose a resolution and quality option to compress the video. Click "Next" to export the compressed video.
If you don't want to download any external Mac file compressor or use the built-in features, you can use online file compressors. There is no shortage of online Mac video compressors. However, despite their convenience, online video file compressors for Mac may be limited in functionalities and features. In addition, since they are web-based, they are not as safe as dedicated video file compressors like Video Converter Ultimate.
Read further to discover how to reduce video file size on Mac using an assortment of online applications.
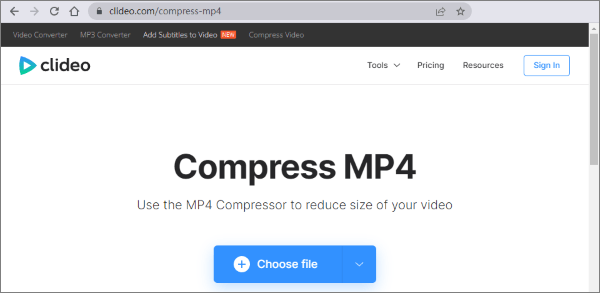
Clideo is an online Mac video file compressor, meaning you don't need to install any software to reduce MP4 file sizes on your Mac. Unfortunately, Clideo isn't the best Mac video file compressor if you're compressing videos above 500MB.
However, it is easy to use and helps you compress video file sizes with a few simple clicks. Here is how to make file sizes smaller on Mac using Clideo.
Step 1. Open Clideo Video Compressor, then click the dropdown menu next to "Choose file" to choose how to upload your large video file.
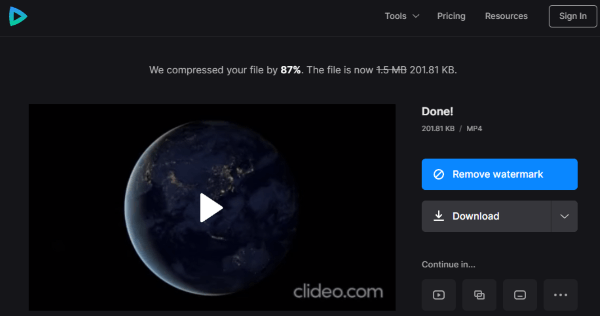
Step 2. Clideo automatically compresses the video without any customization options. Click "Download" to access the compressed file.
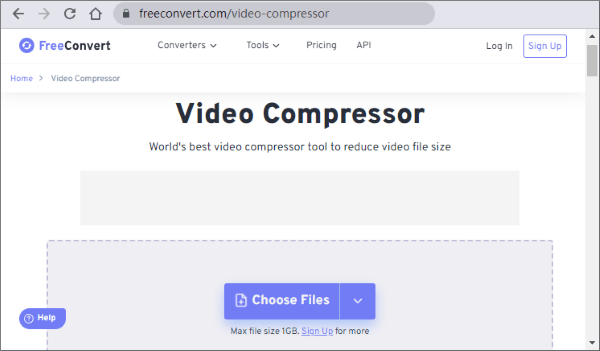
FreeConvert is an online, web-based video file compressor. Since it's web-based, it can work on any web browser, meaning it can work on any operating system, including Mac. FreeConvert allows uploads of up to 1GB, meaning it won't be reliable if you want to compress larger videos on your Mac. Still, its pretty straightforward user interface and ease of use make up for its downside.
Here is how to use FreeConvert to reduce video file sizes on Mac.
Step 1. Visit FreeConvert via your web browser. Click "Choose Files" to select and add a video file on your Mac.
Step 2. Click the "Settings" gear next to it to change the video settings. Click "Apply Settings" and select "Compress Now" to upload the video and begin compression.
Step 3. Once you're done, click "Download" to save the compressed file on your Mac or cloud storage.
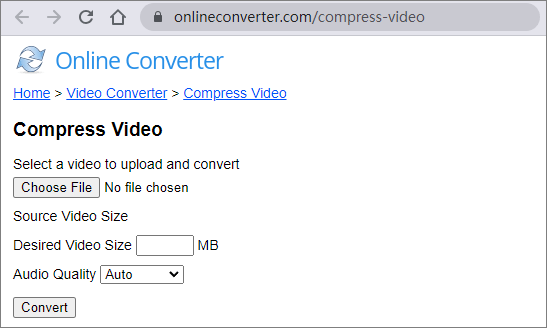
Online Converter can help you compress your videos on Mac without downloading external software or programs. It supports multiple video formats, including MP4, WMV, MOV, MKV, M4V, AVI, etc. To compress videos on your Mac using Online Converter:
Step 1. Visit Online Converter's web page. Click "Choose File" to add the video you want to compress.
Step 2. Change the desired video size and select the desired audio quality from the dropdown menu below. Click "Convert" to compress your video.
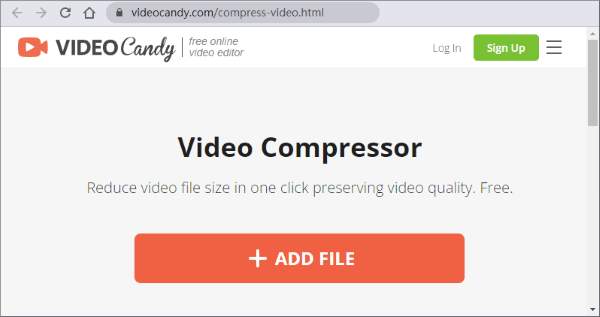
VideoCandy is a free online video compressor that you can use to reduce your video file sizes and preserve file quality. You can use VideoCandy to merge videos, loop videos, rotate videos, etc.
Follow these steps to compress videos on Mac using this online compressor.
Step 1. Open Video Candy's Video Compressor page. Click "ADD FILE" to add the file from your Mac.
Step 2. Tap "Download File" or click either of the functions underneath to proceed.
Having a reliable Mac video compressor can save you time, money, and effort. There are plenty of tools available online and offline to help you reduce your video file sizes on Mac. Video Converter Ultimate is the best Mac video compressor. It is a dedicated, comprehensive solution to help you compress large videos. Download and install Video Converter Ultimate to start reducing MP4 file sizes on Mac today.
Related Articles:
Guide on How to Compress MP4 Files [7 Methods Introduced]
Top 6 MP4 Compressors: Reduce File Size without Compromising Quality
How to Reduce MP4 File Size Without Losing Quality [7 Easy Ways]
How to Compress MP4 Online for Free? Solved in 9 Useful Ways


 Free Download for Mac
 Free Download for PC

