TL;DR: If your iPhone voicemail won't delete, the issue is usually caused by carrier syncing errors, network glitches, or iOS bugs. You can fix it by turning on Airplane Mode, resetting network settings, clearing deleted voicemails, updating carrier settings, or updating iOS. If basic fixes don't work, iOS System Recovery can repair deeper iOS system problems without data loss. For users who want to permanently erase voicemail data and protect privacy, Coolmuster iOS Eraser is a reliable solution.
When you're trying to free up storage space on your iPhone, it can be frustrating to find that voicemail messages just won't delete. If you're also struggling with the "iPhone voicemail won't delete" issue, don't worry. This article will explain the possible causes in detail and provide 9 effective solutions to help you completely remove undeletable voicemails from your iPhone.
Before trying the solutions below, it's helpful to understand what may be causing the issue in the first place. If your iPhone won't delete voicemail, we've summarized two common causes below:
Below are 9 effective ways to fix the "iPhone can't delete voicemail" issue. Try these methods one by one to remove undeletable voicemails from your iPhone with ease.
One of the easiest and most effective ways to fix the "voicemail won't delete on iPhone" issue is to turn on Airplane Mode. Many users have reported that this simple trick helped them successfully remove stubborn voicemail messages.
Here's how to do it:
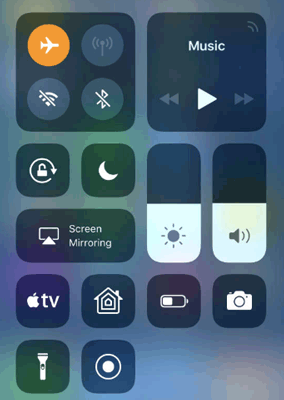
Step 1. Open the "Control Center" on your iPhone by swiping down from the top-right corner of the screen (or swiping up from the bottom on older iPhone models).
Step 2. Tap the "Airplane Mode" icon to enable it.
Step 3. Open the "Phone" app and go to the "Voicemail" tab. Then, try deleting the voicemail messages again.
Step 4. Once the voicemails are deleted, turn off "Airplane Mode".
A poor or unstable network connection may prevent your iPhone from deleting voicemails properly. In this case, resetting your network settings may help resolve the issue.
Follow these steps to reset your iPhone network settings:
Step 1. Open the "Settings" app on your iPhone and tap "General".
Step 2. Scroll down and select "Transfer or Reset iPhone" > "Reset".
Step 3. Tap "Reset Network Settings", then enter your passcode if prompted to confirm the action.

If deleted voicemails keep reappearing on your iPhone, they may not have been permanently removed from the device. In this case, you need to clear the "Deleted Messages" folder manually.
Follow these steps:
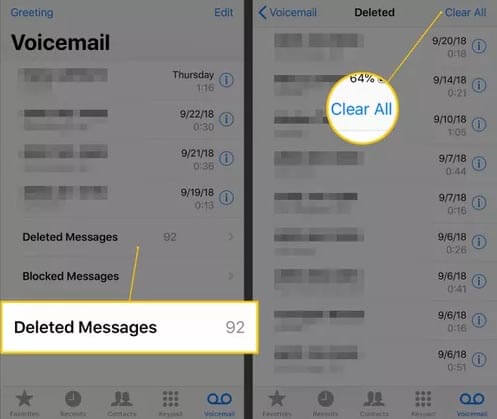
Step 1. Open the "Phone" app on your iPhone and tap "Voicemail" at the bottom of the screen.
Step 2. Scroll down and open the "Deleted Messages" folder.
Step 3. Tap "Clear All" to permanently remove all deleted voicemail messages from your iPhone.
Sometimes, the voicemail is still stored on your carrier's server even after deleting it from your iPhone. This causes the voicemail to continuously sync back to the device, making it seem impossible to remove.
In this case, manually deleting the voicemail directly from the carrier's voicemail system can solve the problem. Follow the steps below to delete voicemails directly from your carrier's voicemail system:
Step 1. Open the "Phone" app on your iPhone.
Step 2. Tap the "Keypad" icon at the bottom of the screen.
Step 3. Dial your own phone number to access your voicemail inbox.
Step 4. Once connected to your voicemail, press "1" to listen to your voicemail messages.
Step 5. The system will first play new messages, followed by saved messages. You can then select and delete the unwanted voicemails during the call.
If your iPhone voicemail won't delete due to a temporary software issue, restarting the device may solve it instantly. Here is how to restart the iPhone:
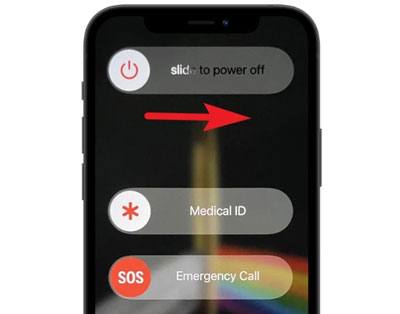
Step 1. Press and hold the "Power" button and either "Volume" button until the "slide to power off" screen appears. Drag the slider to turn off your iPhone.
Step 2. Wait for about 30 seconds, then press and hold the "Power" button again to restart your device.
Step 3. After your iPhone turns on, open the "Phone" app > "Voicemail", and try deleting the voicemail again.
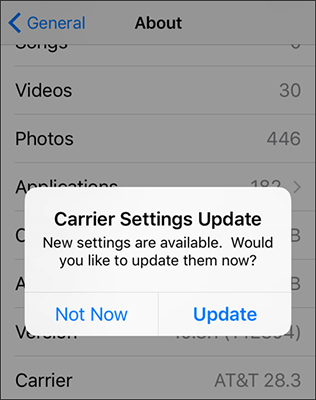
This is another effective way to fix the "iPhone won't delete voicemail" issue. You can manually check for and install a carrier settings update by following these steps:
Step 1. Connect your iPhone to a stable Wi-Fi or cellular network.
Step 2. Go to "Settings" > "General" > "About".
Step 3. If a carrier settings update is available, a prompt will appear; tap it to install the update.
An outdated iOS version can also trigger voicemail bugs. Apple frequently releases updates to fix software glitches, improve system stability, and resolve carrier-related issues. If your iPhone voicemail won't delete after trying the previous methods, installing the latest iOS update may help.
To update your iPhone, follow the steps below:
Step 1. Connect your device to a stable Wi-Fi network and plug it into power if needed.
Step 2. Go to "Settings" > "General" > "Software Update", then tap "Download and Install" if an update is available. (iPhone stuck on software update?)
Step 3. Tap "Install" and enter your passcode if prompted to complete the update.

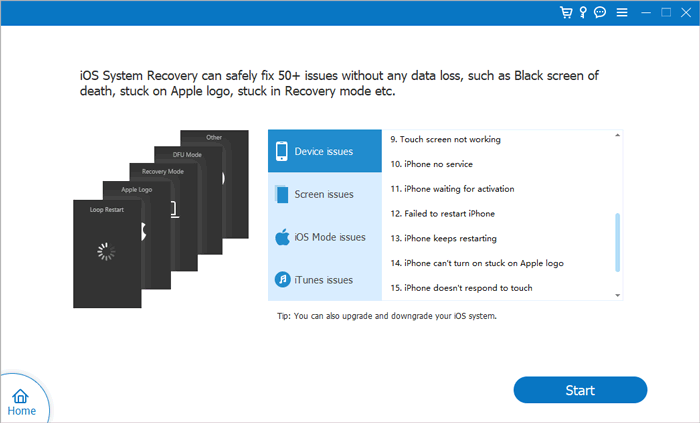
If none of the standard methods work, the problem may be caused by deeper iOS system corruption. In this situation, using a professional iOS repair tool is often the most effective solution. iOS System Recovery is designed to fix various iOS issues, including the "iPhone voicemail won't delete" problem, without causing data loss in Standard Mode.
What can iOS System Recovery do for you?
Here is how to fix iPhone won't delete voicemail using iOS System Recovery:
01Download and install the software on your computer. It will launch automatically after installation.
02Connect your iPhone using a working USB cable. Select "iOS System Recovery" and click "Start".
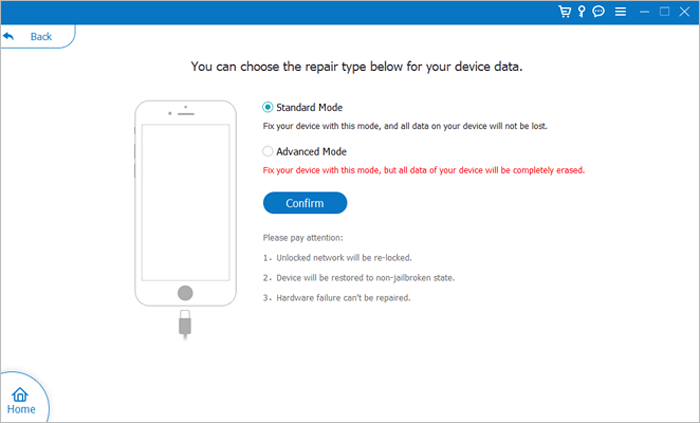
03Choose a repair mode—Standard or Advanced—then click "Confirm".
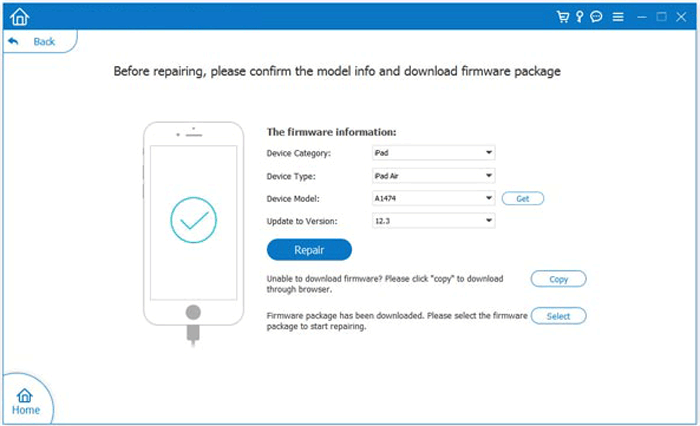
04Verify your device information, click "Repair", and wait for the process to complete. Your iPhone will return to normal once finished.
If all else fails, resetting your iPhone to factory settings may be the final solution. However, this will erase all settings and content on your device, so it is strongly recommended to back up your data first.
Follow these steps:
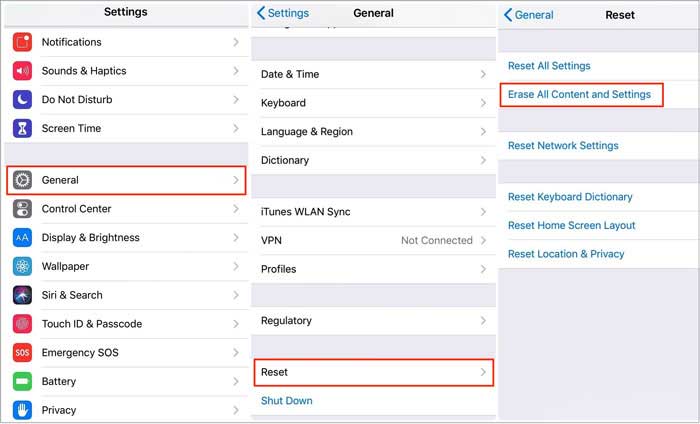
Step 1. Open the "Settings" app on your iPhone and go to "General".
Step 2. Tap "Transfer or Reset iPhone", then select "Erase All Content and Settings".
Even after deleting voicemail manually, the data may still remain recoverable using professional recovery software. If your voicemail contains sensitive personal or business information, simply deleting it from the Phone app may not be enough. That's where Coolmuster iOS Eraser comes in. This tool permanently erases voicemail and other private data from your iPhone or iPad, making recovery impossible.
Why should you choose Coolmuster iOS Eraser?
Here is how to delete voicemail on iPhone/iPad using iOS Eraser:
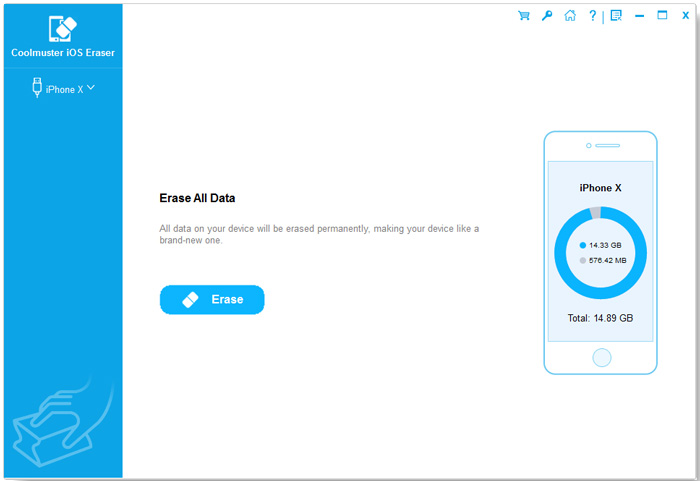
01Download and launch the tool on your computer. Connect your iPhone/iPad via USB and tap "Trust" on the device when prompted. Once the main interface appears, click "Erase".
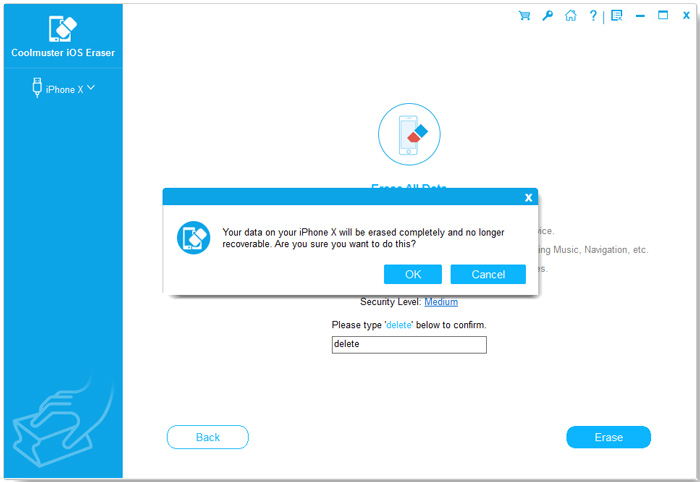
02Choose your desired security level, then click "OK". Enter "delete" in the confirmation box and click "Erase" again, then confirm by selecting "OK".
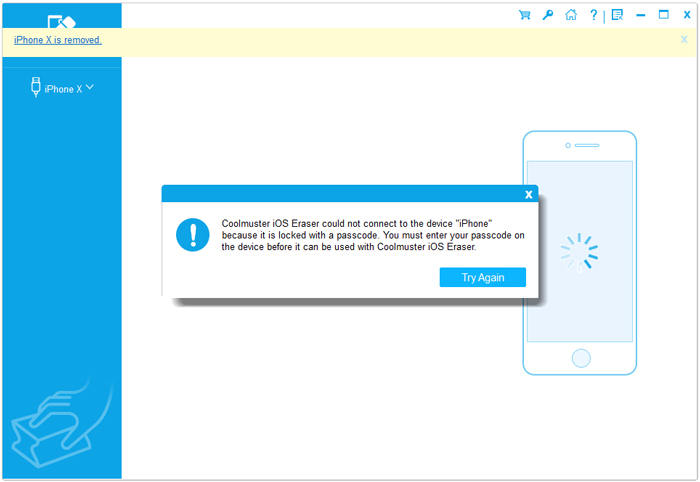
03The erasing process will begin automatically. When it is complete, your device will restart. After rebooting, unlock your iPhone/iPad and click "Try Again" in the tool to reconnect.
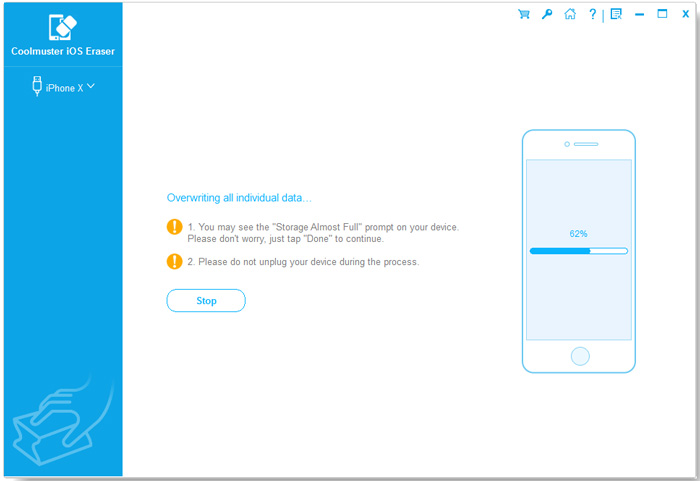
04The tool will continue overwriting data until the process is fully completed, leaving your device completely wiped and restored to a clean state.
Video Tutorial:
If your iPhone voicemail won't delete, the methods mentioned above can help you quickly resolve the issue. However, if you don't want to lose any data, it is highly recommended to use iOS System Recovery. If you want to permanently delete voicemails and protect your privacy, Coolmuster iOS Eraser is an excellent solution for securely removing voicemail data from your iPhone or iPad.
Related Articles:
How to Fix Voicemail Not Working on iPhone? - 11 Proven Fixes
3 Ways to Delete Call History on iPhone Quickly and Easily
How to Save Voicemails on iPhone to Computer: Top 5 Ways
[Step-by-step Guide] How to Remove Private Number from iPhone?


 Free Download for PC
  Free Download for Mac

